Maintenance/Storage
12
O
N
O
F
F
Set
dial to:
Cap
Rotor
Filter
Tip:
SmartMix tank may be
stored with concentrate
ready for your next cleaning
job. Make sure dial is set to
Water Only.
CAUTION:
PowerSteamer uses
water and must not
be stored where
there is a danger of
freezing. Freezing
will damage internal
components and
void the warranty.
Tank-
in-Tank
SmartMix
®
2
3
3
4
5
6
8
9
7
Turn Power switch OFF.
Unplug power cord from the outlet and coil around Power Cord
Quick Release.
Remove and rinse tools in clean, running water, let dry and
replace in tool caddy.
Coil flex hose around storage brackets on tool caddy.
Remove Tank-in-Tank, dispose of dirty water.
Rinse out the Tank-in-Tank and replace on the machine.
Clean out the Flow Indicator Filter each time it is used to insure
best cleaning performance. Unscrew the Flow Indicator Cap, lift
out the red Rotor and white Filter. Rinse all three parts in tap
water. Replace the Filter and Rotor. Replace the Flow Indicator
Cap; turn until snug, do not over-tighten.
Note: SmartMix tank may be stored with concentrate ready for
your next cleaning job. Make sure dial is set to Water Only
Wipe all exterior surfaces with a soft cloth.
Store cleaner upright in a protected, dry area.
When carpet is dry, vacuum again to remove hair and fuzz that
the POWERSTEAMER may have loosened.
Turn the machine off and unplug from wall outlet.
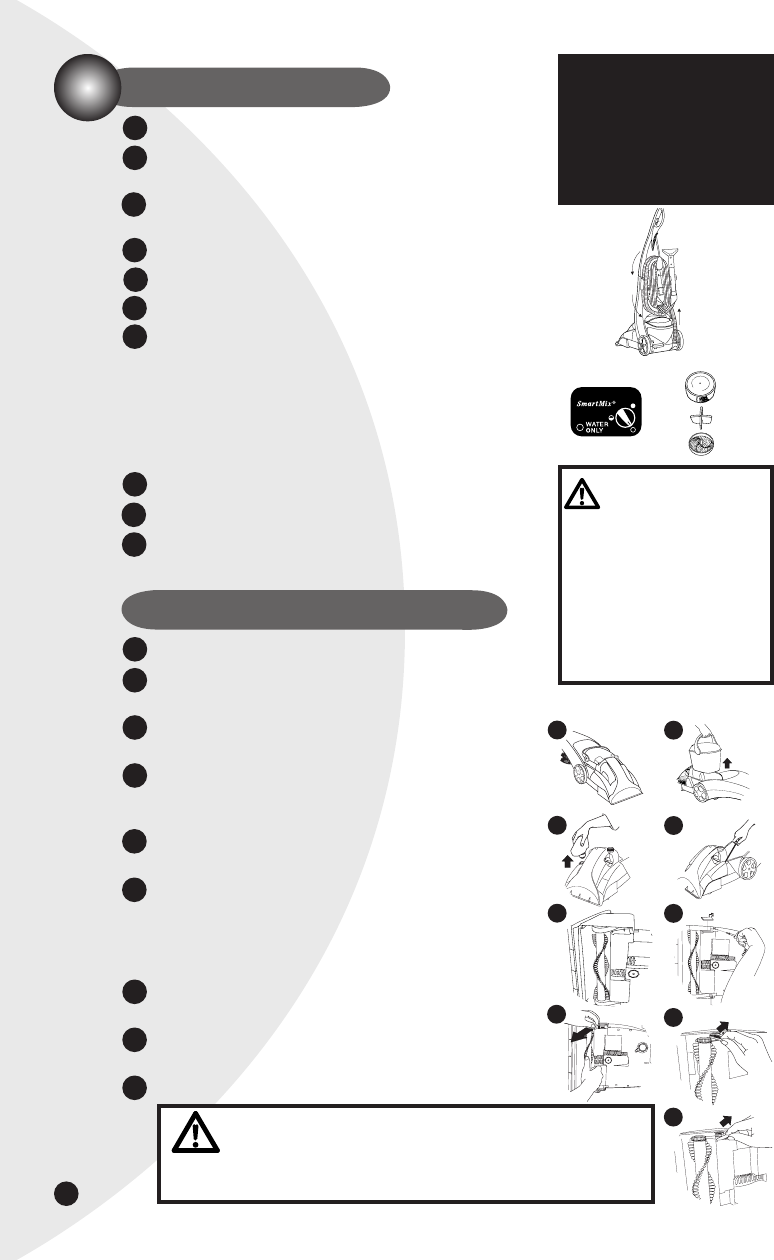
Step on the release pedal and recline the handle down onto
floor. (see illustration).
Remove the Tank-in-Tank and SmartMix tanks. Set them aside
(see illustration).
Remove Belt Access Door located near the Floor Cleaning/ Tools
switch by inserting a flat head screwdriver into the slot nearest to
the handle and gently prying the access door off (see illustration).
Turn the machine onto its side so the belt access area is
facing upward (see illustration).
On the bottom of the machine, near the belt access area, is a
red retainer plate that holds the black brush arm and brush in
place. Using a Phillips head screwdriver remove the screw that
holds the red retainer plate in place. Set red retainer plate and
Phillips head screw aside (see illustration).
Remove the black brush arm that holds the brush in place.
Set the black brush arm aside (see illustration).
Remove the “toothed” brush belt from the brush then from the
red pump pulley. Set the “toothed” brush belt and brush aside.
Locate and remove the broken pump belt.
1.
2.
3.
5.
6.
6.
7.
1.
2.
3.
4.
7.
8.
Pump Belt and Brush Belt Replacement
4.
5.
8.
9.
9.
10.
WARNING:
To reduce the risk of fire, electric shock or injury,
unplug appliance from outlet before servicing.
ug310-5926_1697_1205.indd 12ug310-5926_1697_1205.indd 12 12/21/05 3:51:41 PM12/21/05 3:51:41 PM


