Page 8 RWB 6104 BAFII R01
The burner is supplied with either a one-stage
pump or a two-stage pump based on the oil supply
system requirements. Consult the instructions pro-
vided with the pump for installation specifi cations.
Connect Fuel Lines•
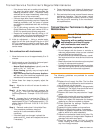
Start the Burner and Set Combustion
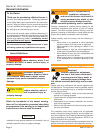
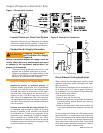
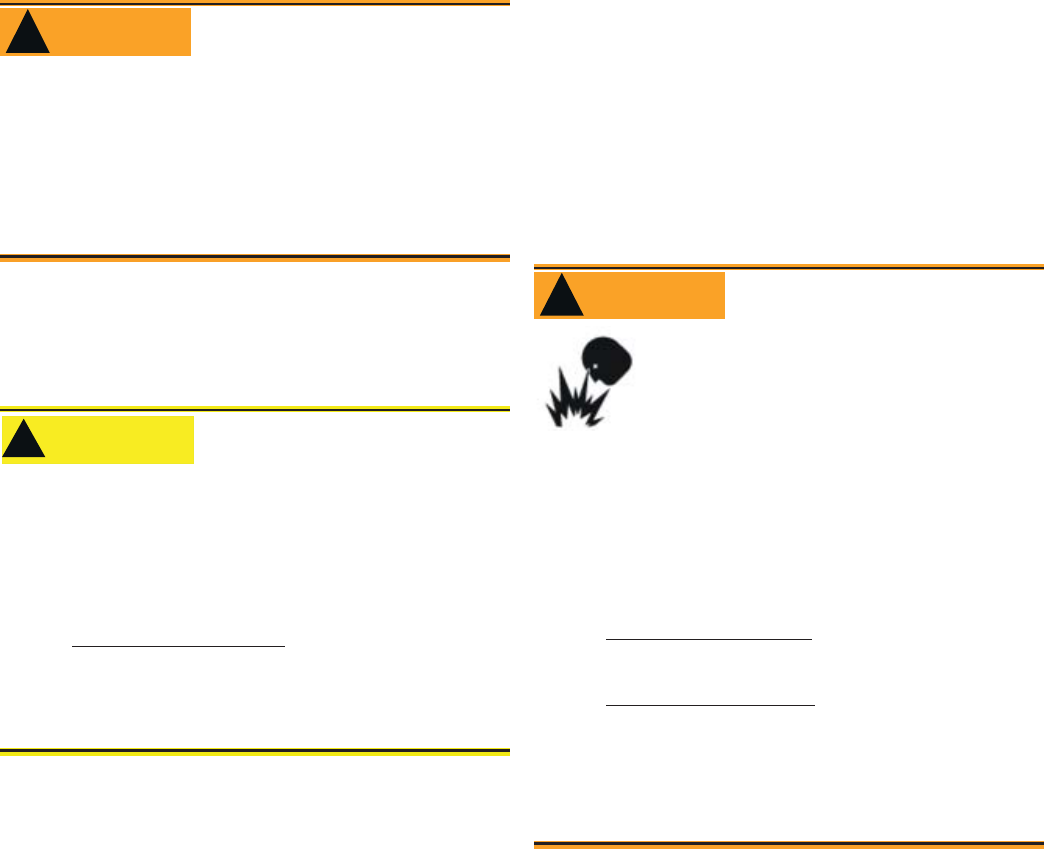
Do not attempt to start the burner when excess oil
has accumulated in the appliance, the appliance
is full of vapor, or when the combustion chamber
is very hot.
Do not attempt to re-establish fl ame with the
burner running if the fl ame becomes extinguished
during start-up, venting, or adjustment.
Vapor-Filled Appliance: Allow the unit to cool off
and all vapors to dissipate before attempting an-
other start.
Oil-Flooded Appliance: Shut off the electrical
power and the oil supply to the burner and then
clear all accumulated oil before continuing.
If the condition still appears unsafe, contact the
Fire Department. Carefully follow their directions.
Keep a fi re extinguisher nearby and ready for
use.
•
•
•
•
•
•
Failure to follow these instructions
could lead to equipment malfunc-
tion and result in heavy smoke
emission, soot-up, hot gas puff-
back, fi re and asphyxiation hazards.
Explosion and Fire Hazard
WARNING
!
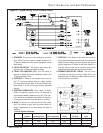
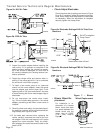
The R7184 primary control with valve-on delay and
burner motor-off delay, shown in Figure 4, requires
a constant 120 volt AC power source supplied to
the black wire on the control. (Refer to the appli-
ance manufacturer’s instructions. The red wire
goes to the appliance limit circuit. Please note that
other control manufacturers may use different wire
colors for power and limit connections.
Start the Burner and Set Combustion
Startup burner•
The oil supply inlet pressure to the burner cannot
exceed 3 psig.
Insure that a pressure limiting device is installed
in accordance with the latest edition of NFPA 31.
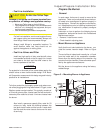
Gravity Feed Systems: Always install an anit-
siphon valve in the oil supply line or a solenoid
valve (RWB Part # 2182602U) in the pump/noz-
zle discharge tubing to provide backup oil fl ow
cut-off protection.
•
•
•
Damage to the fi lter or pump seals could cause
oil leakage and a fi re hazard.
Oil Supply Pressure
Control Required
!
!
CAUTION
The burner is shipped without the by-pass plug in-
stalled.
Install the by-pass plug in two-pipe oil supply systems
ONLY.
•
•
Failure to comply could cause immediate pump
seal failure, pressurized oil leakage and the po-
tential for a fi re and injury hazard.
Do Not Install By-pass Plug
with 1-Pipe System
WARNING
!
When installing a one-pipe system, connect the
inlet line to the pump inlet. The fuel pump may be
installed with gravity feed or lift. The maximum al-
lowable lift for a single pipe installation is 8 ft.
When installing a two-pipe system, remove the
1/16” pipe by-pass plug from plastic bag attached
to fuel unit. Remove 1/4” plug from return port.
Insert and tighten the by-pass plug. Attach return
and inlet lines. The return line should terminate ap-
proximately 3 to 4 inches above supply line inlet.
Failure to do this may introduce air into the system
and could result in loss of prime.
Wiring Connections Diagram
Refer to the appliance manufacturer’s wiring dia-
gram prior to connecting the burner wiring. All wir-
ing must be in accordance with the latest revision of
National Electric Code NFPA 70 and all local codes
and regulations.
•
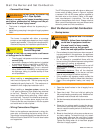
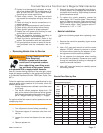
Open the shutoff valves in the oil supply line to
the burner.
Open the air dial. This is an initial air setting for
the pump bleeding procedure only. Additional ad-
justments must be made with instruments.
Set the thermostat substantially above room tem-
perature.
Close the line voltage switch to start the burner.
If the burner does not start immediately you may
have to reset the safety switch of the burner pri-
mary control.
Bleed air from the fuel unit as soon as burner mo-
tor starts rotating. To bleed the fuel unit, attach
a clear plastic hose over the vent fi tting. Loosen
the fi tting and catch the oil in an empty container.
Tighten the fi tting when all air has been purged
from the oil supply system.
1.
2.
3.
4.
5.


