


AXIS Q6045-E Mk II PTZ Dome Network Camera
Access the Product
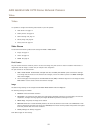
Select a PTZ preset position to steer the camera view to the saved position. See Preset Positions
on page 25.
Click the Start Auto Track button to start autotracking directly from the Live View page. See
Autotracking on page 26.
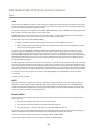
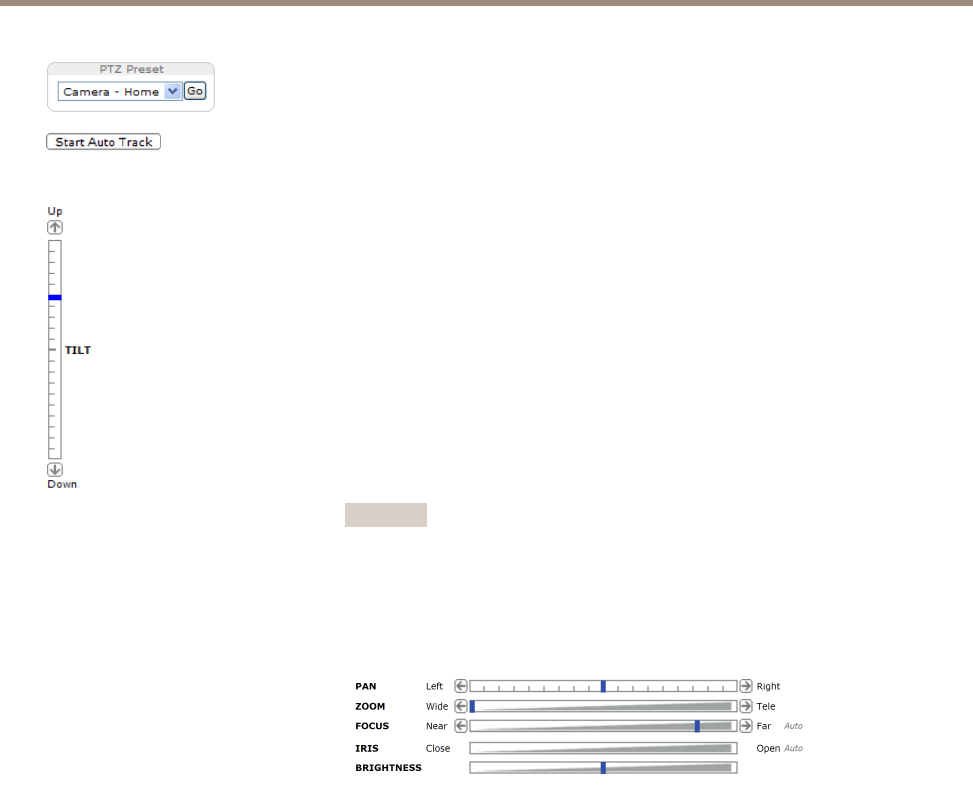
Pan and Tilt bars – Use the arrows to pan and tilt the camera view, or click on a
position on the bar to steer the camera view to that position.
Zoom bar – Use the arrows to zoom in and out, or click on a position on the bar to
zoom to that position.
Focus bar – Use the arrows to focus the camera, or click on a position on the bar
to set the focus position. Using the focus bar will disable the product’s autofocus.
To re-enable, use the PTZ control panel which is opened by clicking the Ctrl panel
button (see above).
Iris bar – Click on a position on the iris bar to change the degree to which the iris is
opened. This will disable the product’s auto iris. To re-enable, use the PTZ control panel
which is opened by clicking the Ctrl panel button (see above). If auto iris is enabled,
Auto is visible next to the Iris bar bar, see below.
Important
Adjusting the iris position will affect the shutter speed and gain. The default
setting is recommended.
Brightness bar – Click on a position on the brightness bar to adjust the image
brightness. This setting will not be saved. To make a saved change, go to Setup >
Video > Camera Settings > Brightness and adjust the brightness.
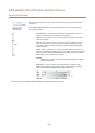
The PTZ controls can be disabled under PTZ > Advanced > Controls, see Controls on page 29.
12