


12
STEP E
NOTE: Cans of cement and primer should be closed at all times
when not in use to prevent evaporation of chemicals and
hardening of cement. They are also very flammable and should
be kept away from heat or flame.
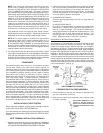
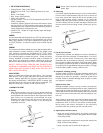
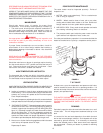
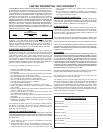
F. Joint assembly
Working quickly, insert the pipe into the fitting socket bottom
and give the pipe or fitting a 1/4" turn to evenly distribute the
cement. Do not continue to rotate the pipe after it has hit the
bottom of the fitting socket. A good joint will have sufficient
cement to make a bead all the way around the outside of the
fitting hub. The fitting will have a tendency to slide back while
the cement is still wet so hold the joint together for about 15
seconds.
STEP F
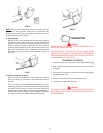
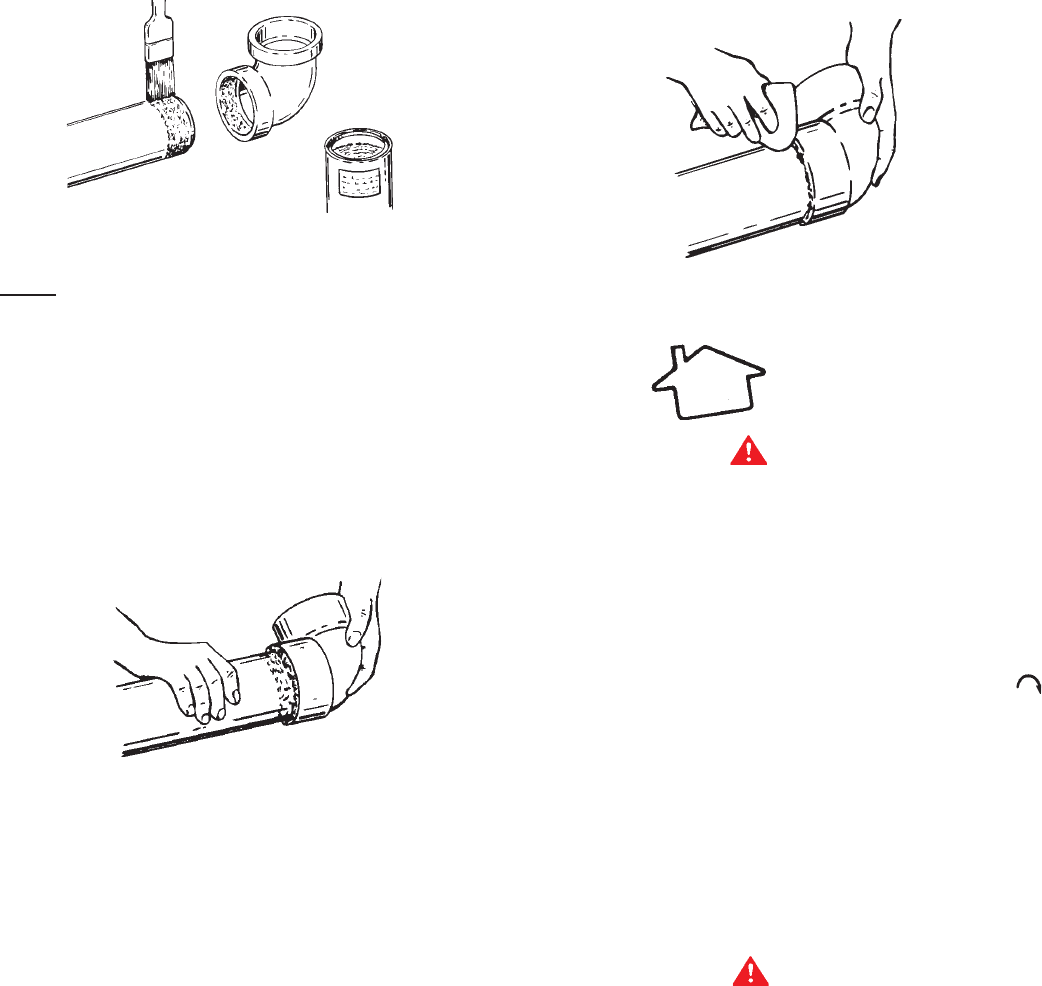
G. Cleanup and joint movement
Remove all excess cement from around the pipe and fitting
with a dry cotton rag. This must be done while the cement is
still soft.
The joint should not be disturbed immediately after the
cementing procedure, and sufficient time should be allowed
for proper curing of the joint. Exact drying time is difficult to
predict because it depends on variables such as temperature,
humidity and cement integrity. For more specific information,
you should contact your solvent cement manufacturer.
STEP G
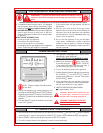
OPERATION
WARNING
DO NOT ATTEMPT TO OPERATE WATER HEATER WITH COLD
WATER INLET VALVE CLOSED.
NEVER OPERATE THE HEATER WITHOUT FIRST BEING
CERTAIN IT IS FILLED WITH WATER AND A TEMPERATURE
AND PRESSURE RELIEF VALVE IS INSTALLED IN THE RELIEF
VALVE OPENING OF THE HEATER.
TO OPERATE THE HEATER
1. Close the heater drain valve by turning handle clockwise .
2. Open a nearby hot water faucet to permit the air in the system
to escape.
3. Fully open the cold water inlet pipe valve allowing the heater
and piping to be filled.
4. Close the hot water faucet as water starts to flow.
5. The heater is ready to be operated.
CAUTION
THE "ON/OFF" SWITCH ON THE CONTROL BOX SHOULD NOT
BE TURNED TO THE "OFF" POSITION UNLESS THE UNIT IS
BEING SERVICED.