VIEWING IMAGES ON A COMPUTER
201
3.
Press the camera’s power button to turn it on,
and then press its [MENU] button.
4.
Select the “Set Up” tab, select “USB”, and
then press [̈].
5.
Use [̆] and [̄] to select “Mass Storage (USB
DIRECT-PRINT)”, and then press [SET].
6.
Turn off the camera.
7.
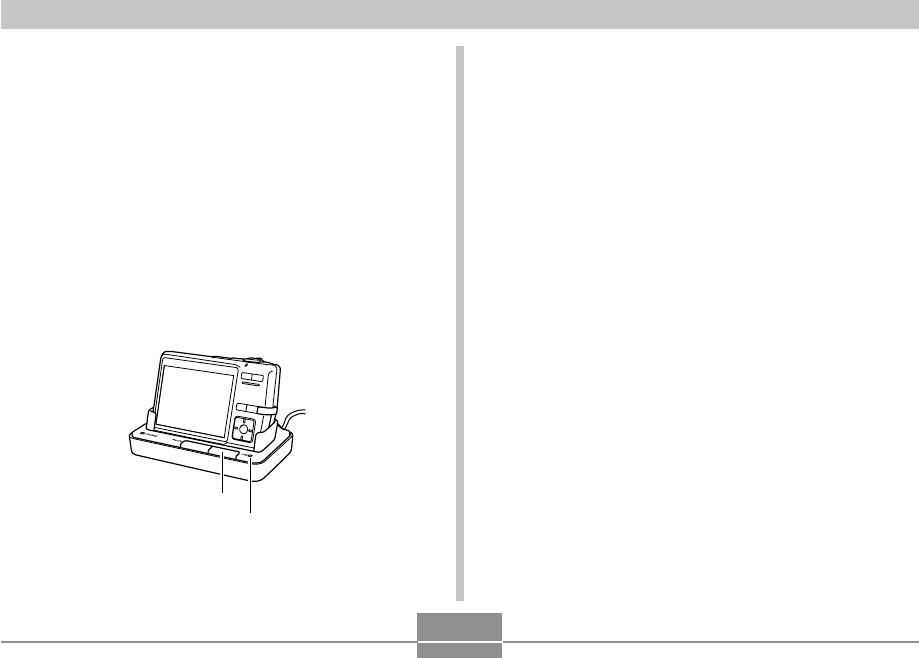
Place the camera onto the USB cradle.
• Do not place the camera onto the USB cradle while it
is turned on.
[USB] button
[USB] lamp
8.
Press the USB cradle’s [USB] button.
• Pressing the [USB] button enters the USB mode,
which causes the USB cradle’s [USB] lamp to light
green (page 232).
9.
Your Macintosh will see the camera’s file
memory as a drive.
• The appearance of the drive icon depends on the
Mac OS version you are using.
• Your Macintosh will see the camera’s file memory as
a drive whenever you establish a USB connection
between the camera and your Macintosh.
10
.
Double-click the drive icon for the camera’s
file memory, the “DCIM” folder, and then the
folder that contains the image you want.


