12 Operation
MAN0661 (8/10/2007)
Adjust Brush Height
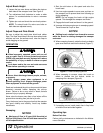
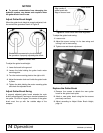
1. Loosen the jam nuts above and below the plate on
both sides of the sweeper hood. See Figure 5.
2. Turn adjustment bolt clockwise to make a wider
pattern, or counterclockwise to make a narrower
pattern.
3. Tighten jam nuts and check the new brush pattern.
NOTE: To extend brush life make sure bolts on
both sides are adjusted evenly.
Adjust Flaps and Plate Shield
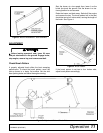
Be sure to adjust the metal plate shield and rubber
flaps. The flaps should be all the way down when brush
sections are new. As sections wear, raise the flaps to
avoid dragging on the ground.
OPERATION
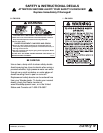
When improperly operated, power unit can roll
over or upset. Use of rollover protective structure
(ROPS) with seat belt securely fastened will reduce
the possibility of injury or death if rollover or upset
occurs.
Look down and to the rear and make sure area
is clear before operating in reverse.
Never direct discharge toward people, animals,
or property.
Only engage power when equipment is at
ground operating level. Always disengage power
when equipment is raised off the ground.
Read and understand the pick-up broom and skid steer
operator's manuals before operating the pick-up
broom. Failure to do so may result in death, serious
personal injury or property damage.
Never raise the broom more than a few inches off the
ground when traveling from job site to job site.
Carry the broom low to the ground so that the operator
has good visibility and stability. Avoid any sudden
movements.
Sweeping
NOTICE
■ Maximum oil flow is 25 gpm (94.8 liters/min) at
3000 psi (206.8 bars). See the skid steer manual for
oil flow specifications.
1. Start the skid steer at idle speed and raise the
brush head.
2. Use low engine speeds to save wear and tear on
the sweeper and to prevent dust from billowing up
during sweeping.
NOTE: Do not engage the brush at high engine
speeds. This damages the sweeper and motor.
3. Engage the brush head and lower it to the ground.
4. Increase skid steer engine rpm to sweeping speed.
Travel forward at 5 mph or less.
NOTICE
■ Shifting brush rotation from forward to reverse
while the brush is rotating damages the sweeper
and motor.
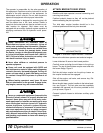
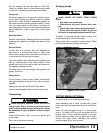
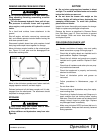
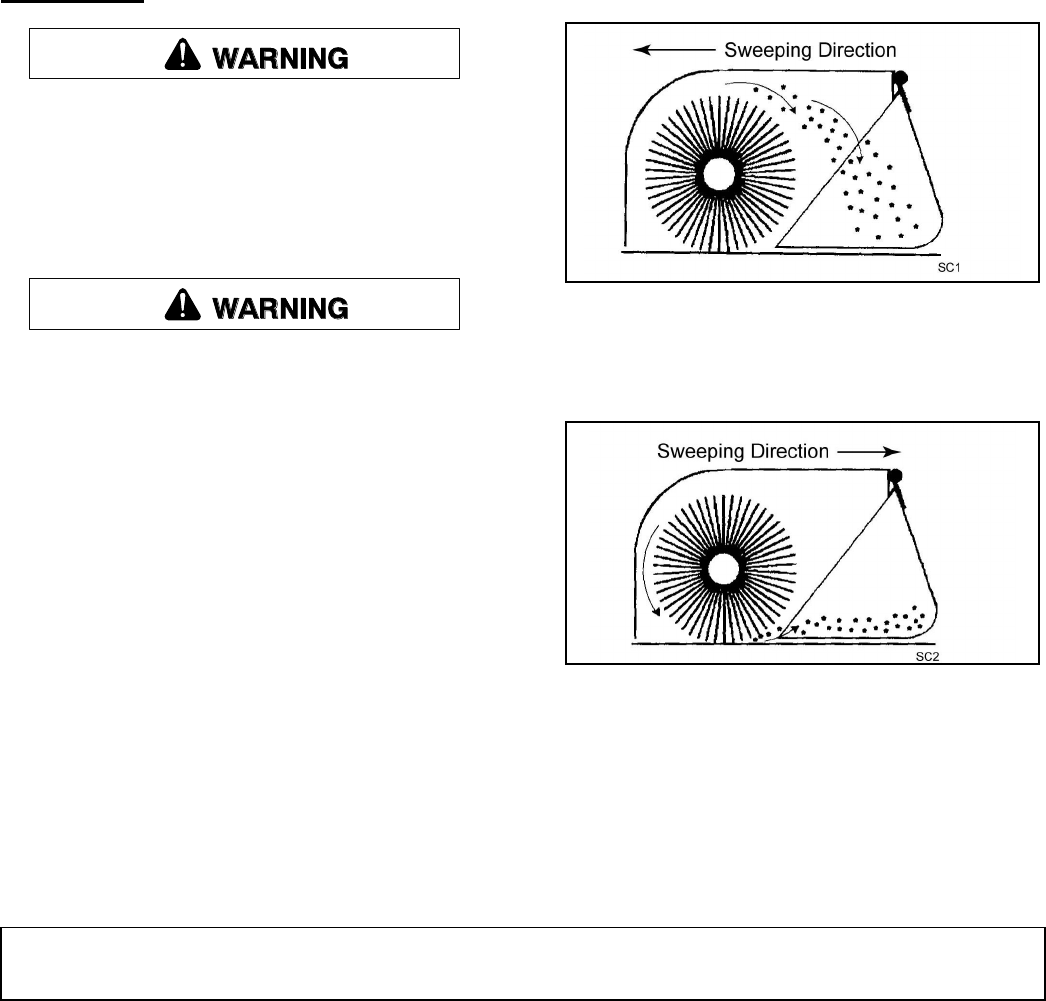
5. When sweeping forward, rotate the brush so debris
goes over the brush and into the bucket (Figure 7).
Figure 6. Forward Sweeping Motion
6. When sweeping in reverse, rotate the brush so
debris is pushed into the bucket, similar to
sweeping into a dustpan (Figure 8).
Figure 7. Reverse Sweeping Motion
7. If streaking occurs, install plastic ties in flap holes
to hold the front and sides together.
Operating tips
Before Each Use
Perform daily maintenance as indicated in the Mainte-
nance Schedule.


