Weil-McLain 78 Boiler For Gas, Light Oil, Gas/Light Oil Fired Burners
Assemble Block
3e
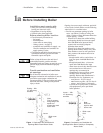
Prepare flue collector hood
assembly:
Make sure gaskets are intact, not torn or
otherwise damaged. These conditions can
cause possible flue gas leakage and carbon
monoxide emissions, resulting in severe
personal injury or death.
1. Stand one collector hood module on end.
2. Wipe all flanged surfaces with clean rag.
3. Lay gasket on flange. Refer to Figure 8.
4. Place end cap on gasket, aligning flanged
surfaces. Secure with six 5/16" x 5/8" flanged
bolts and flanged nuts. Tighten to 30 - 35 in.-
lbs.
5. For 878 - 1278:
a. Stand remaining hood module on end.
b. Wipe all flanged surfaces with clean rag.
c. Lay gasket on flange.
d. Carefully place open end of first module on
top of gasket, aligning flanged surfaces.
e. Secure with six 5/16" x 5/8" flanged bolts
and flanged nuts.
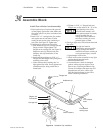
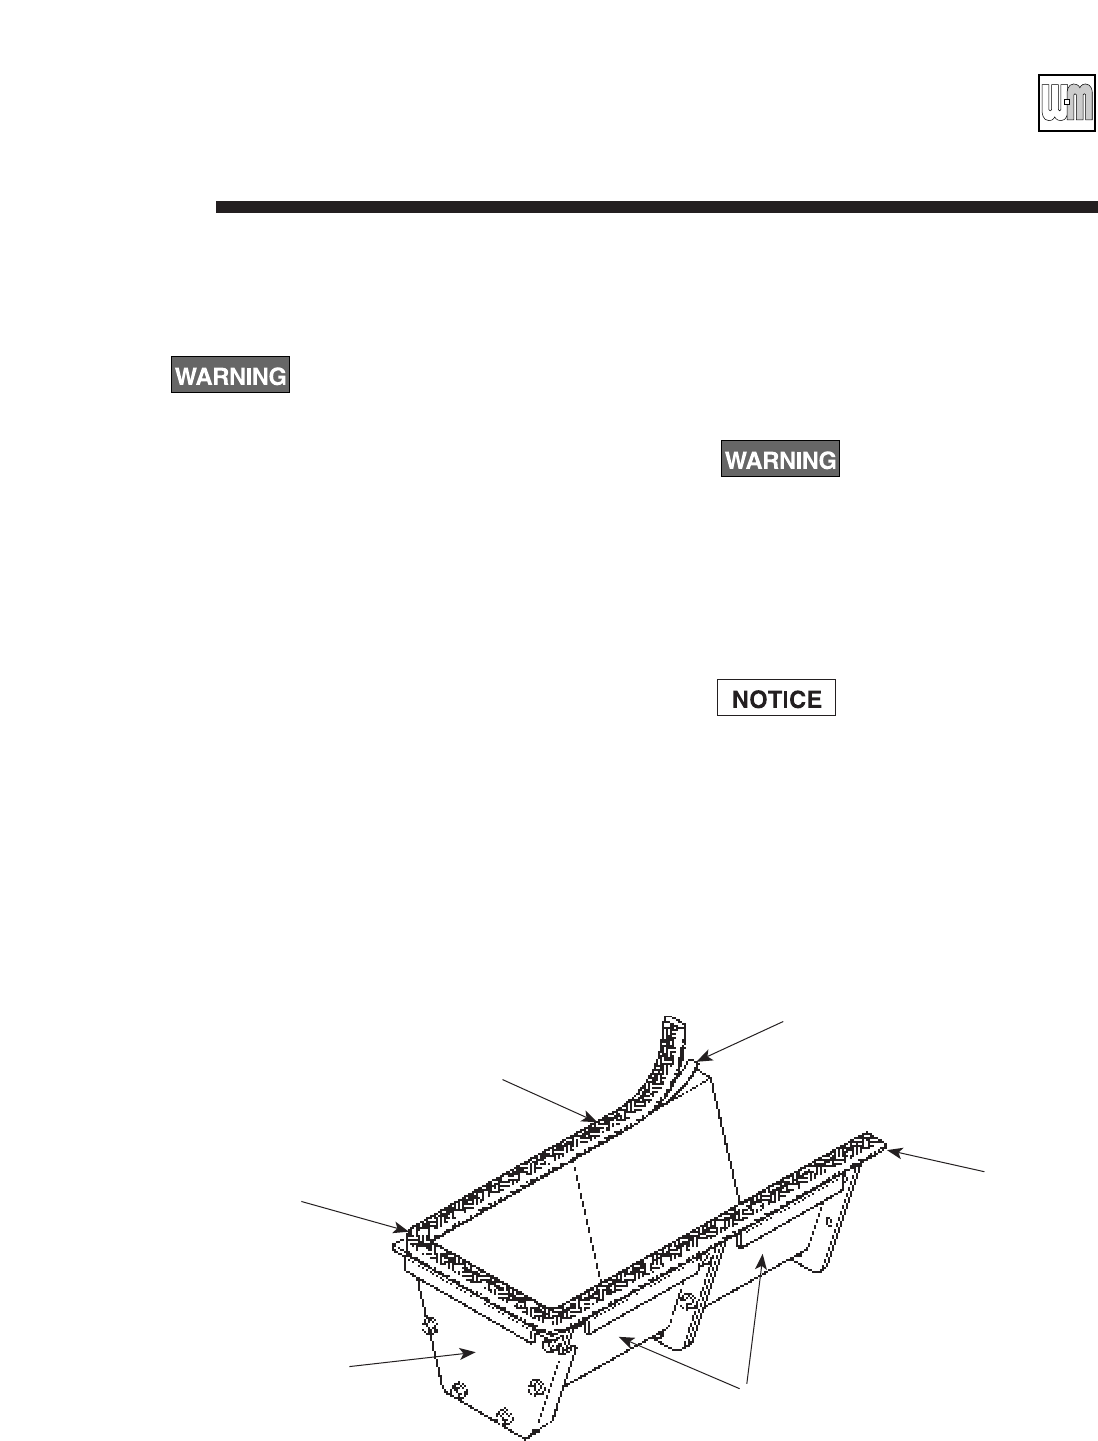
6. Attach flat-stitched sealing rope to hood
assembly. See Figure 9:
a. Lay hood on floor with flanged side up.
b. Wipe flanged surface with clean rag to
remove dirt and oil.
c. Apply double-faced tape to flanged surface.
d. Apply rope to tape beginning on one side of
open end of hood, leaving 1/4" extending
past edge. Around corners, bend rope, do not
cut. Do not stretch rope.
Do not pre-cut rope. Gas-tight
seal must be maintained to
prevent possible flue gas leakage
and carbon monoxide emissions,
resulting in severe personal
injury or death.
e. Continue around entire flange. At other open
end, leave 1/4" rope extending past edge of
flange. Cut off excess rope.
Double-faced tape serves only to
hold sealing rope in place during
installation. It will disintegrate
over time. If collector hood and
sealing rope is removed for any
reason, new tape and new gasket
must be applied.
Part No. 550-141-705
10
Flat-stitched
sealing rope
Bend rope do not
cut or stretch
Flue collector
hood modules
Extend rope 1/4"
past open ends
Double-faced
tape applied to
flange
Flue collector
hood end cap
Figure 9 Sealing Rope Application on Collector Hood Assembly


