Please Do Not Return This Product To The Store. Call Us Directly! Our Trained Technicians Will Answer Your Questions and/or Ship Any Parts You May Need
You can reach us Toll Free at 1-888-827-3667 for Consumer Assistance or online at www.wayne-dalton.com
6
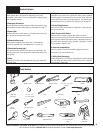
Tools Needed:
Power Drill
Phillips Head
Screwdriver
Flat Tip
Screwdriver
3/32” Drill Bit
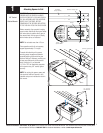
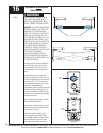
OBS
COM
P.B.
FORCE ADJ.
PROGRAM
SW
STATUS
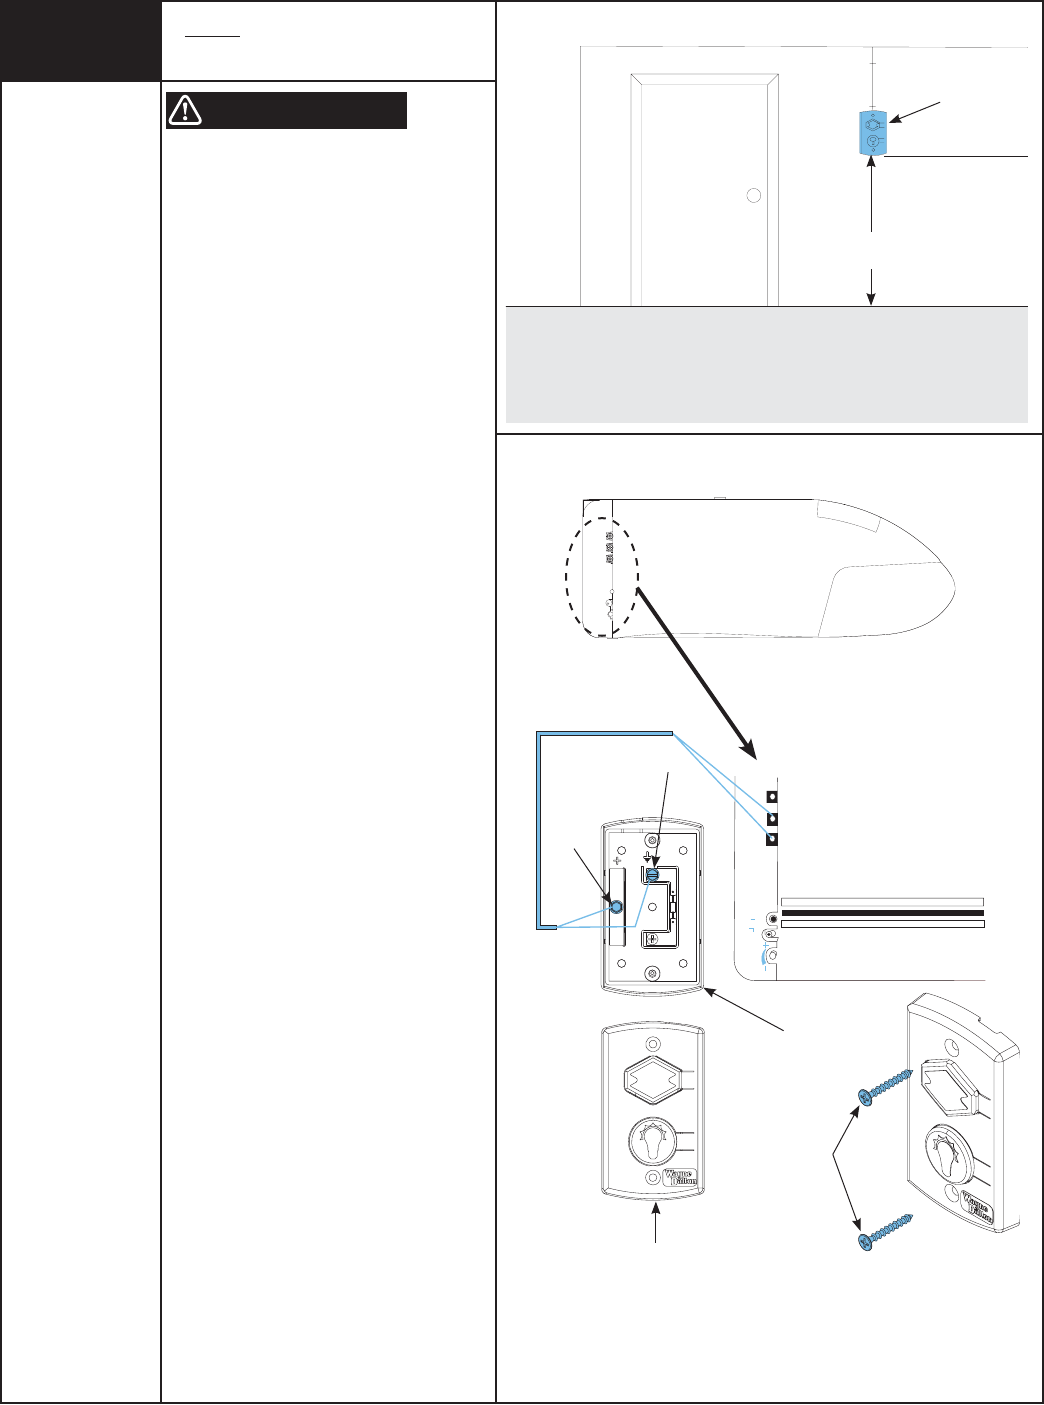
Wall Station Back
Wall Station Front
PB
COM
8
TO PREVENT POSSIBLE INJURY, INSTALL
WALL STATION OUT OF THE REACH OF
CHILDREN AND IN A LOCATION WHERE
THE DOOR CAN BE SEEN WHEN THE
OPENER IS ACTIVATED. DO NOT MOUNT
WALL STATION NEAR OR NEXT TO
GARAGE DOOR.
IMPORTANT: THE STANDARD PUSH
BUTTON OR THE DELUXE WALL
STATION MUST BE THE ONLY TYPE USED
FOR PROPER DOOR OPERATION. THE USE
OF ANOTHER PUSH BUTTON OR WALL
CONTROL STATION NOT SUPPLIED BY
WAYNE-DALTON COULD CAUSE OPENER TO
MALFUNCTION.
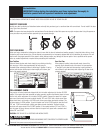
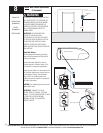
Wired Wall Station:
Wire the garage door opener wall station
using bell wire connected to COM and P.B.
screws, as illustrated.
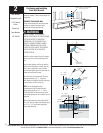
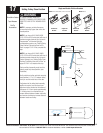
Locate push button adjacent to service
entrance door at a minimum height of 5 ft.,
and at least 6 ft. away from garage door.
Fasten the wall station in a safe location with
the (2) phillips head screws, making sure not
to over tighten. Pilot drill mounting holes
using a 3/32” bit. Additional wired wall
stations may also be installed in accordance
with these instructions.
CAUTION: Over tightening the screws could
deform plastic case.
IMPORTANT: CONNECT THE LOW
VOLTAGE WIRE TO THE WALL STATIONS
USING A “J” HOOK CONFIGURATION. IF WIRE
IS COMPLETELY LOOPED AROUND
TERMINAL SCREW, IT CAN PREVENT
PROPER CONTACT.
Wired Wall Station Installation
(If Included)
Wall Station
5 Foot
Minimum
WARNING
Phillips Head Screws
Right Side Of Opener


