


USSC 3
Before Assembly, inspect the heater thoroghly for
missing parts or shipping damage. If any damage or
missing parts are detected, report it to your heater dealer.
DO NOT INSTALL OR USE A DAMAGED OR
INCOMPLETE HEATER
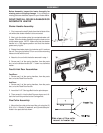
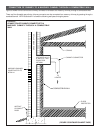
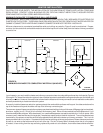
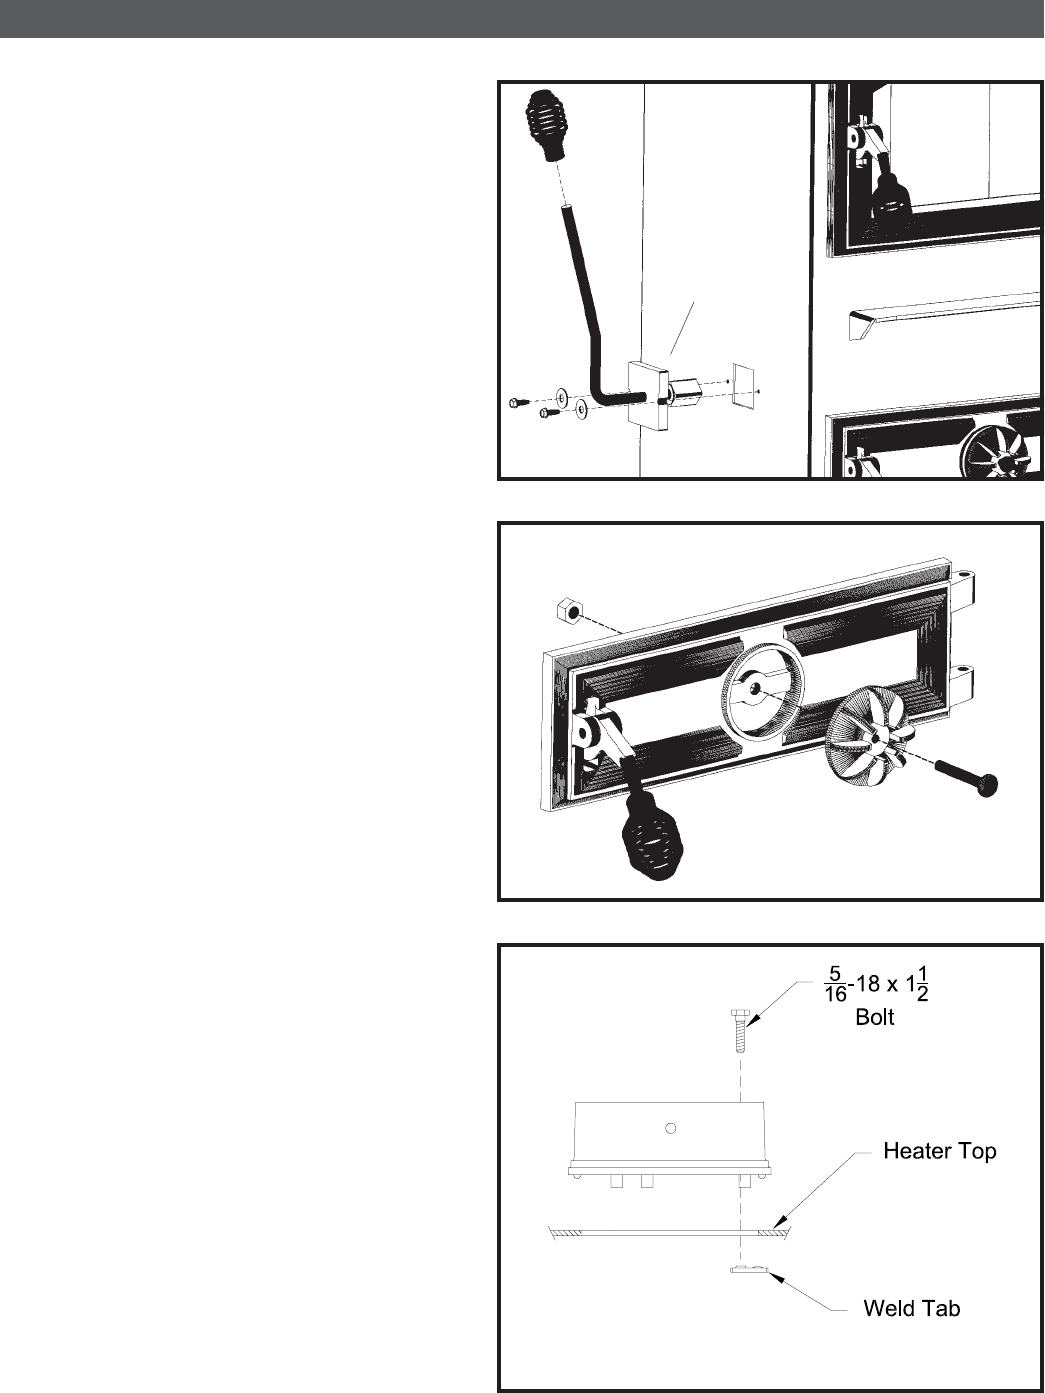
Shaker Handle Assembly:
1. First, remove the two(2) bolts from the left side of the
unit where the shaker handle is to be mounted.
2. Next, spin the shaker plate (a) counteclockwise until
it stops. Slide the shaker handle through the hole and on
to the shaker grate. NOTE: Make sure that the shaker
handle is in a 90 degree position and that the shaker
grates are lying flat.
3. Rotate the shaker plate (a) clockwise until it touches
the unit.Then give it another 1/2 turn or until the mounting
holes coincide with the unit.
4. Attach to the unit with the bolts removed in step 1.
5. Screw one(1) of the spring handles, from the parts
box, on to the shaker handle 3/4” -1” down in a clockwise
motion.
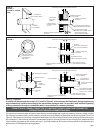
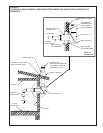
Feed & Ash Door Assemblies:
Feed Door-
1. Screw one(1) of the spring handles, from the parts
box, on to the Feed Door handle.
Ash Door-
1. Screw one(1) of the spring handles, from the parts
box, on to the Feed Door handle.
2. Insert the 2-1/2” Carriage Bolt into the spin damper.
3. Then screw it in into the Ash Door as shown and At-
tach the Lock Nut provided to the Carriage Bolt.
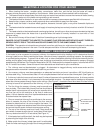
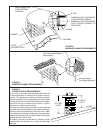
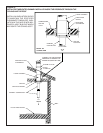
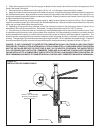
Flue Collar Assembly:
1. Mount the flue collar to the top of the unit using the (3)
5/16-18 x 1-1/2 bolts, (3) washers, and (3) weld tabs pro-
vided in the parts box as shown
ASSEMBLY
(A)
Side view of flue collar
mount to heater top