Nut
Bolt
Vertical
Window
Opening
Horizontal Window
Opening
Nut
Bolt
Vertical
Window
Opening
Horizontal Window
Opening
INCORRECT CORRECT
5-3
6-1
7
Installation (suite)
5-3
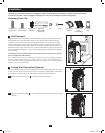
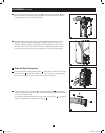
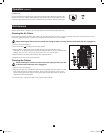
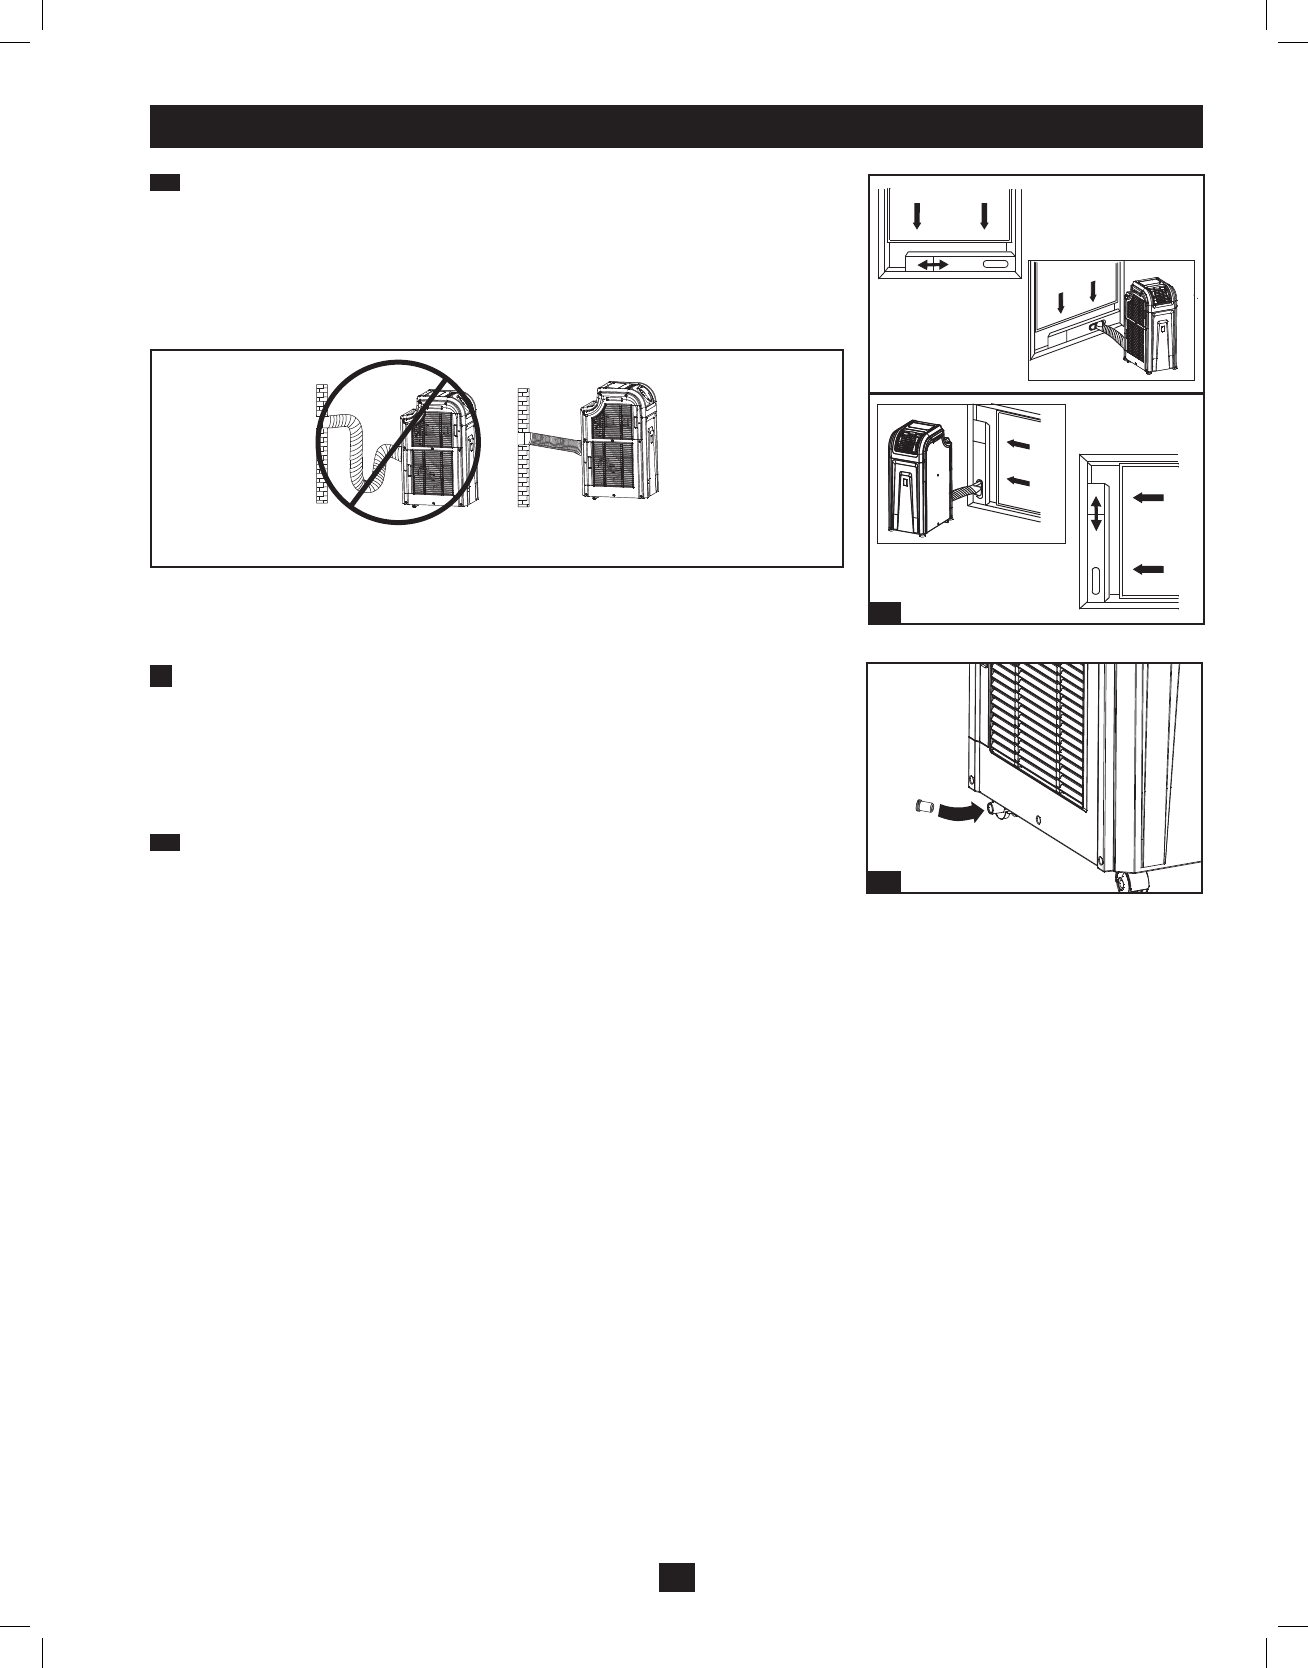
Insert the exhaust panel into the window opening, then close the window against the
exhaust panel. A tight seal will permit maximum cooling efficiency. Note: There must be
at least 10 inches (25.4 cm) of open space behind the exhaust panel to allow adequate
airflow.
Note: The flexible exhaust duct can extend to a maximum length of 118 inches (300 cm). Provide
the straightest, shortest path available. Excessive bending or stretching of the duct will reduce
cooling efficiency.
6
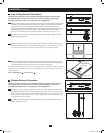
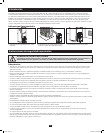
Drainage Plug Insertion
Warning: The unit’s built-in re-evaporator will not function until you insert the drainage
plug into the drainage outlet.
When the unit cools or dehumidifies, condensation forms. The unit has a built-in re-evaporator
that allows it to expel condensation through the warm air exhaust stream. This feature allows the
unit to operate indefinitely without requiring you to empty a water collection tank.
6-1
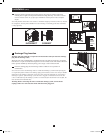
Insert the drainage plug into the drainage outlet to enable the re-evaporation of
condensation.
Note: You can connect the drainage outlet to a dedicated drainage system instead of using the
re-evaporation feature. Remove the drainage plug if it is installed, connect one end of a suitable
drain tube to the drainage outlet and connect the other end of the drain tube to your facility’s
drainage receptacle. If the drainage system becomes clogged, a small internal reservoir will
collect condensation. If the drainage system is not cleared before the internal reservoir fills, the
unit will shut down automatically.
Warning: Before connecting the unit to a dedicated drainage system, turn it off and
unplug it. There is a risk of electric shock while the unit is plugged in.
Book 1.indb 7 7/29/2011 9:35:03 AM


