


– 21 –
RAV-SM1101AT-E, RAV-SM1401AT-E
Refrigerant Piping Connection
CAUTION
TAKE NOTICE THESE IMPORTANT
4 POINTS BELOW FOR PIPING WORK
1. Keep dust and moisture away from inside the
connecting pipes.
2. Tightly connect the connection between pipes
and the unit.
3. Evacuate the air in the connecting pipes using
VACUUM PUMP.
4. Check gas leak at connected points.
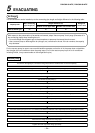
<Piping connection>
A
B
C
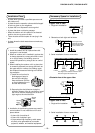
Parts name
Refrigerant piping
Liquid side : Ø9.5 mm
Gas side : Ø15.9 mm
Pipe insulating material
(polyethylene foam, 6 mm thick)
Putty, PVC tapes
Q’ty
Each one
1
Each one
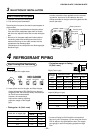
For Reference
If a heating operation would be continuously performed
for a long time under the condition that the outdoor
temperature is 0°C or lower, draining of defrosted
water may be difficult due to freezing of the bottom
plate, resulting in a trouble of the cabinet or fan.
It is recommended to procure an anti-freeze heater
locally for a safety installation of the air conditioner.
For details, contact the dealer.
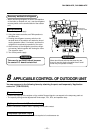
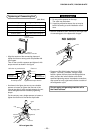
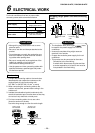
Optional Installation Parts (Local Procure) Knockout of Pipe Cover
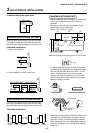
Knockout procedure
• The indoor/outdoor connecting pipes can be
connected to 4 directions.
Take off the knockout part of the pipe cover in
which pipes or wires pass through the base plate.
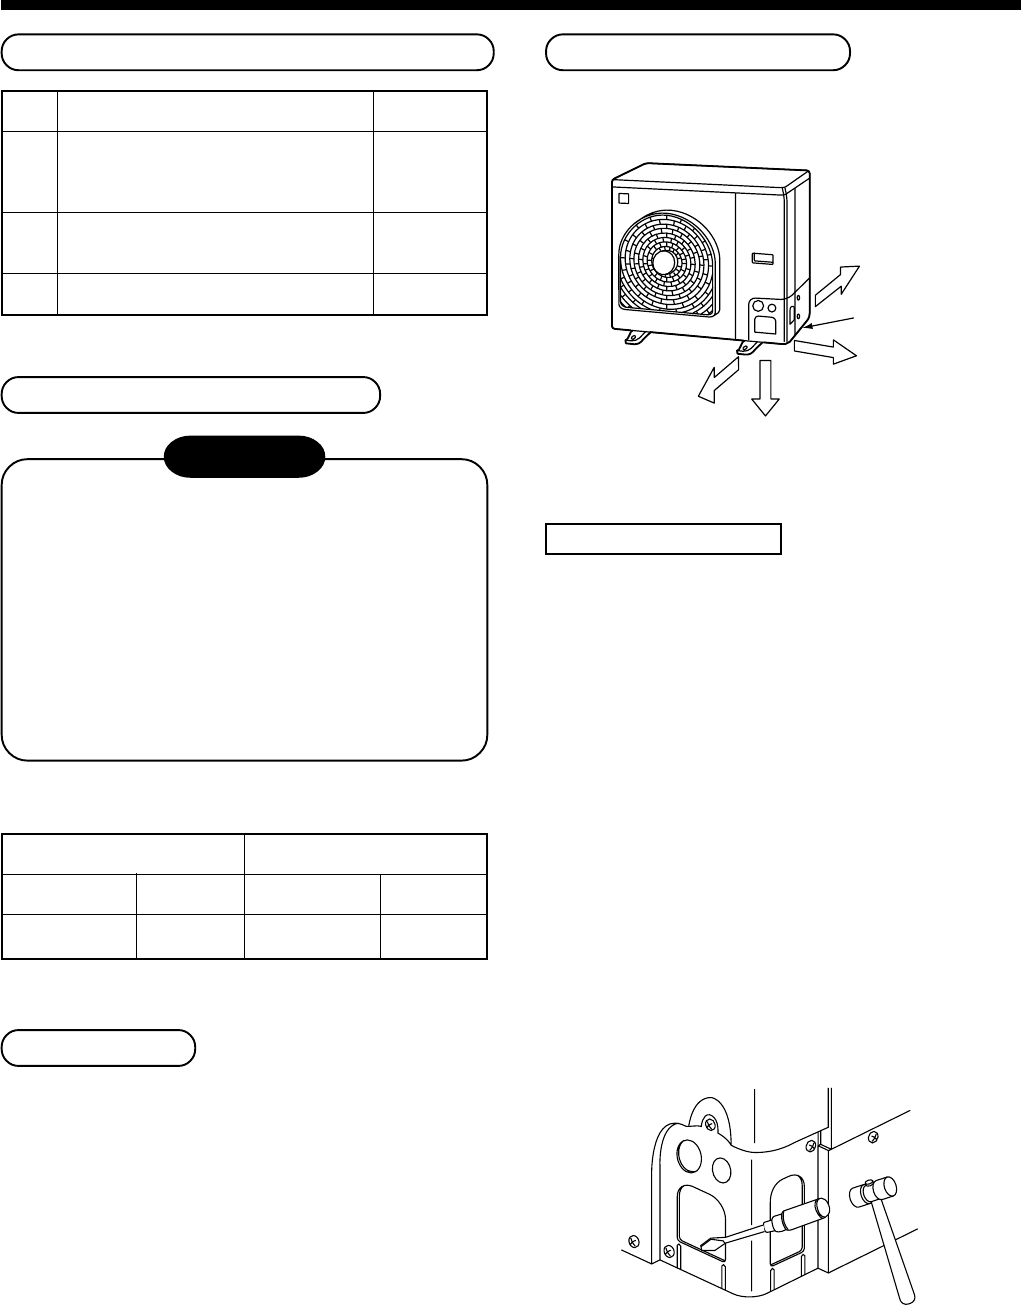
• As shown in the figure, do not remove the pipe
cover from the cabinet so that the knockout hole
can be easily punched. To knock out, it is easily
taken off by hands by punching a position at the
lower side of 3 connected parts with screwdriver
along the guide line.
• After marking the knockout hole, remove the burr
and mount the attached protective bush and guard
material for pass-through part in order to protect
pipes and wires.
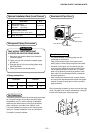
After connecting the pipes, be sure to mount the pipe
cover. The pipe cover is easily mounted by cutting off
the slit at the lower part of the pipe cover.
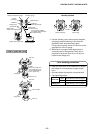
Liquid side
Outer diameter Thickness
Ø9.5 0.8
Gas side
Outer diameter Thickness
Ø15.9 1.0
Front direction
Rear direction
Pipe cover
Side direction
Down direction