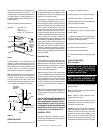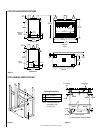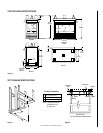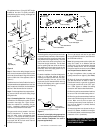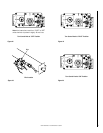
NOTE: DIAGRAMS & ILLUSTRATION NOT TO SCALE.
13
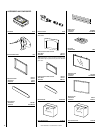
ACCESSORIES AND COMPONENTS
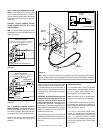
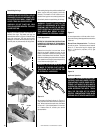
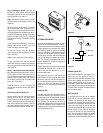
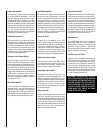
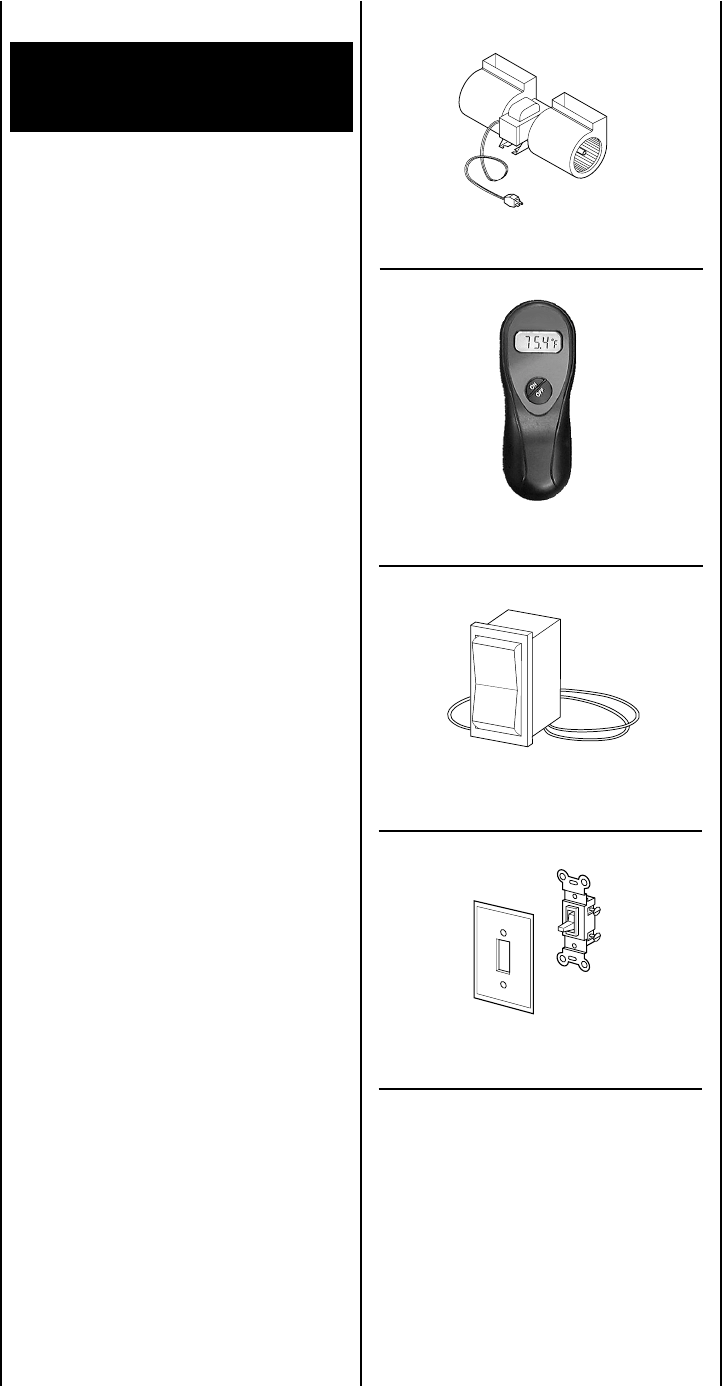
Forced Air Kit FAB-1100
RCL
Remote Control Kit RCL-STAT
Rocker Switch Kit FRS
Wall Switch Kit FWSK
REPLACEMENT PARTS
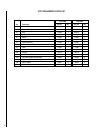
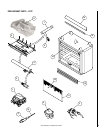
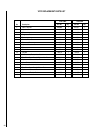
An exploded view of the room heater with
numbered parts and a parts list can be found on
page 19. All parts should be ordered through
your Lennox distributor or dealer. Parts will be
shipped at prevailing prices at time of order.
When ordering repair parts, always give the
following information:
1. The model number of the heater.
2. The serial number of the heater.
3. The part number.
4. The description of the part.
5. The quantity required.
6. The installation date of the heater.
If you encounter any problems or have any
questions concerning the installation of this
heater, please contact your distributor. For the
name of your nearest distributor contact:
LHP
1110 West Taft Avenue
Orange, CA 92865
OPERATION AND CARE OF YOUR
APPLIANCE
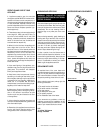
1. Appliance operation may be controlled
through the optional ON/OFF unit rocker switch,
located in the lower control compartment, or
through a remotely located optional wall switch
or wall thermostat. Separate switches may
provide independent control for the forced air
blower and remote fireplace operation (op-
tional equipment).
2. These heater rated units are equipped with
a two stage (HI, LOW) gas control valve. To
cycle the burner between the HI and LOW
settings, rotate the control knob, located in the
center of the valve front face, clockwise and
counterclockwise respectively.
3. When lit for the first time, the appliance will
emit a slight odor for an hour or two. This is
due to the “burn-in” of the internal paints and
lubricants used in the manufacturing process.
Additionally, when lit for the first time, this
appliance may produce smoke, this is normal
and should be expected. For the first few
hours, operate the appliance with doors and
windows open to encourage the dissipation of
smoke and fumes.
4. Upon each lighting of the appliance, con-
densation may occur and fog the inside of the
glass panel. This condition will disappear
shortly as the appliance heats.
5. Keep lower control compartment clean by
vacuuming or brushing at least twice a year.
More frequent cleanings may be required due
to excessive lint from carpeting, bedding ma-
terials, etc. It is important that the control
compartments, burners and circulating air pas-
sageways of the heater be kept clean.
6. Always turn off gas to pilot before cleaning.
Before relighting, refer to the lighting instruc-
tions in this manual. Instructions are also
found on a pull-out panel located on the floor
of the appliance.
7. Always keep the appliance area clear and
free from combustible materials, gasoline and
other flammable liquids.
8. Remember, this appliance has a continuous
burning pilot flame. Exercise caution when
using products with combustible vapors.
CLEANING AND SERVICING
WARNING: TURN OFF THE UNVENTED
GAS ROOM HEATER AND ALLOW TO COOL
BEFORE CLEANING.
Only limited cleaning will be required under the
normal use of the heater. Dust the front grate,
the top of the piezo cover and the control knob
occasionally. Do not use cleaning fluids to
clean the logs or any other part of the room
heater.
Remove the log assembly, gently handling by
holding each log at each end. Use a vacuum
cleaner to remove loose particles from the base
and from around the burners. Gloves are rec-
ommended to prevent the fibers from pricking
your skin. If the skin is pricked, wash gently
with soap and water. Replace the logs as de-
tailed in Step 8 Assembling the Logs.
If, after a period of use, the flames start to
exhibit unusual shapes and behavior, or the
burners fail to ignite smoothly, then the burner
holes may require some cleaning. If this hap-
pens, it is preferable to contact your nearest
dealer to get the appliance serviced.


