E
UTECTIC EC-10 DV
9
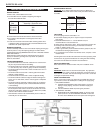
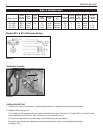
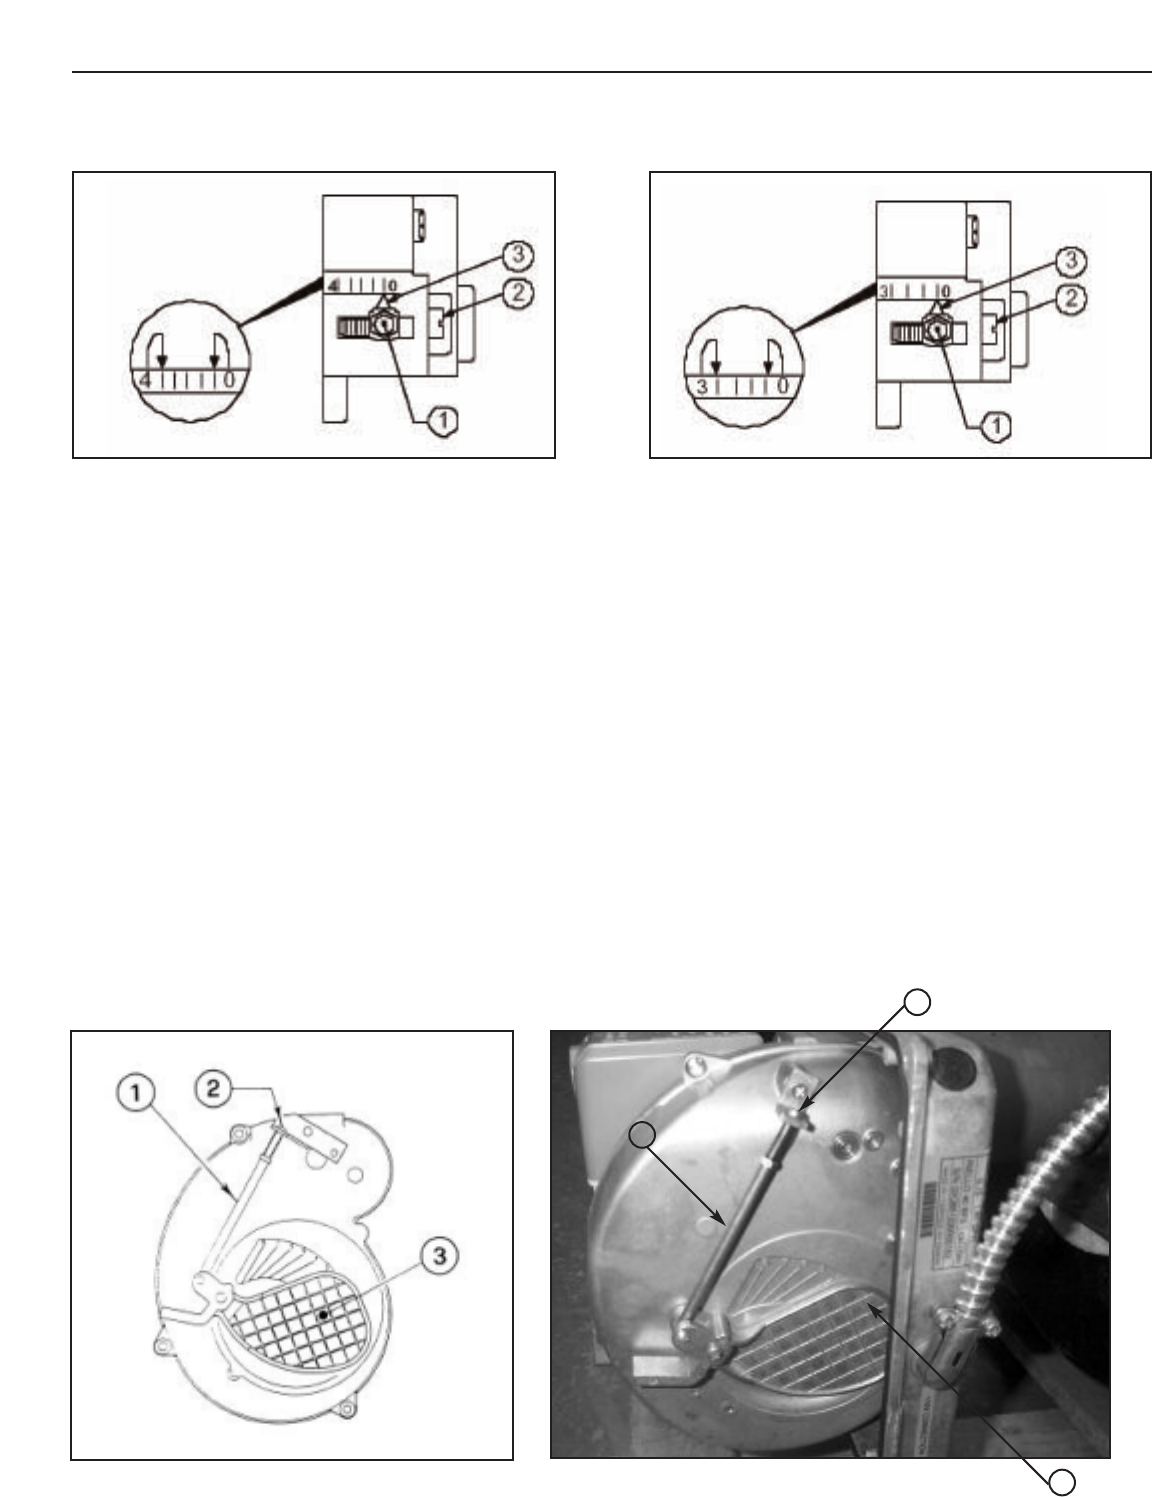
SETTING THE AIR DAMPER ADJUSTMENT (see figure 7 & picture 2)
1. The initial air damper setting is made by turning screw (2) until the top edge of the air damper (3) is aligned with the
number according to the burner setup chart.
2. Further adjustments can be made with the burner cover in place by removing plastic plug on the top right hand side
of the cover. Turn the screw counter clockwise (+ indicator) to increase combustion air, turn the screw clockwise ( -
indicator) to decrease combustion air.
3. The final position of the air damper will vary on each installation. Use instruments to establish the proper settings
for maximum CO2 and a smoke reading of trace to zero.
NOTE: Variations in flue gas, smoke, CO2 and temperature readings may be experienced when the burner cover
is put in place. Therefore, the burner cover MUST be in place when making the final combustion instrument
readings, to ensure proper test results.
Picture 2. Air Damper Location
Figure 7. Air Damper Setting
3
2
1
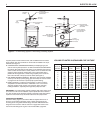
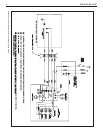
Figure 5. Model F-5
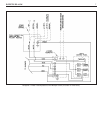
Figure 6. Model F-3


