


–
5
–
OVERVIEW
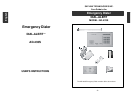
The AD-433S Dial-Alert dials as many as 9 pre-programmed telephone numbers
and sends a personalized pre-recorded message. Each telephone number
can be dialed up to 9 times and the person receiving the emergency message
can confirm receipt of that message by pressing the "#" key on their telephone.
A pre-recorded message, maximum 40 seconds in length will be played
notifying the person being called of the emergency.
The Dial-Alert works in conjunction with Skylink's Security Systems (SC-5,
SC-10, SC-100 series, SC-200 series) and all the Skylink Sensors / Transmitters.
When the alarm sounds on the control panel on any of our security systems,
the Dial-Alert will be activated .
The Dial-Alert is activated when:
1. The red panic button [O] on the keypad of the Dial-Alert is pressed
2. The button is pressed on the panic transmitter (PT-434*, sold separately)
3. The red panic button [O] on the keypad of our security system (SC-100) is
pressed *
4. The red button on the keychain transmitter (4B-434)* is pressed
5. The security system SC-100/SC-200 is activated by any programmed
sensors (i.e. door/window sensor, motion sensor, etc.)
* The security systems, keychain transmitters and sensors must first be
programmed to communicate with the Dial-Alert.
This user's instructions is divided into 4 sections in order to assist in the
installation and programming of your Dial-Alert.
1. Installation
2. Lights and Sounds
3. Standard Programming
- Program the time clock
- Record a message
- Playback of pre-recorded message
- Storing telephone numbers in memory for
- emergency voice message only
- both emergency voice message and numeric pager information
- numeric pager information only
- Delete a telephone number from memory
- Modify a telephone number, the redial count and repeat times of a phone number
4. Advanced Programming
- Programming the calling time
- Programming the pause period for pager access and telephone numbers
- Select the phone system (regular or PABX phone systems)
- Program transmitters / accessories to activate dialer
- Erase programmed transmitters / accessories
- To arm / disarm the dialer
- Dialing delay
- Universal Dial Tone
Automatically call for help when emergency
INSTALLATION
The Dial-Alert is installed using the screws provided. We have also included
double sided tape, to use for temporary installation while you are positioning
the dialer. Once the dialer is positioned correctly, install it permanently with
screws. We have also included wall anchors and a template to help position
the screws correctly.
How to use the template:
1. Cut the template in correct position
2. Screw part way into the surface where the holes are marked
4. Unscrew the screws and remove the template
5. Screw the component in place where you started the screws
INSTALLING THE DIAL-ALERT (AD-433S)
Position the dialer beside a telephone or near any phone line and within
access of an electrical outlet. However, it is recommended that you hide the
dialer for security purposes. The dialer runs on regular electrical current. It
also contains a 9 volt backup battery in case power is interrupted for any
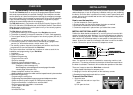
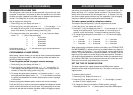
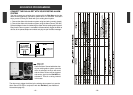
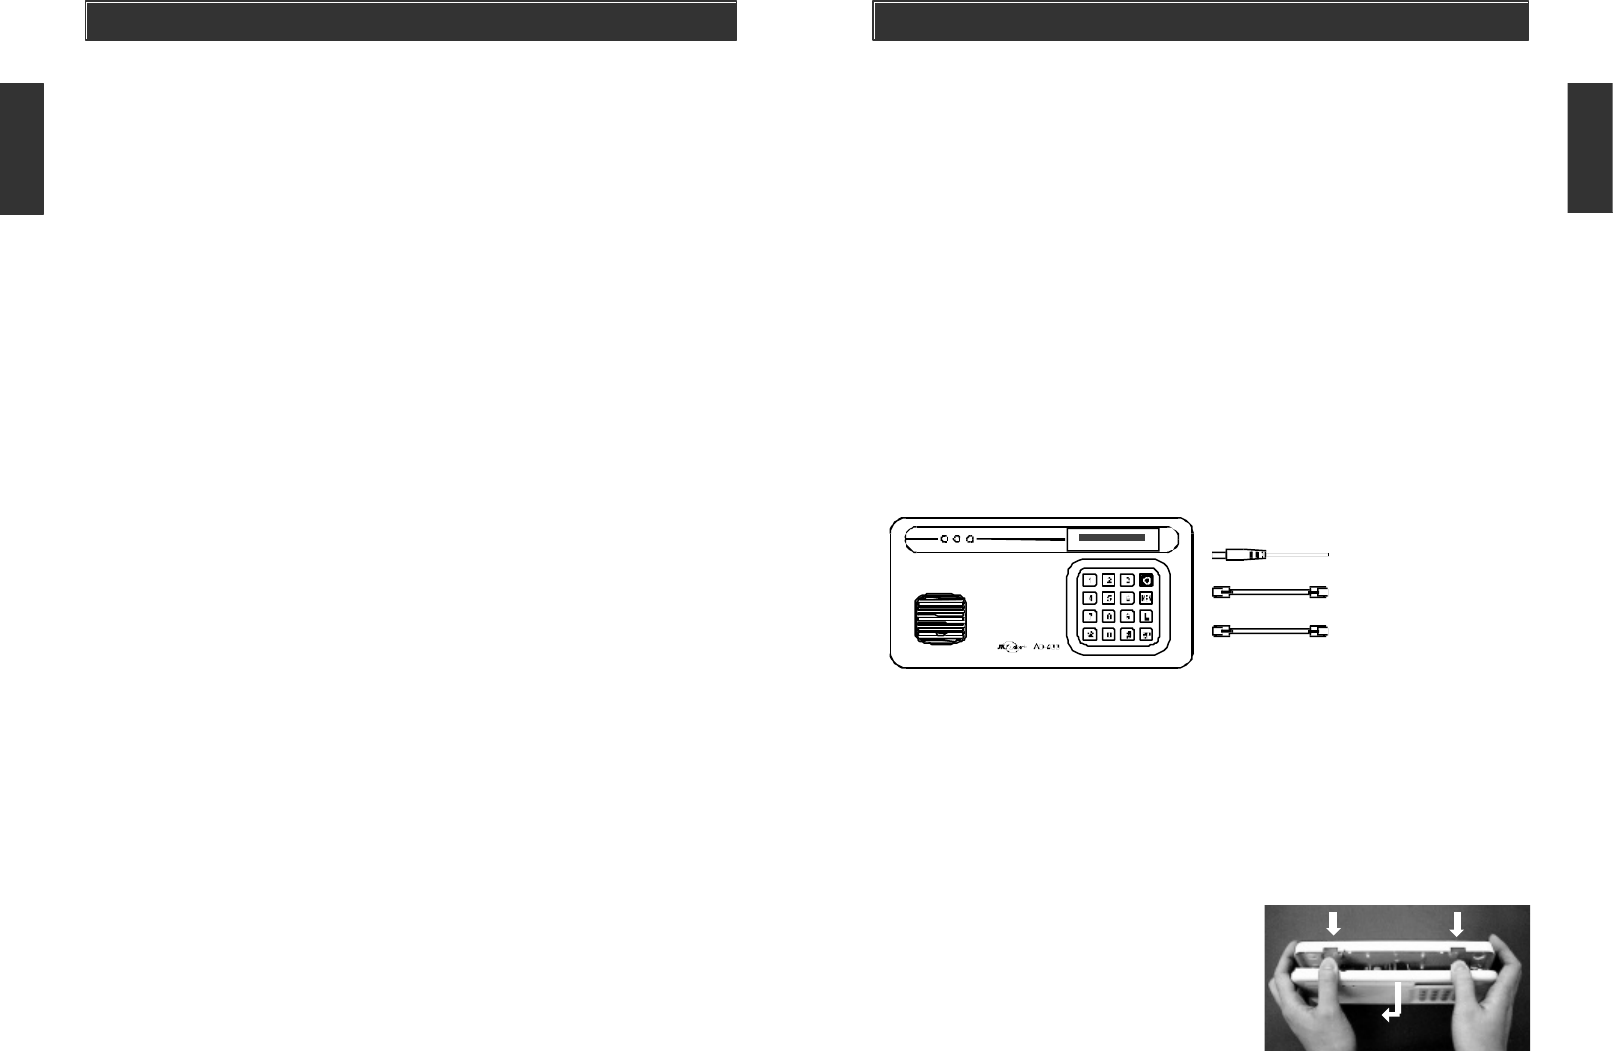
reason. A phone line must be connected to the dialer in order for the dialer
to work. Connect the phone lines and AC adapter as shown.
Note: The optional line input is intended for answering machine, tele-
phone etc. The device connected to the dialer will be disconnected when
the dialer is activated. Therefore it will not affect the operation of the dialer.
There are 3 ways to attach the Dial-Alert on the wall:
1. Using double sided tape for temporary use.
2. Hanging it from the two keyholes on two stationary screws.
3. Screwing the back onto the wall with four screws.
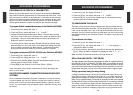
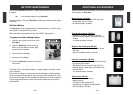
To mount the Dial-Alert:
1. Open the case.
a) Press the two tabs on top of the
dialer.
b) Pull open the front.
12V DC
AC ADAPTER
OPTIONAL LINE INPUT FOR
PHONE ANSWERING MACHINE / TELEPHONE
TEL LINE IN
LINE
–
6
–