


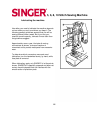
5, 6, 8, 10 Stitch Sewing Machine
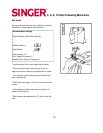
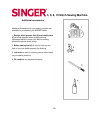
Attaching a button
Flat buttons can be sewn on quickly and easily using
the plain zig-zag stitch. A special button sewing foot
(H), may be purchased at your sewing center.
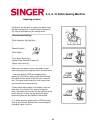
Recommended settings
Stitch Selection: Zig-Zag Stitch
Needle Position:
Stitch Width:
Foot: Button Sewing (H)
Needle Plate: General Purpose (A)
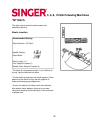
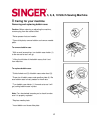
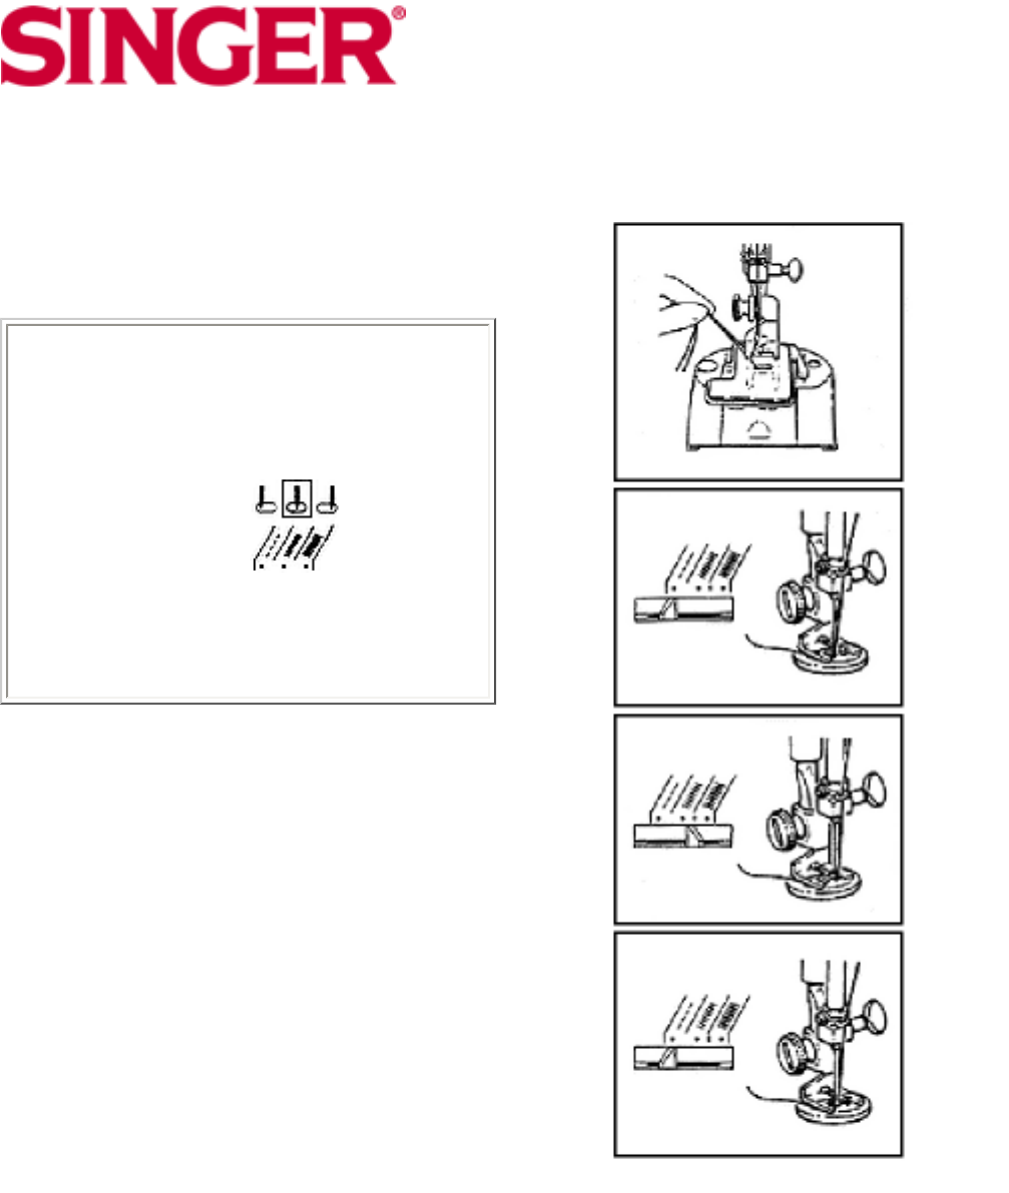
Attach Feed Cover (F)
Before you can attach a button, the bobbin thread
must be brought up through the hole in the feed cover.
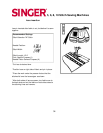
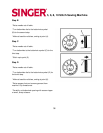
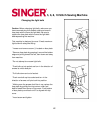
1. Set stitch width at (???) and needle position
selector at (??) Position button under foot and lower
the needle into the center of the left hole. Lower the
foot. Turn hand wheel toward you until needle rises
out of button and is above the foot.
2. Move stitch width selector until needle is over the
other hole in the button Then, when you begin to
stitch, the needle should enter into the right hole of the
button Take six or more zig-zag stitches to attach
button and finish with the needle on the left side.
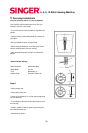
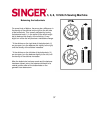
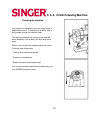
3. To fasten stitching. adjust width to (???) and take
three or four stitches. Remove work, draw threads to
underside, fasten, and trim.
46