PAGE 8
INSTALLATION INSTRUCTIONS CEILING BRACKET AN-CM270
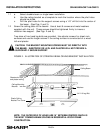
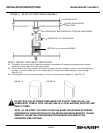
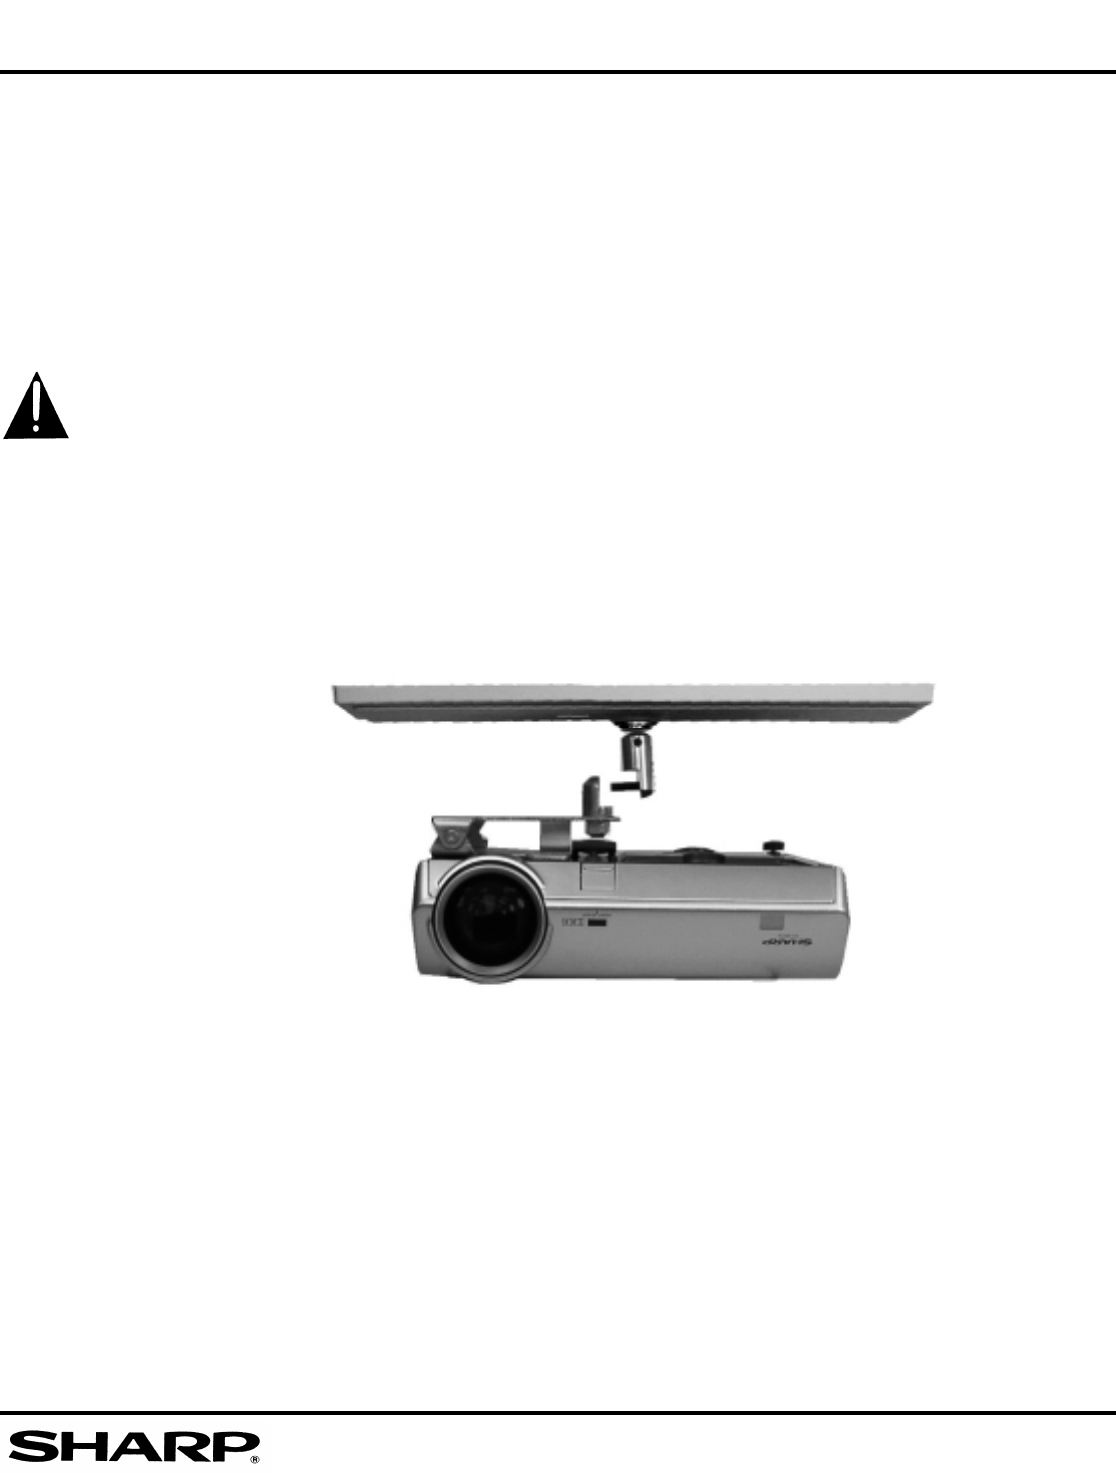
6.1 Raise the projector with the mounting plate attached and slide the fitting (See Fig. 10)
over the support stud on the hanging position.
6.2 Replace the locking nut (removed in step 3.1). Using the 9/16” box wrench run the nut
up but do not tighten all the way.
FIGURE 10
STEP 6 HANGING THE PROJECTOR FROM POSITIONING ASSEMBLY
5.3 Place the plastic trim cover in position over the ceiling plate and press the Velcro
tabs together.
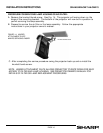
5.4 After completing step #5.3, screw the longer shaft with the locking nut and washer
into the center threaded bushing on the ceiling plate as far as it will go. (See Fig. 9)
5.5 Tighten the locking nut against the ceiling plate using a 3/4” open end wrench or an
adjustable crescent wrench.
5.6 Tighten the locking nut on the upper knuckle using a 9/16” box wrench.
DO NOT RUN THE AC POWER CORD INSIDE THE PLASTIC TRIM COVER.
ALL WIRING MUST COMPLY WITH THE NEC AND ALL LOCAL BUILDING,
ELECTRIC, AND SAFETY CODES.
STEP 7 AIM THE PROJECTOR
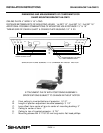
7.1 After the projector has been property wired, turn it on and loosen the positioning
assembly adjustment nuts just enough so that you can move the projector fairly easily.
(See Fig. 11) DO NOT COMPLETELY LOOSEN THE NUTS.
7.2 Set the Horizontal Centering by loosening the ceiling locking nut, move the projector to
center the image and tighten the nut. (Use 3/4” open end wrench).
7.3 Set the vertical centering and tighten the lower positioning adjustment nut.
(See Fig. 11)
7.4 Set the Horizontal tilt and tighten the upper positioning adjustment nut. (See Fig. 11)


