


ENGLISH
E-7
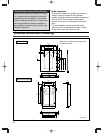
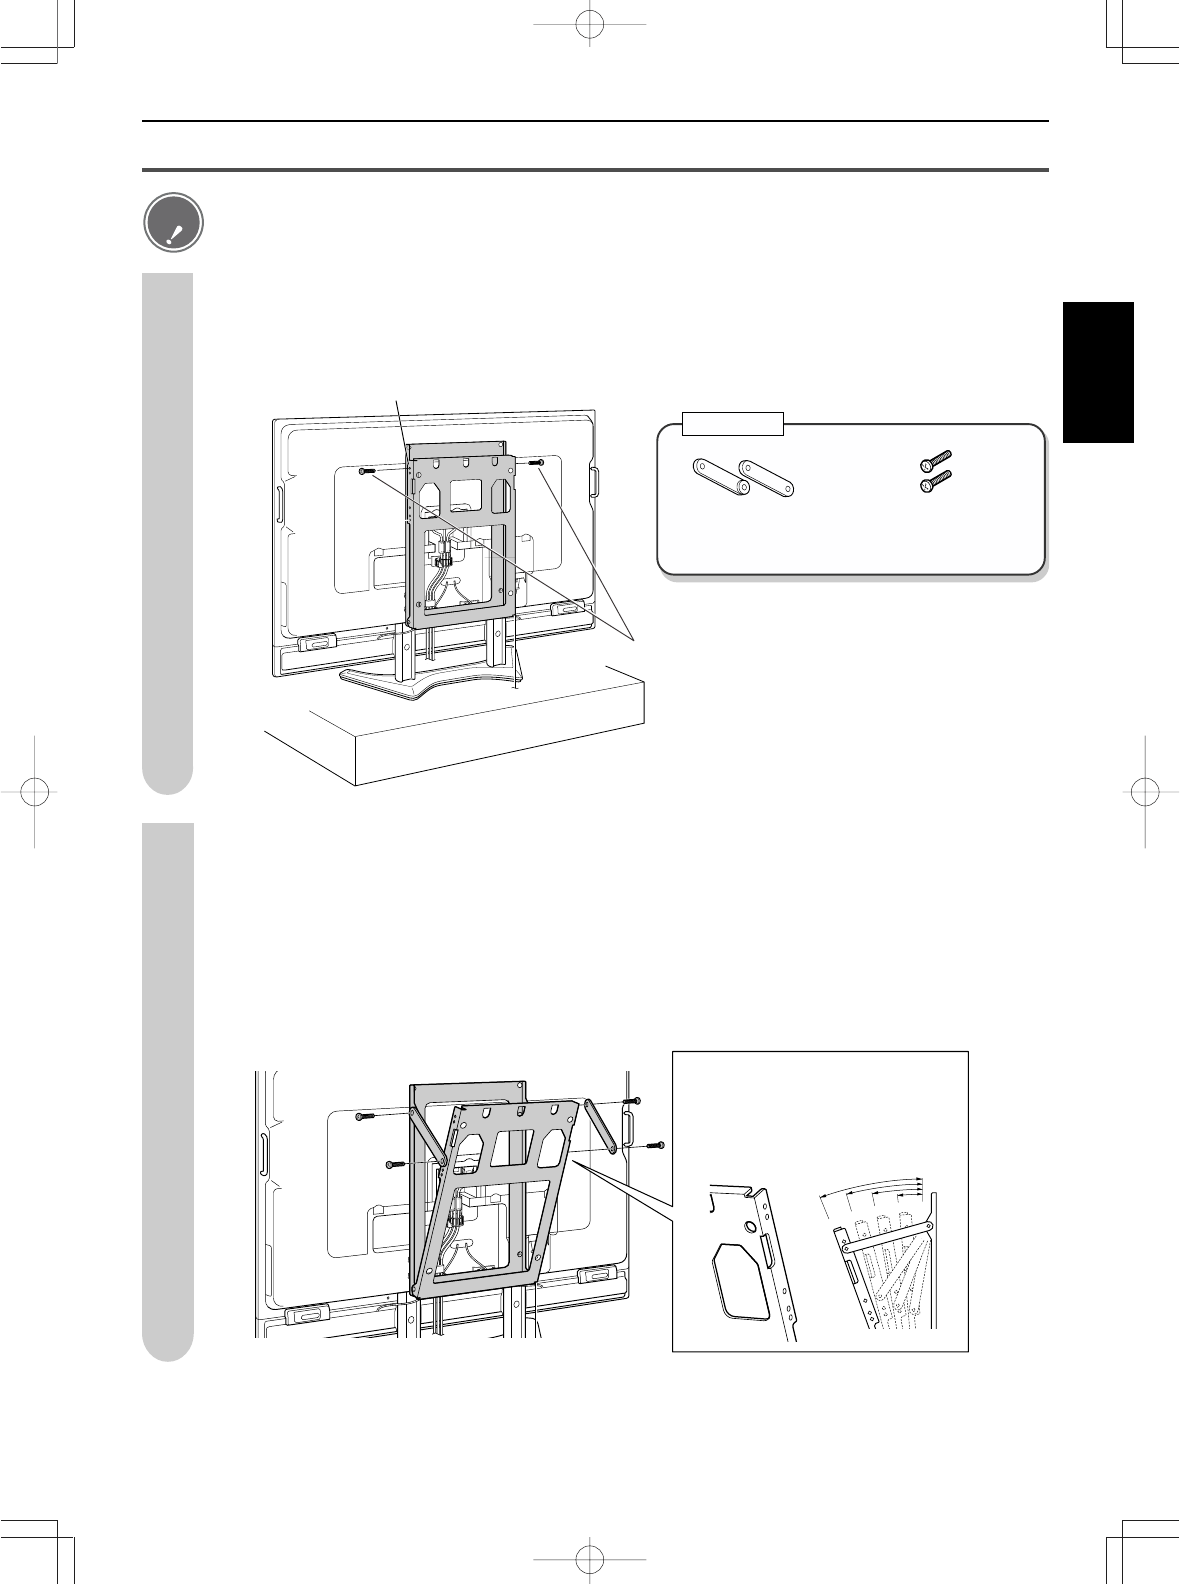
These screws are used for the angle
setup in Step 2.
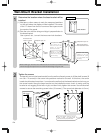
Hole at the very top
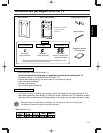
Set the angle of the wall-mount bracket
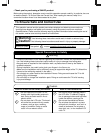
• Please perform this work before mounting the LCD color TV on the wall.
• When setting the angle of the wall-mount bracket, be careful not to pinch your fingers, etc.
Remove the perpendicular positioning screws from the wall-mount bracket (2 screws
each on the left and right sides).
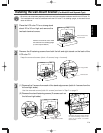
Assemble the included angle setup brackets as shown in the illustration and then use
them to set the TV to the desired angle.
For the screws, use the included angle setup bracket screws (M8 length: 15 mm × 2 screws)
and screws removed in Step 1.
First loosely tighten the 4 screws and then securely tighten them after the angle setup bracket
is set to the desired position.
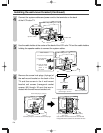
0
20
15
10
5
5
10
15
20
15
10
5
20
0
The numbers 5, 10, 15, and 20 at the
screw holes mean that the higher the
number, the more the LCD color TV
slants downward. The angle that can
be set is limited depending on the
TV model.
Caution
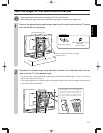
Included part
Angle setup bracket screws
M8 length:
15mm (2 screws)
Angle setup bracket
1
2