


E-4
Wall-Mount Bracket Installation
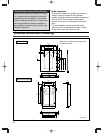
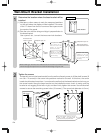
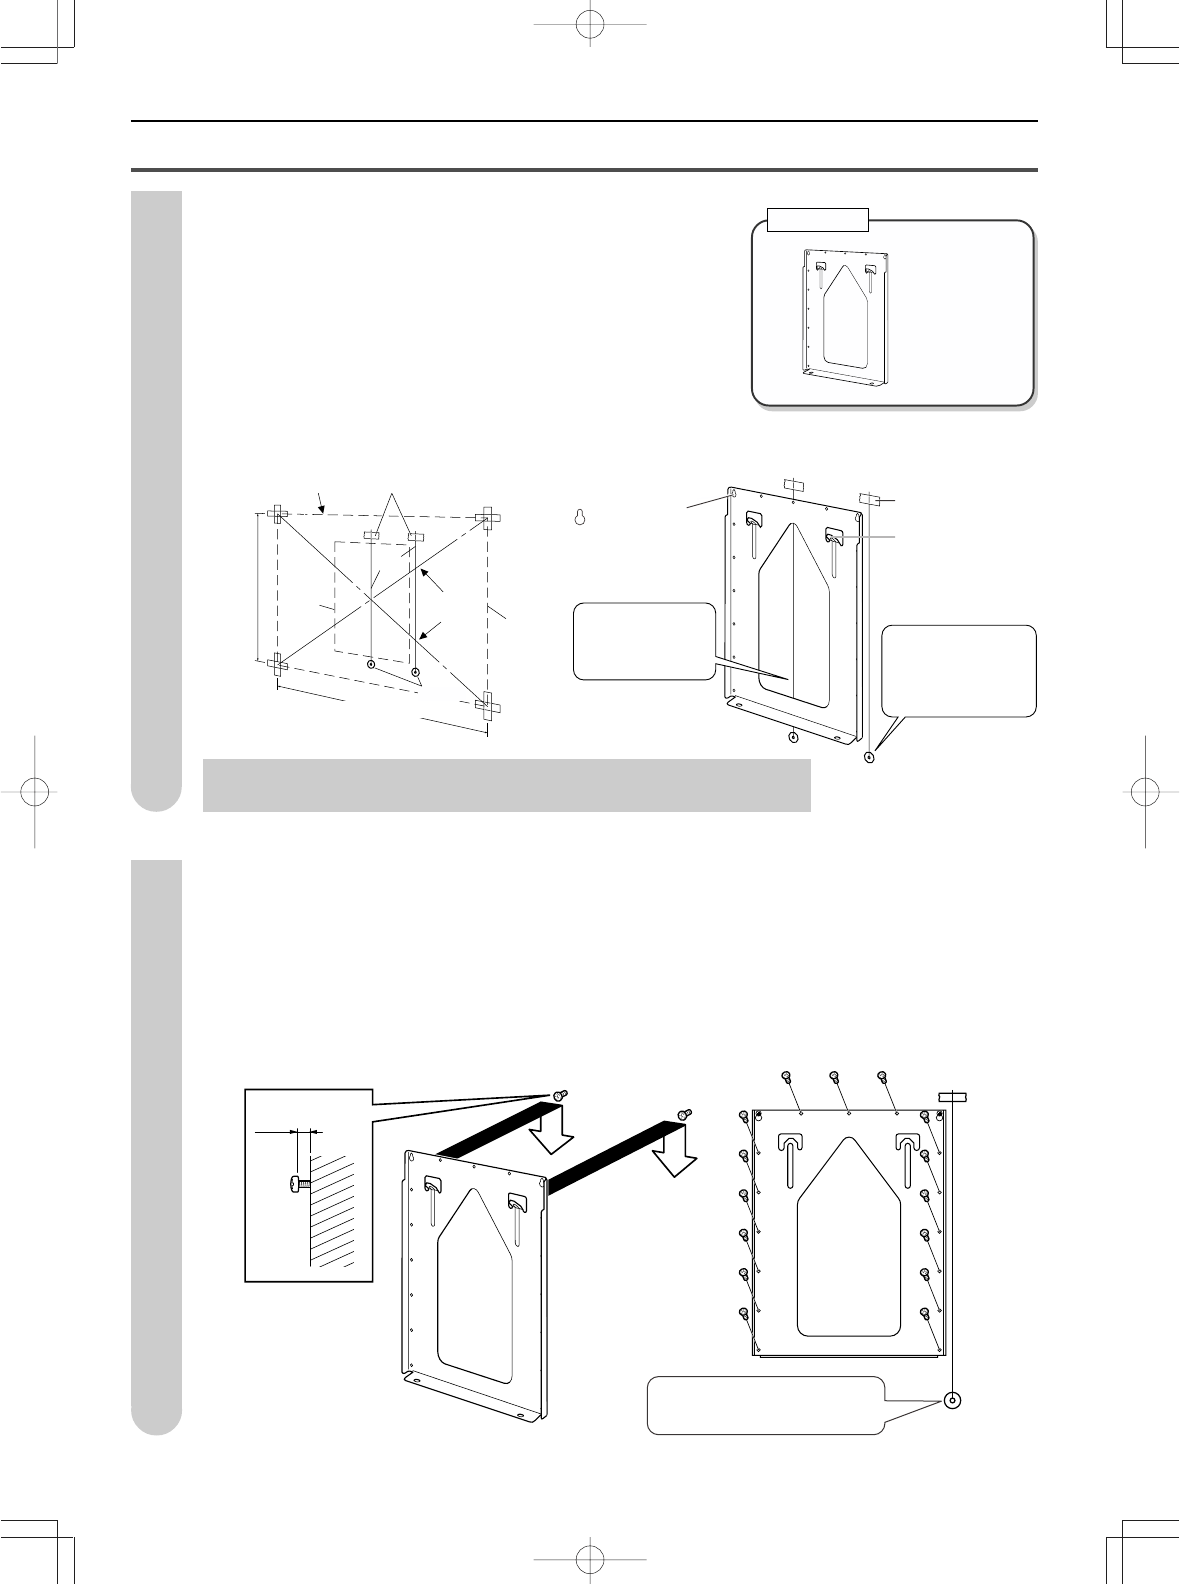
Determine the location where the base bracket will be
installed.
(1) Use tape or other means to mark the measured positions
on the wall where the display will be installed. The center
of the “X” drawn from the four corners of the square marks
the center of the panel.
(2) Take the coin with the string and align it perpendicular to
the base bracket.
Use a pencil, etc., to mark the two screw hole locations.
Cellophane tape, etc.
Wall-mount bracket
unit installation hooks
Position the base
bracket so that the
perpendicular parts
of it are parallel with
the string.
Position the base
bracket so that the
center of it is aligned
with the string.
Use a pencil, etc., to
mark the screw hole
position on the wall
behind the bracket.
923mm
1572mm
Display
outline
Dimension lines
used as a guide
Base
bracket
outline
Cellophane tape, etc.
String
Weight
Center
line
shaped screw holes
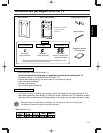
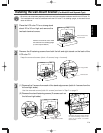
Tighten the screws
Temporarily remove the base bracket from the wall and loosely screw in off-the-shelf screws (8
mm dia. × 2 screws) in the screw hole positions marked on the wall. At this time, the screw
heads should extend more than 4 mm above the wall so that the base bracket can be hung on
the screw heads. Hang the base bracket on the installed screws, check to make sure the
bracket is not sagging to the left or right, and then firmly tighten the screws. Use off-the-shelf
screws to secure the remaining screw holes (15 screws). (The screw hole diameter is 9 mm.)
Min. 4mm
Use the weight with the string
used in Step 1 to make sure
the bracket is perpendicular.
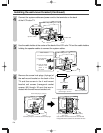
*When marking on the wall, use a material that will not leave a permanent mark on
the wall and get the approval of the customer before beginning the work.
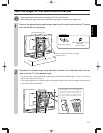
Base bracket
Included part
1
2