


16 17
Make sure you are working in a well
lit area and use a flashlight to help
search for blockages.
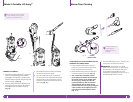
CLEANING THE MOTORIZED FLOOR BRUSH
When your motorized floor brush needs cleaning or
locks onto an object, it automatically shuts down to
prevent damage to your lifetime belt. The indicator
light will illuminate red warning you to turn off the
vacuum and clear blockage immediately. The light will
reset itself once blockage has been cleared and power
has been cycled on/off or vacuum has been locked in
the upright position.
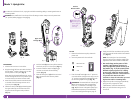
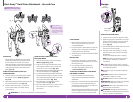
1 Detach the motorized floor brush from the portable
Lift-Away
®
canister.
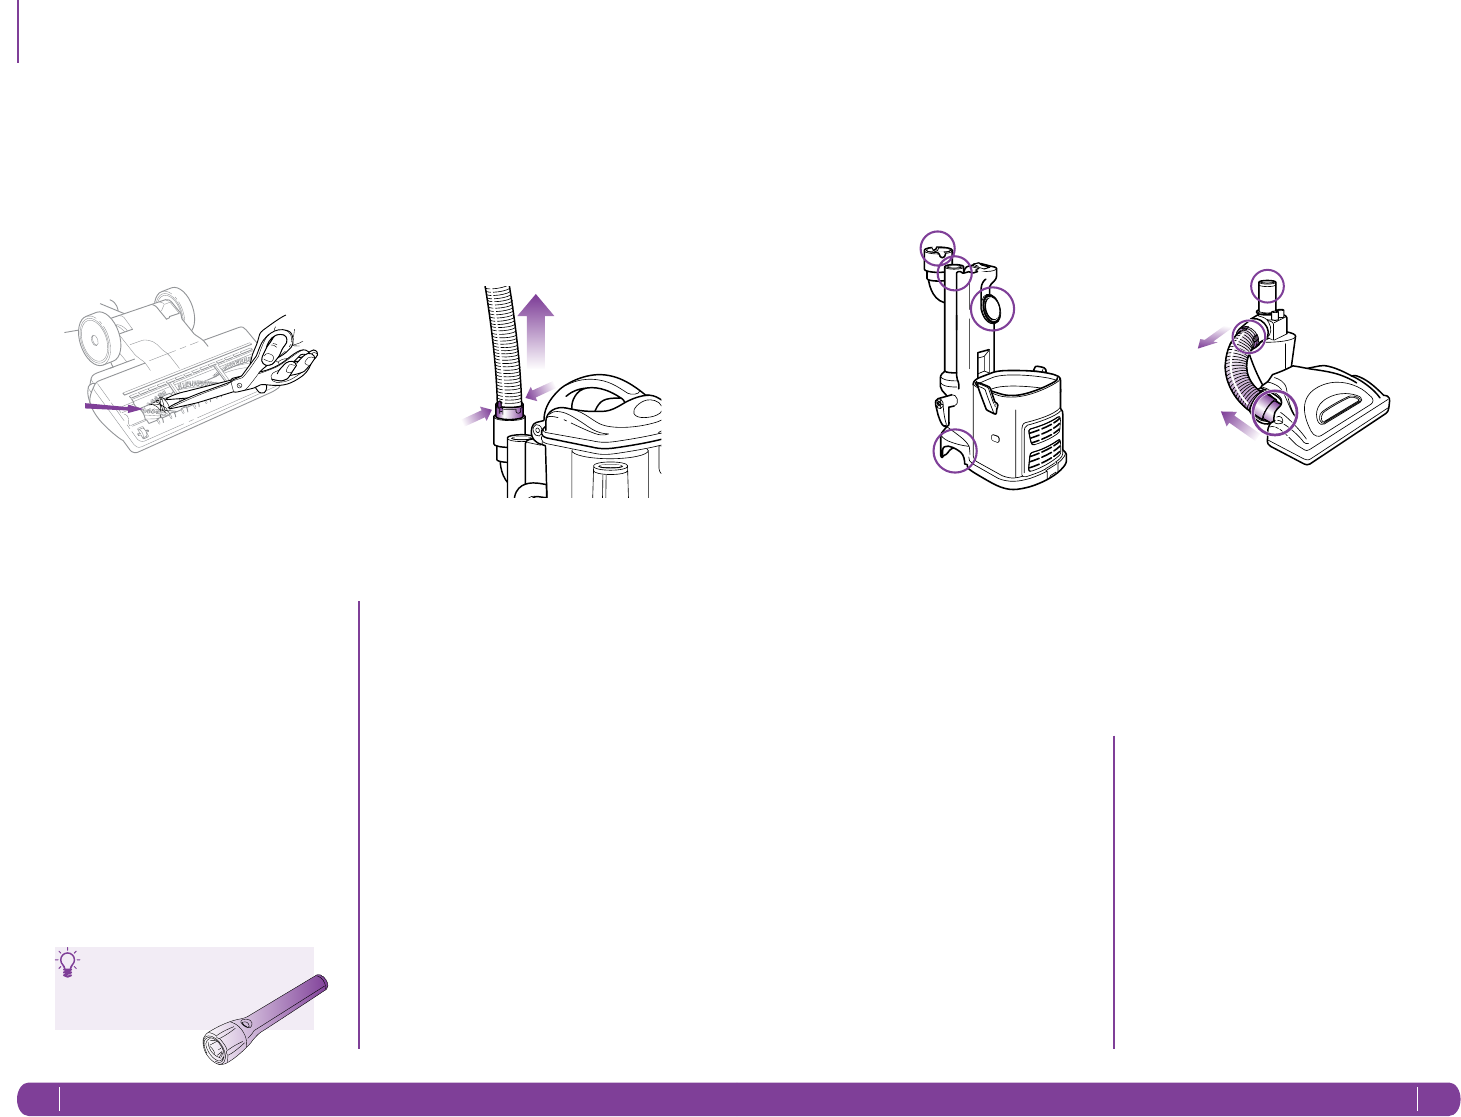
2 Inspect the opening underneath and the rotating
brush. If a build-up of debris is present, remove it.
Carefully cut anything wound around the rotating
brush with scissors. Avoid damaging or cutting the
bristles. (Fig. 31 )
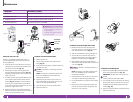
CHECKING FOR BLOCKAGES
Blockages may cause your vacuum to overheat and
shut down. To prevent this from happening, check
potential blockage areas after heavy use or if you
detect a loss of suction or poor cleaning performance.
1 Dust Cup
Dust cup may be full. Empty dust cup.
2 Pre-Motor & Post-Motor Filters
• Pre-motor filters require washing every 3
months for optimum performance.
The post-motor HEPA filter needs to be washed
every 2 years.
• Ensure that all the filters are clean.
3 Accessories
• Check intake openings:
- Extension Wand
- Dusting Brush
- Crevice Tool
- Turbo Brush
Rotating
Brush
Fig. 31
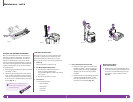
4 Hose and Connections to Vacuum
• Detach the stretch hose from the back of the
portable Lift-Away
®
canister by squeezing
the tabs together and pulling up. (Fig. 32)
Straighten out the hose and look inside for
blockages.
• Remove the dust cup and extension wand and
separate the portable Lift-Away
®
canister
from the motorized floor brush. Look in all 4
openings for any blockages. (Fig. 33)
Fig. 34
Fig. 33
Maintenance - cont’d
Fig. 32
5 Motorized Floor Brush
(Side suction models)
• Detach the hose on the motorized floor brush
at the top by squeezing the tabs together and
pulling out, and at the bottom by pulling out
the connector. Inspect inside the 3 holes.
(Fig. 34)