


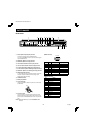
CONNECTION
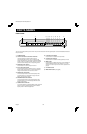
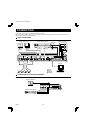
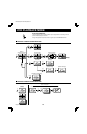
REMOTE CONTROLLER CIRCUIT CONNECTIONS
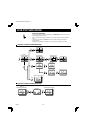
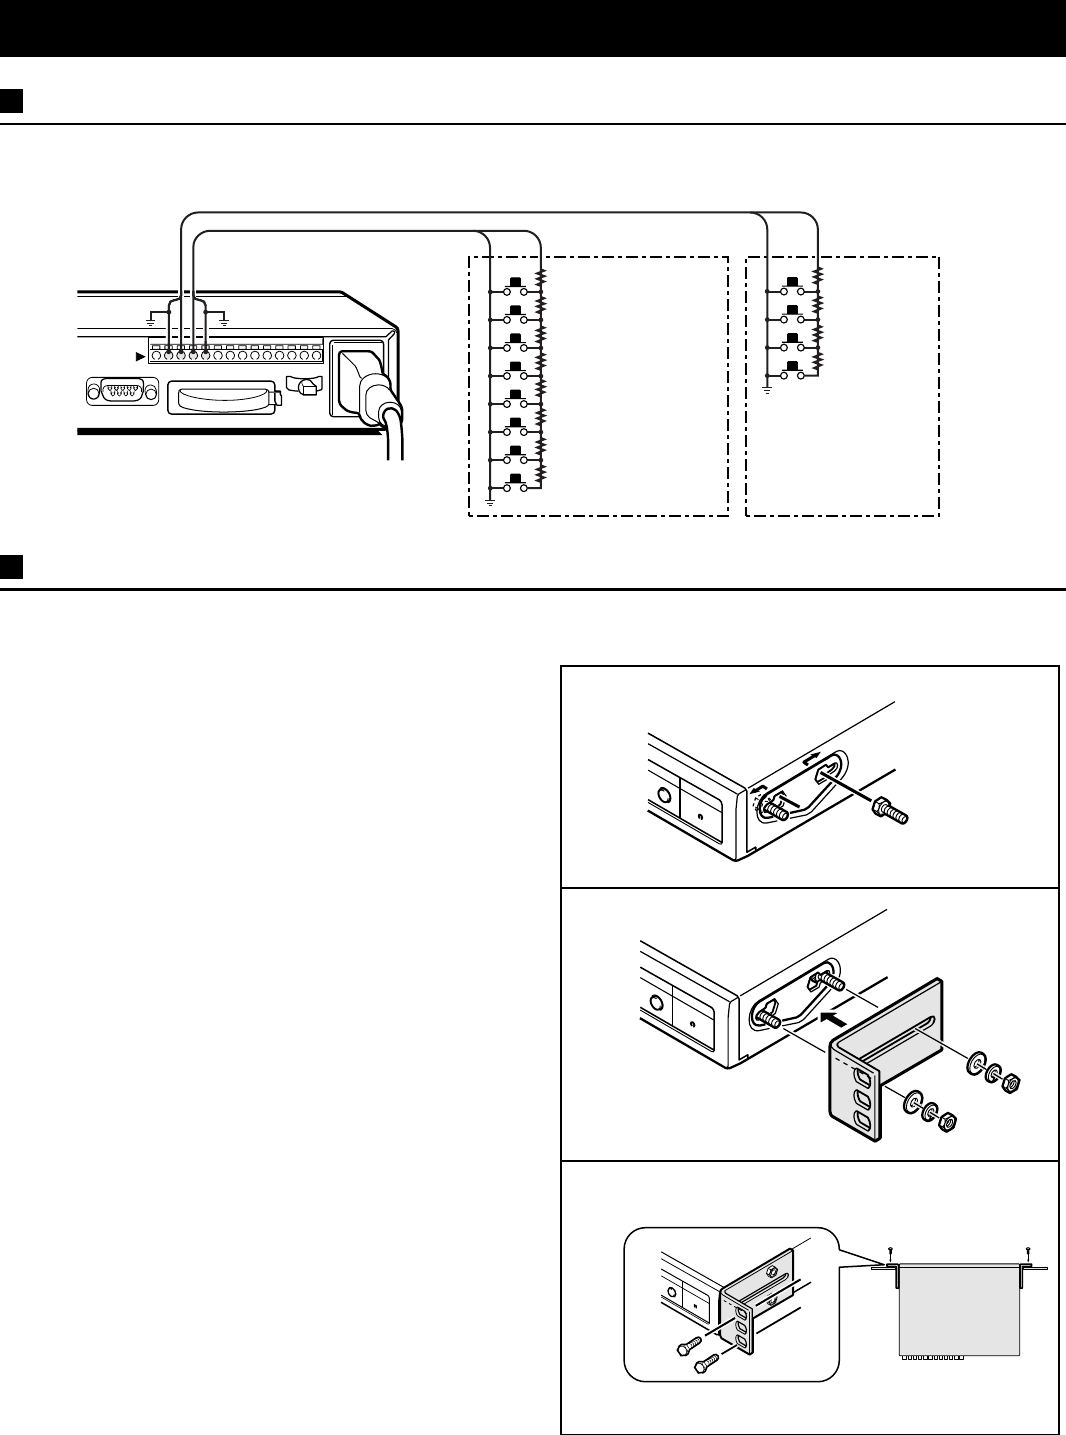
Use the layout below to make a remote controller and make the connections to the remote input pins (R1, R2) of the
CONTROL terminal as indicated. This will permit remote controlled operation of this unit.
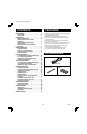
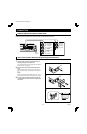
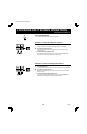
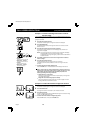
INSTALLING THE RACK MOUNTING BRACKETS (SOLD SEPARATELY)
To mount this unit onto a rack, please use the rack mount hardware (model VA-RACMK 1) sold separately.
1 Insert the head of two of the supplied bolts into the
keyhole opening on the side of the unit.
Insert the head of the bolt in the larger side, then slide it to
the smaller side of the opening.
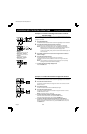
2 Align the slot on the mounting bracket with the two
bolts.
Make sure the bolts have not moved from their position,
then place a flat washer, a locking washer, and fix with a
nut.
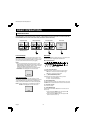
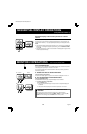
NOTE:
Make sure to use the bolts provided with this unit, as the
bolts provided with the rack mount hardware are too short.
3 Install the second mounting bracket on the opposite
side, then attach the unit onto the rack using the rack
mount bolts.
SW 5
SW 6
SW 7
SW 8
SW 9
SW 10
SW 11
SW 12
220Ω
220Ω
300Ω
360Ω
470Ω
680Ω
820Ω
1.2kΩ
: Menu selection
: VCR playback
: Live picture
: 4 divisions split
screen
: Monitor 2
: Camera sequential
display
: Zoom
: Still image
SW 1: Camera 1
SW 2: Camera 2
SW 3: Camera 3
SW 4: Camera 4
220Ω
220Ω
300Ω
360Ω
RS232C
CONTROL
GC
R1R2
CSCAC1234C
SW: switch
1
2
3
L8FH5/US (MPX-CD4 GB) 1999. 6. 4
6 English