


46
K
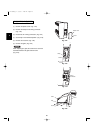
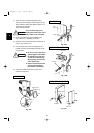
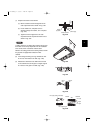
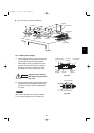
3-17. Shaping the Tubing
(1) Shape the refrigerant tubing so that it can easily go
into the hole. (Fig. 3-69)
(2) Push the wiring, refrigerant tubing and drain hose
through the hole in the wall. Adjust the indoor unit
so it is securely seated on the wall fixture.
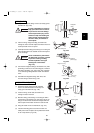
(3) Carefully bend the tubing (if necessary) to run
along the wall in the direction of the outdoor unit
and then insulate to the end of the fittings. The
drain hose should come straight down the wall to a
point where water runoff will not stain the wall.
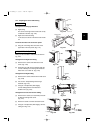
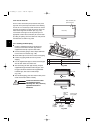
(4) Connect the refrigerant tubing to the outdoor
unit.(After performing a leak test on the connection,
insulate it with insulating tape. (Fig. 3-70)) Also,
refer to Section 10-5. Connecting Tubing between
Indoor and Outdoor Units.
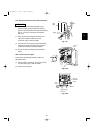
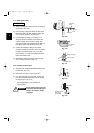
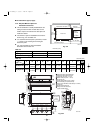
(5) Assemble the refrigerant tubing, drain hose and
inter-unit wiring as shown in Fig. 3-71.
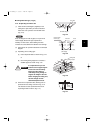
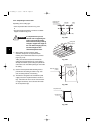
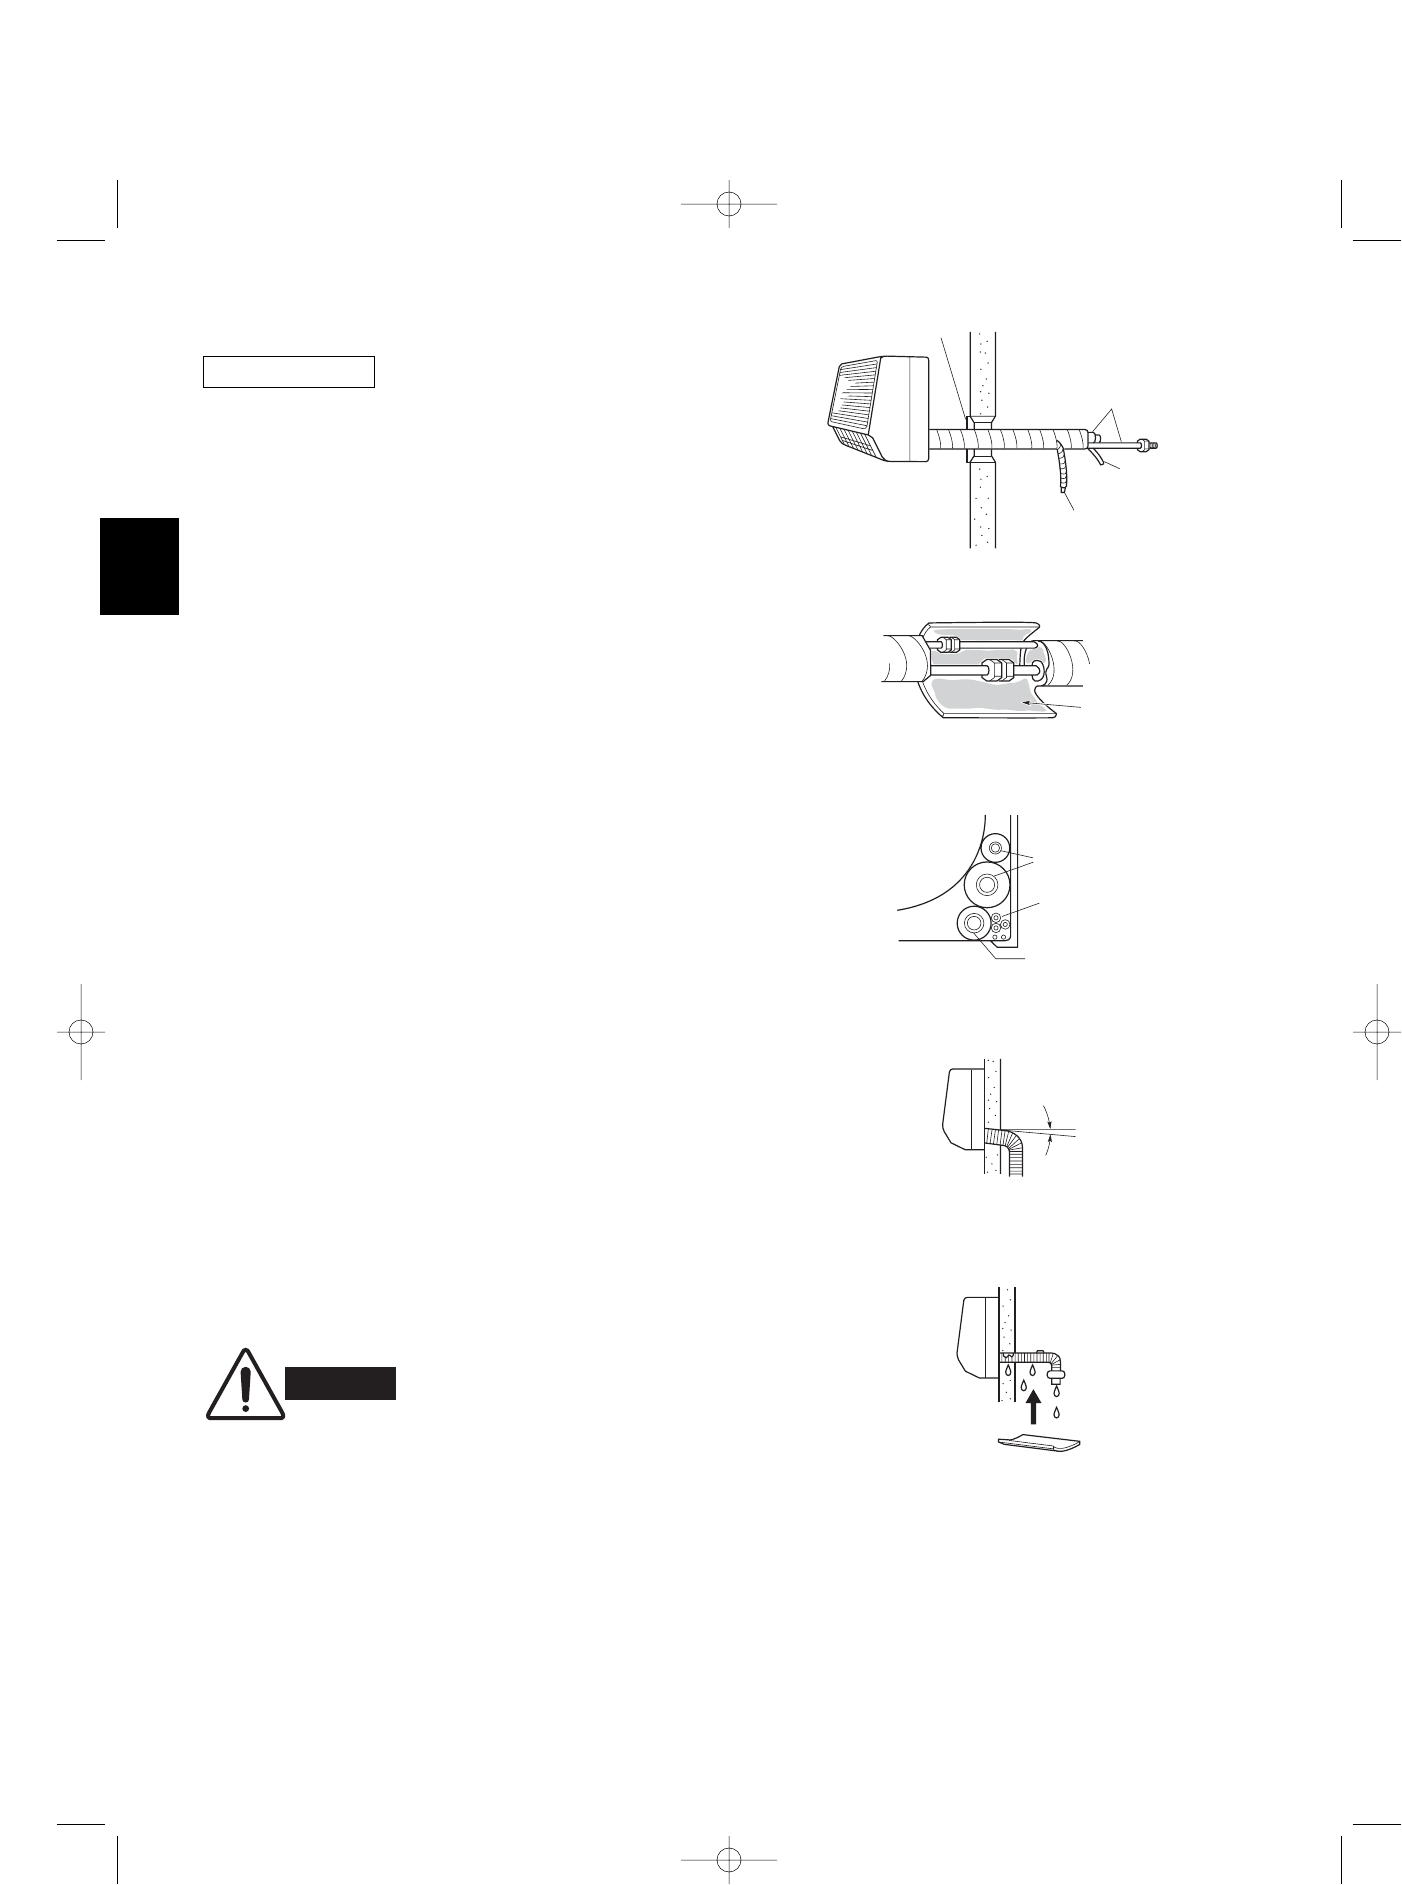
3-18. Installing the Drain Hose
(1) The drain hose should be slanted downward on the
outdoor side. (Fig. 3-72)
(2) Never form a trap in the course of the hose.
(3) If the drain hose will run in the room, insulate* the
hose so that chilled condensation will not damage
furniture or floors. (Fig. 3-73)
* Foamed polyethylene or its equivalent is
recommended.
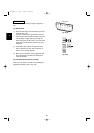
KHH(S)2672R
Cover
Refrigerant
tubing
Inter-unit
wiring
Drain hose
Fig. 3-69
Insulating
tape
Fig. 3-70
Refrigerant tubing
Inter-unit wiring
Drain hose
Fig. 3-71
WARNING
Do not supply power to the unit
or operate it until all tubing and
wiring to the outdoor unit are
completed.
Drain
hose
Slant
Indoor
unit
Fig. 3-72
Condensation
Insulation material
(field supply)
must be used.
Fig. 3-73
07-115 SSHP_II 5/7/07 4:00 PM Page 46