


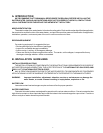
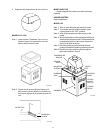

MODELS 512 - 825
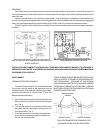
Step 1: Lower outdoor "Stackless" top on to unit.
Position top so it is centered on unit from
side to side and front to rear.
Fig. # 8166.1
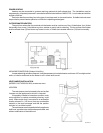
Step 2: Tighten the (4) screws (Shown below) until
they come in contact with the unit jacket top,
then evenly tighten all (4) screws to secure to
unit.
JACKET TOP
FASTENING
SCREW
Fig. # 8233
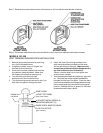
MODELS 926-1758
Heater shipped with outdoor vent terminal factory
installed.
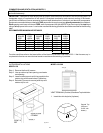
INDOOR HEATERS
Indoor Installations
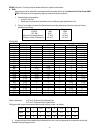
MODEL 136
Step 1: Shut off main electrical per switch to heater.
Step 2: Turn heater manual switch located in upper
control panel to the "OFF" position.
Step 3: Shut off gas supply and water supply to the
heater.
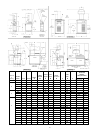
Step 4: Mount drafthood on boiler and attach with the 4
sheet metal screws provided. Drafthood should
be positioned with the vent sensor located on
the front left side as shown.
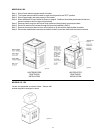
Step 5: Remove plastic plug from left side of boiler
jacket and install the plastic grommet provided.
Step 6: Route flue sensor wire harness through the
grommet installed in Step 5.
TEMPERATURE
SENSOR
SENSOR
SHIELD
MOUNTING JACKET
SCREWS TOP
HARNESS CONTROL
ASSY. PANEL
HEATER
ON/OFF
SWITCH
LOWER
DOOR
GROMMET
Fig. # 8946
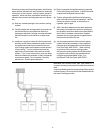
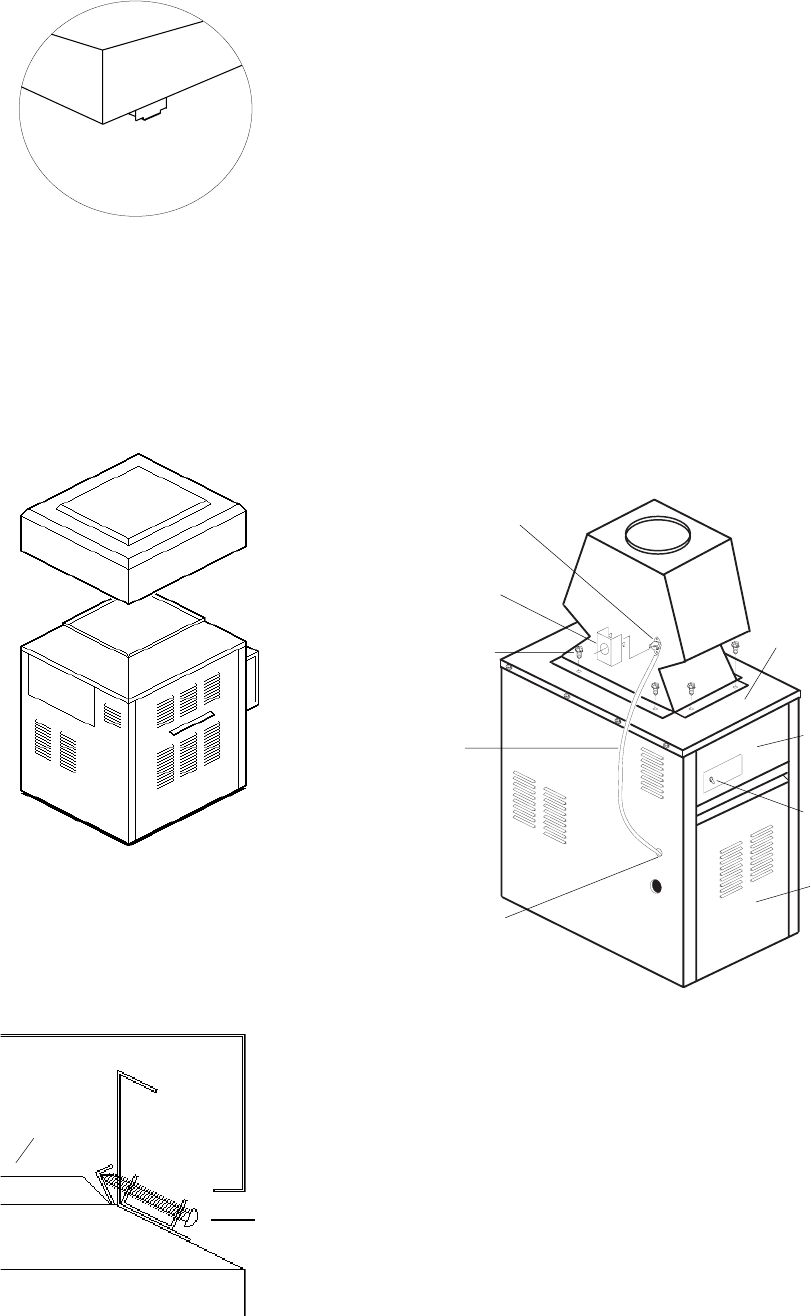
2. Snap tabs into keyholes so as not to pull out.
11