Regency
®
U38-1 ULTIMATE Freestanding Gas Stove
11
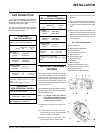
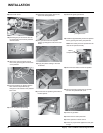
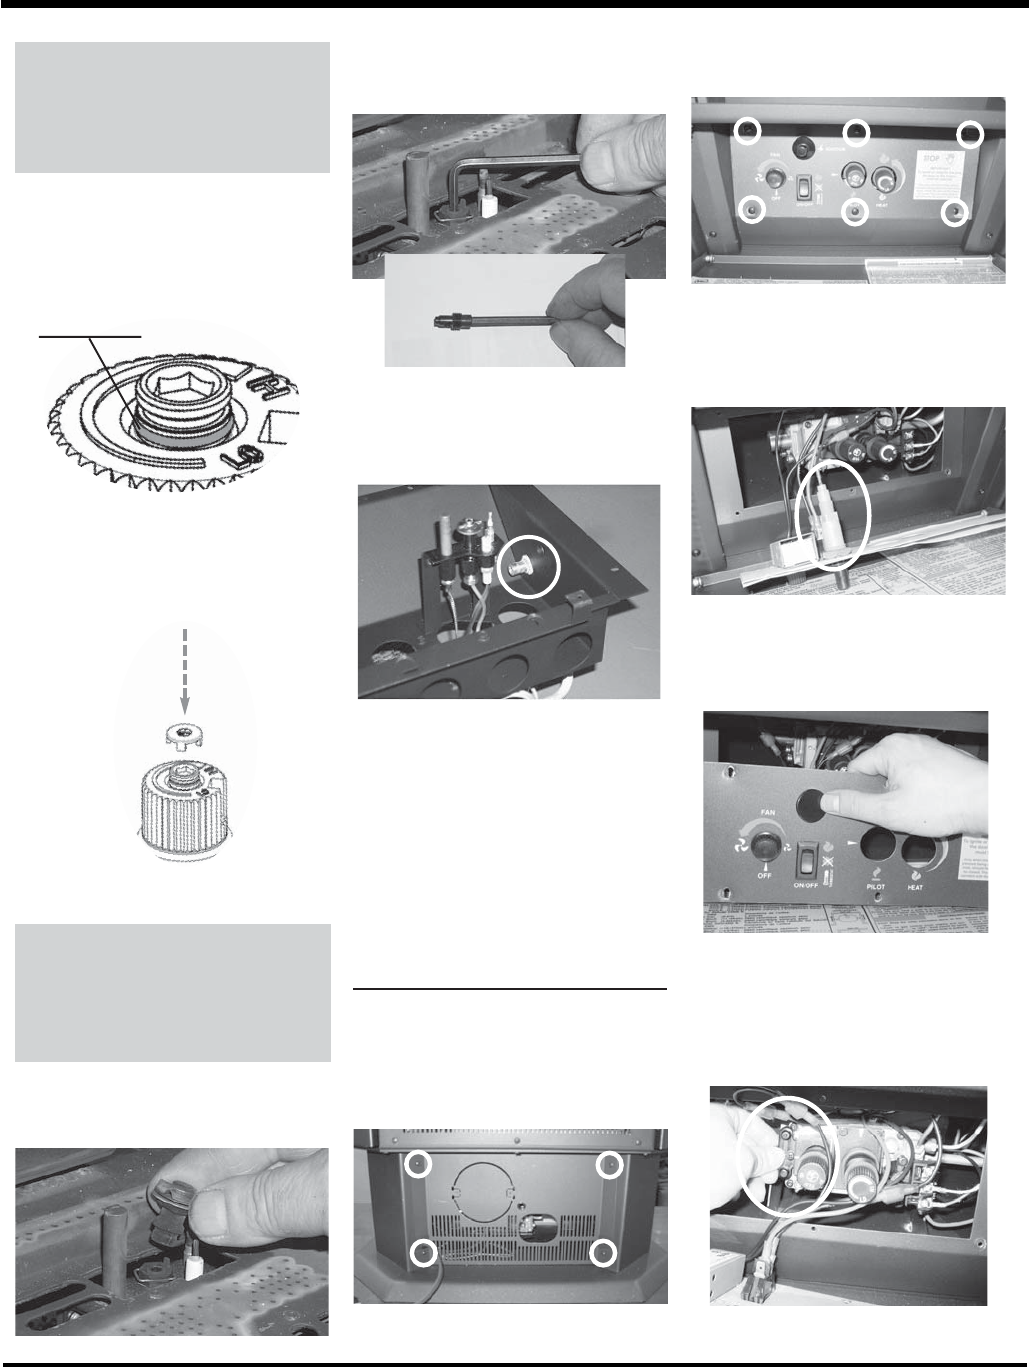
15) Pull off the pilot cap to expose the pilot
orifi ce.
16) Unscrew the pilot orifi ce with the allen
key and replace with the LPG pilot
orifi ce in the kit.
18) Reinstall new burner orifi ce LPG
stamped #50 and tighten.
19) Reverse steps 3) to 2).
20) Attach the label "This unit has been
converted to LPG" near or on top of the
Serial # decal.
21) Replace yellow "NG" label with red
"LPG" label.
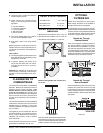
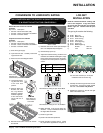
14) Re-assemble the black protection cap
(Fig. 6).
WARNING!
Also check that the pilot
and main burner injectors are
appropriate for the gas type.
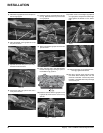
Installation of the DC Sparker:
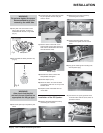
22) Remove the back pedestal cover by
unscrewing the 4 screws.
23) Remove the front control panel by
unscrewing the 6 screws.
25) Plug up the Piezo Ignitor mounting hole
with the plastic plug.
Fig.6
Burner Orifi ce
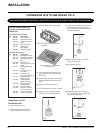
17) Remove burner orifi ce with a 1/2"
wrench while using a 9/16" wrench to
hold onto the elbow behind the orifi ce,
then discard the orifi ce.
WARNING!
Do not over tighten the screw.
Recommended to grip the
wrench by the short side.
13) Verify that if the conversion is from
NG to LPG, the screw must be re-
assembled with the red o-ring visible
(Fig. 5).
LPG Configuration
Red o-ring visible
Fig.5
24) Unplug the Piezo Ignitor wire and
remove Piezo Ignitor from the control
panel.
27) Connect the DC spark generator wires
to the SIT Valve with the screw, which is
provided in the kit.
INSTALLATION


