


12 E33 FPI Direct Vent Gas Insert
INSTALLATION
Final Installation
03-19
E33 CONVERSION KIT FROM NG TO LPG
THIS CONVERSION MUST BE DONE BY A QUALIFIED GAS FITTER
IF IN DOUBT DO NOT DO THIS CONVERSION !!
Conversion Kit Contains:
Qty. Part # Description
1 910-018 SIT Conversion Kit-50%
Turndown LPG
1 910-037 LPG (Pilot Orifi ce)
1 904-641 Burner Orifi ce #50
(rated at 35,500 BTU/HR)
1 908-255 Label "Converted to LPG"
1 904-529 5/32" Allen Key
1 918-415 Instruction Sheet
1 Red LPG Label
1 Silver "Converted to
LPG" Label
Instructions:
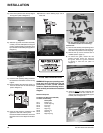
1) Shut off the gas supply.
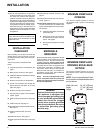
2) Remove the louvers and fl ush door.
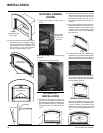
3) Remove the logs and grate (refer to p.10).
Ensure you slide the bottom log 03-17 off
to the right-hand side to avoid chipping.
4) Remove front base brick.
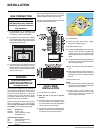
5) Remove burner by unscrewing the 2
screws.
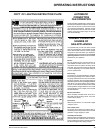
6) Pull off the pilot cap to expose the pilot
orifi ce.
7) Unscrew the pilot orifi ce with the allen
key and replace with the LPG pilot orifi ce
provided in the kit, then replace pilot cap.
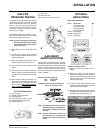
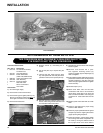
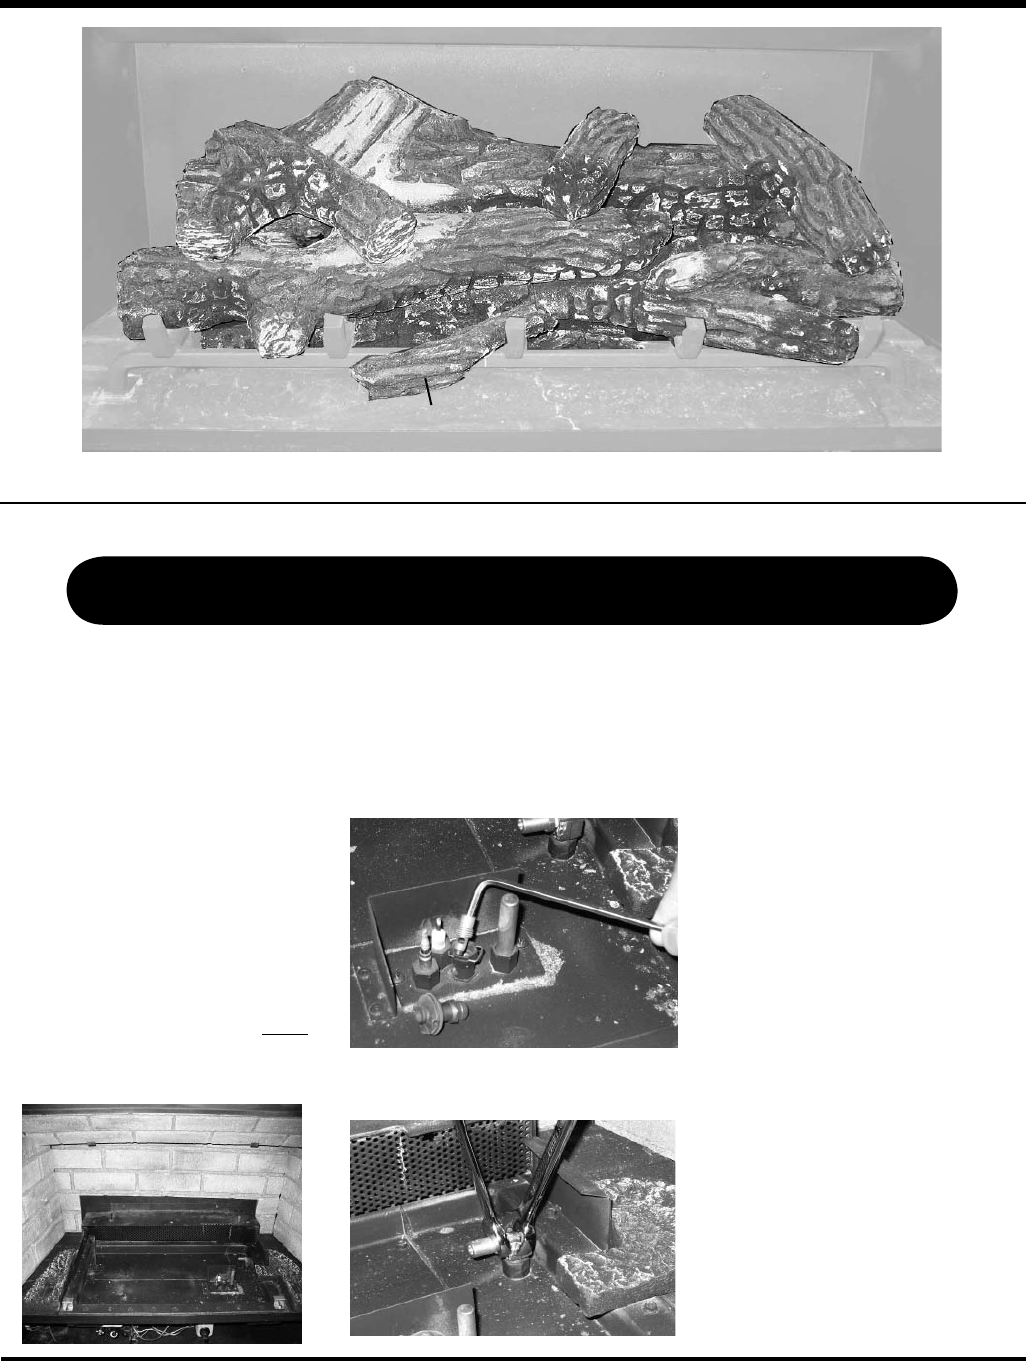
Burner Orifi ce Removal
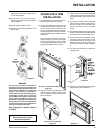
11) Ensure that the rubber gasket (D) is properly
positioned. Install the new HI/LO pressure
regulator assembly to the valve using the
new screws (E) supplied with the kit. Tighten
screws securely.
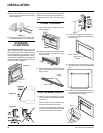
12) Reverse steps 5) to 3).
13) Attach clear label "This unit has been
converted to LPG" near or on the serial #
decal. Attach silver label "This valve has
been converted from NG to LPG using SIT
conversion Kit Code 0.907.202" onto the
valve.
14) Replace yellow "NG" label with red "LPG"
label.
15) Check for gas leaks with a proper soapy
solution or leak detector.
16) Check for proper spark between the ignitor
and pilot cap. Refer to “Lighting Procedure”
(page 18) for lighting sequence.
17) Check pilot fl ames. Correct fl ame pattern
has 3 strong blue fl ames. Adjustment can
be made by turning the slotted screw at
the top right corner of the valve. Refer to
9) Reinstall new burner orifi ce LPG stamped
#50 and tighten.
10) Remove and discard the 3 pres-
sure regulator mounting screws (A),
pressure regulator (B) and diaphragm (C)
refer to Diagram 1.
8) Remove the burner orifi ce by using a 1/2"
wrench, while using a 9/16" wrench to hold
onto the elbow behind the orifi ce.