


Quartz Thermo installation guide page 8
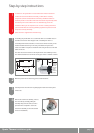
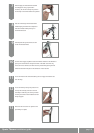
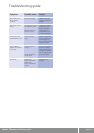
Refit the lilac temperature preset override
ring and the white temperature preset
location ring if removed prior to installation,
taking care to fit the override ring in the
correct orientation as outlined in step 5.
Prior to replacing the shroud, ensure the
shroud seal is in position as indicated.
17
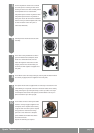
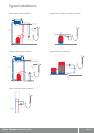
Replace the shroud ensuring that it is fully
fitted against the shroud support ring as
shown.
18
Shroud seal
Shroud support ring
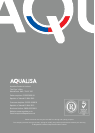
Using a silicone based lubricant or liquid
soap, lubricate the wall plate seal. Apply a
thin bead of silicone mastic into the groove
on the rear of the wall plate and carefully
push the wall plate into position flush with
the wall.
19
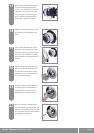
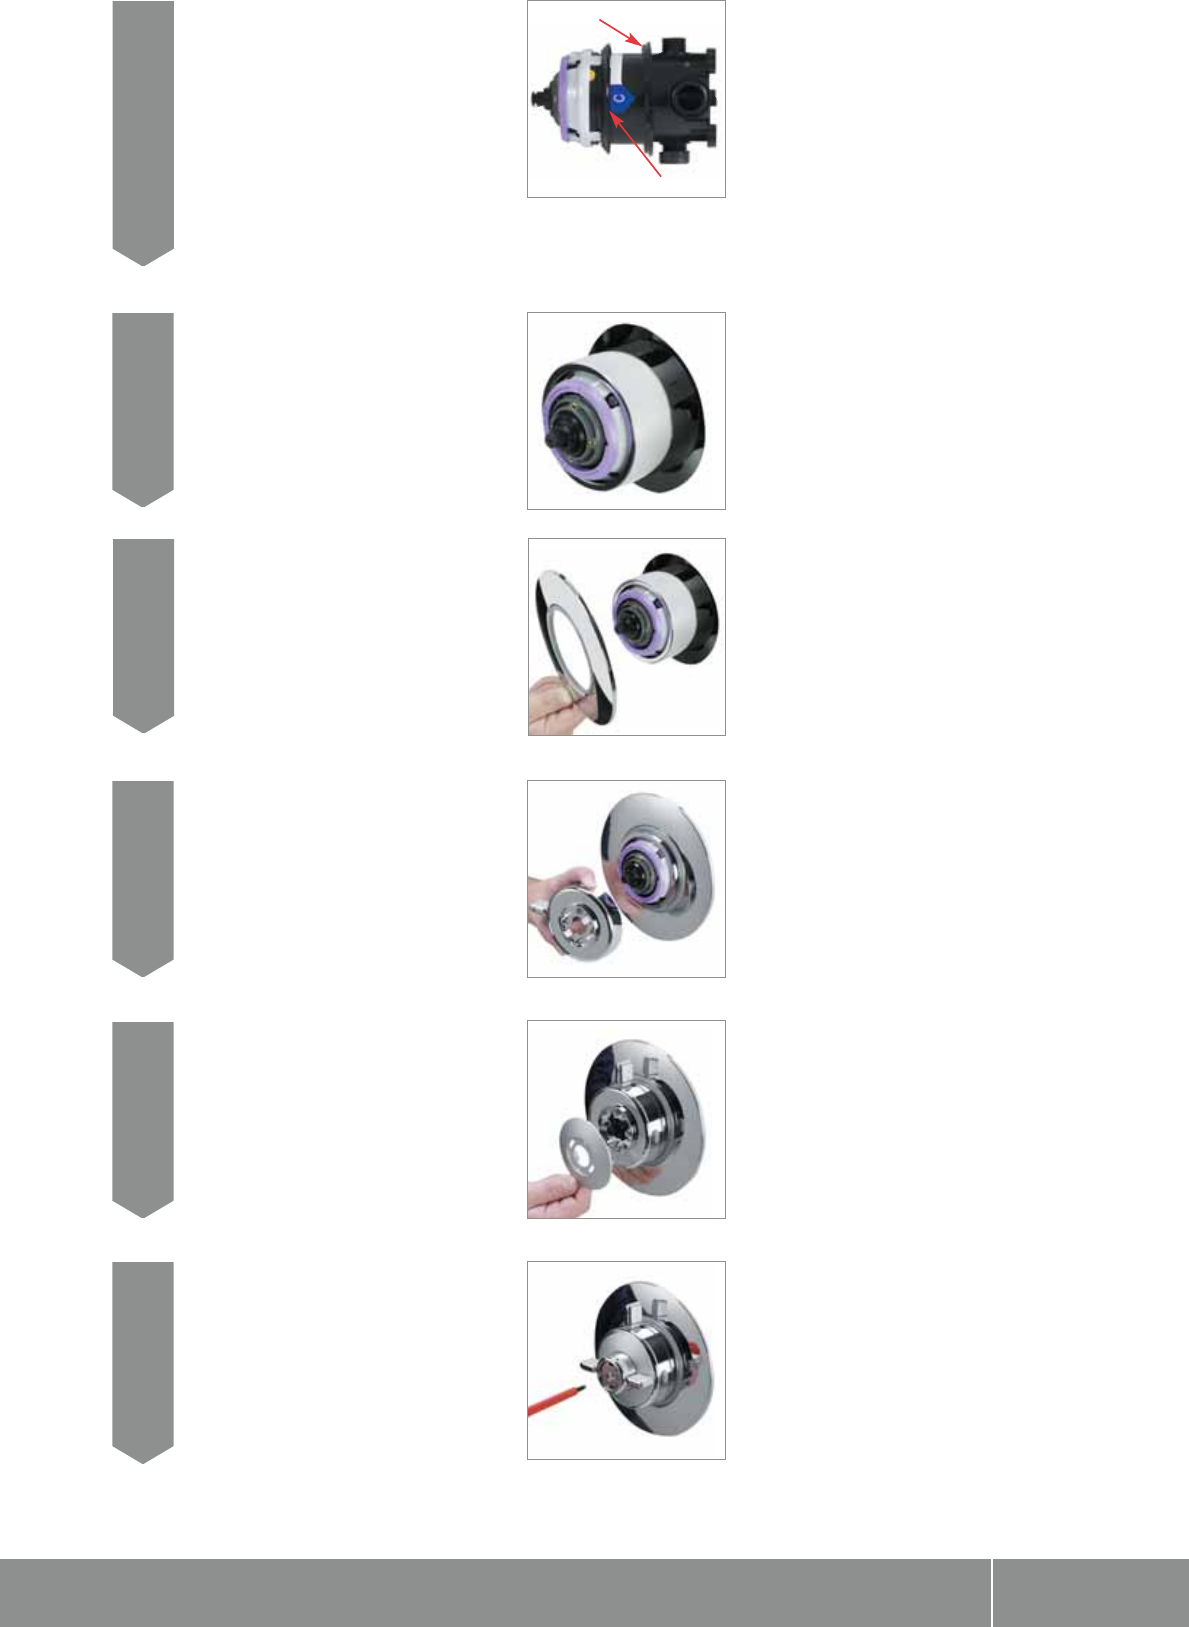
Depress the maximum temperature stop
button and replace the temperature lever
onto the valve in the full cold (9 o’clock).
Replace the four screws to secure the lever
to the valve hand tight only.
20
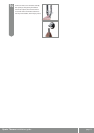
Ensuring the fixing lugs and locating pins
are correctly aligned, carefully place the
temperature lever cover plate onto the
temperature lever and click into position.
21
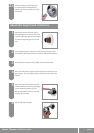
Re-fit the on/off lever assembly onto the
on/off shaft ensuring the corresponding flat
faces are correctly aligned. Secure the on/off
lever to the valve using the screw provided in
the screwpack hand-tight only.
22