


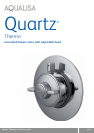
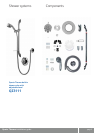

Quartz Thermo installation guide page 7
The installation may now be checked for leaks.
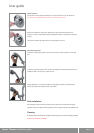
Temporarily cap off the outlet supply pipe.
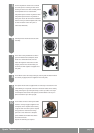
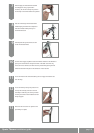
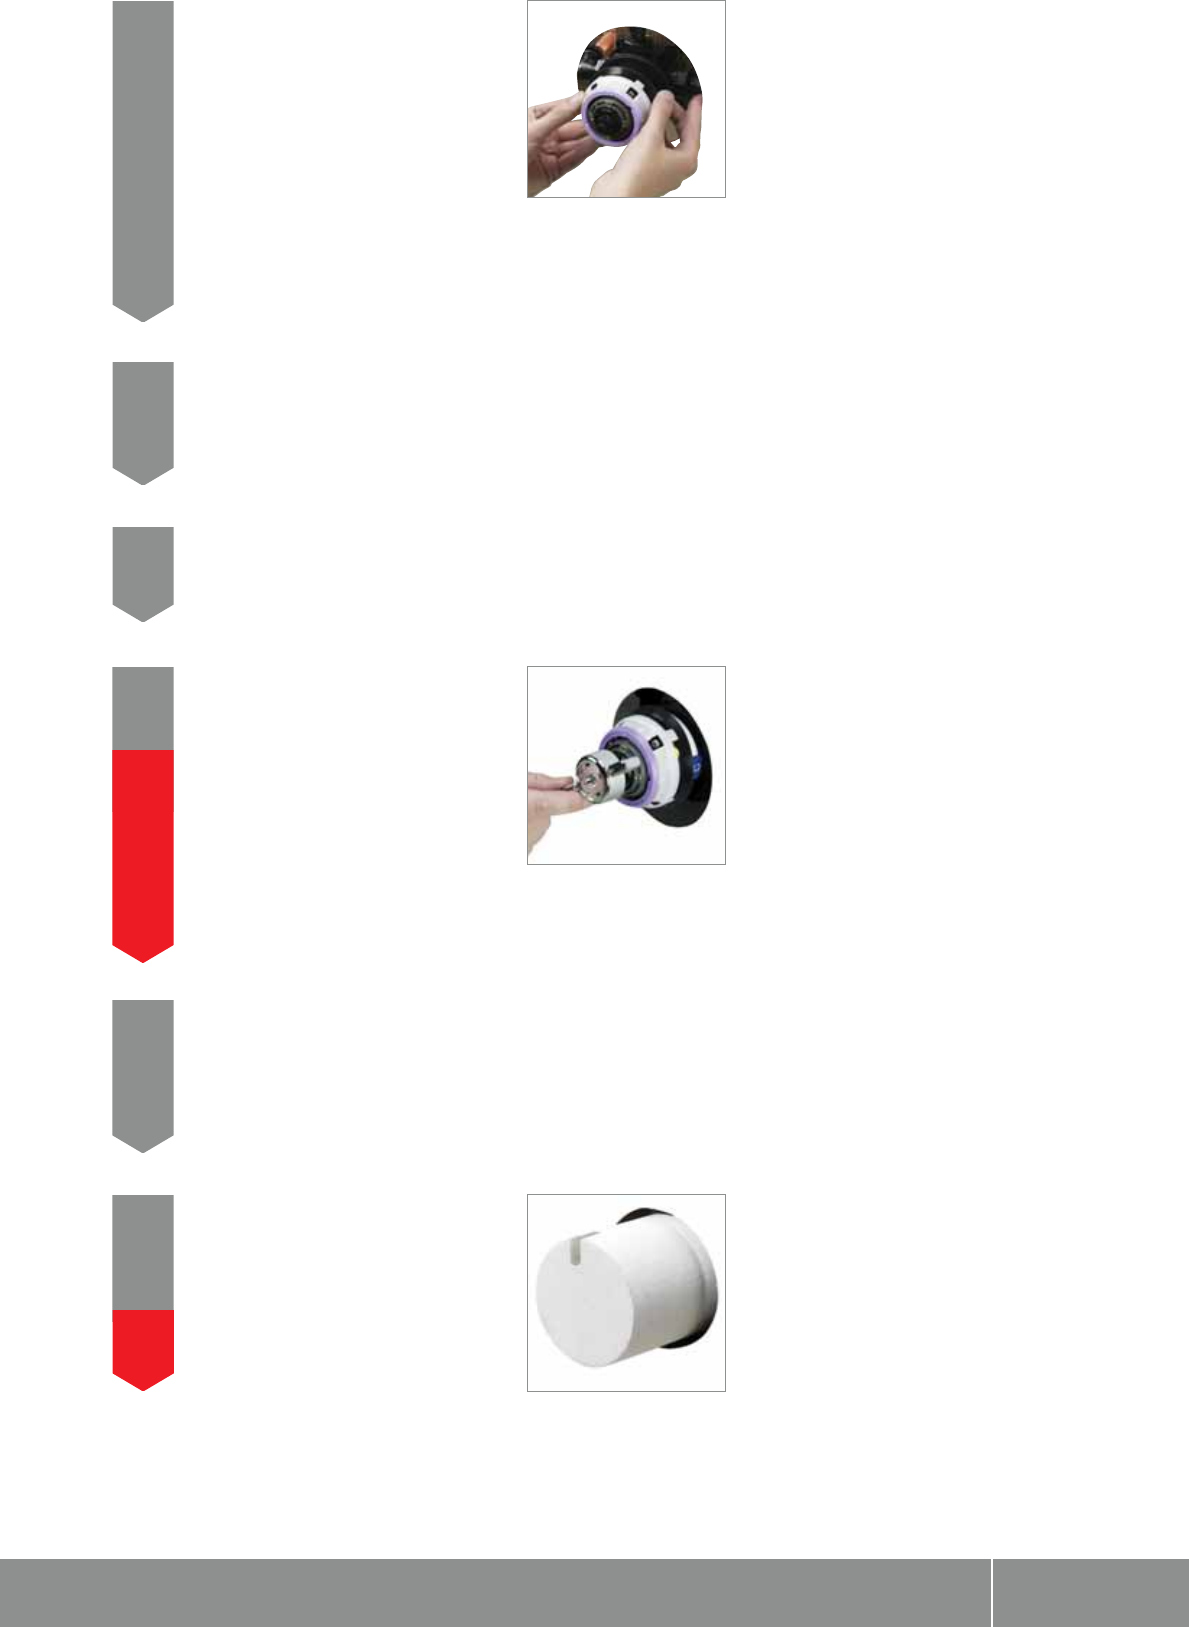
Push the on/off lever assembly onto the front
of the valve fully home and turn the knob fully
clockwise to ensure the valve is fully turned off.
The on/off shaft is manufactured with a flat
area. The corresponding flat area in the on/off
lever must be in alignment before the knob
can be fitted.
14
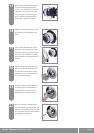
Construct a suitable 15mm outlet supply to a suitable point for the wall outlet.
Using a silicone based lubricant, lubricate the 15mm outlet pipe and push into
the outlet assembly fully home (outlet pipe insertion depth is 24mm).
12
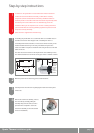
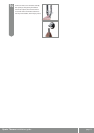
Using a silicone based lubricant, lubricate
the supply pipe ends and whilst supporting
the elbows, push home the supply pipes
ensuring the correct orientation for the inlet
pipes (HOT LEFT AND COLD RIGHT AS
SHOWN ON THE VALVE BODY). Push the
valve fully home until a definite stop is
reached (tube insertion depth is 25mm).
Secure the valve assembly to the fixing
surface using the screws provided.
11
Using a suitable tool, tighten both the elbow nuts and outlet connector nut
until water tight.
13
!
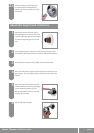
Place the mortar guard around the valve and
fill in the chase. Once the in-filling material
has set, carefully remove the polystyrene to
expose the valve body.
THE MORTAR GUARD MUST BE USED
16
!
Turn on the supplies and check for any leaks upstream of the valve. Slowly
open the control and check for leaks downstream of the valve. If all is sound,
turn off the on/off knob fully, turn off the supplies and remove the on/off
lever assembly.
15