PWM-T210
Page 8 Installation Instructions
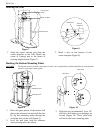
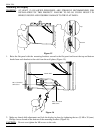
Securing the Lower Wall Plate
1. Level and secure the plate to the wall
with the reference arrow facing up to the
ceiling (Figure 11).
2. Secure the plate using the provided lag
bolts and washers.
Level
Wall
Plate
Figure 11
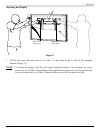
3. When the bottom wall plate is properly
installed to the wall.
4. Lay the carton template on top of the wall
plate.
5. Lay the top wall plate on top of the
cardboard template and mark the four (4)
mounting points (Figure 12).
Marked Wall
Template
Wall Plate
Figure 12
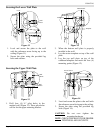
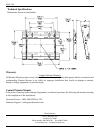
Securing the Upper Wall Plate
1. Drill four (4) ¼" pilot holes in the
marked wall (Figure 13). These pilot holes
will be for the upper mounting bracket.
Figure 13
Wall
Marks
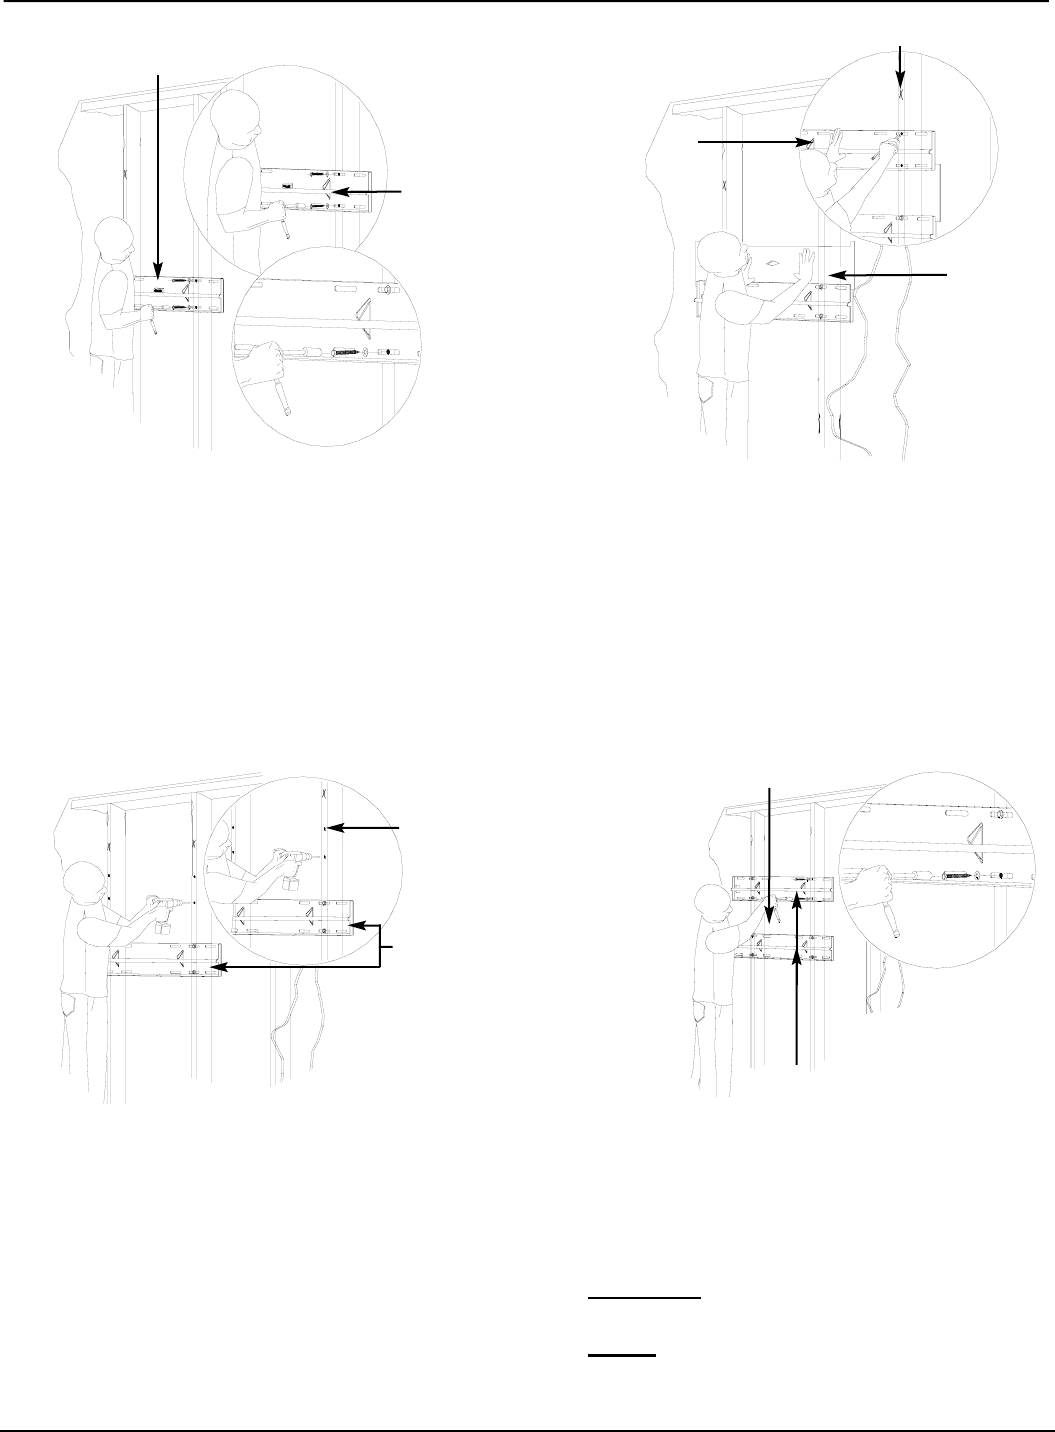
Wall
Plates
Figure 14
2. Level and secure the plate to the wall with
the reference arrow facing up to the ceiling.
3. Secure the plate using the provided lag
bolts (Figure 14).
CAUTION
: Do not over tighten the
mounting hardware.
NOTE
: CHECK THE MOUNT FOR PROPER
TIGHTNESS AND SECURITY.
Wall Plates
Power Source
Area


