


C1420M-I (6/09) 5
Installation
CAMERA AND LENS
To install the camera and lens:
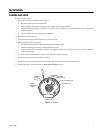
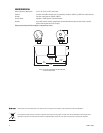
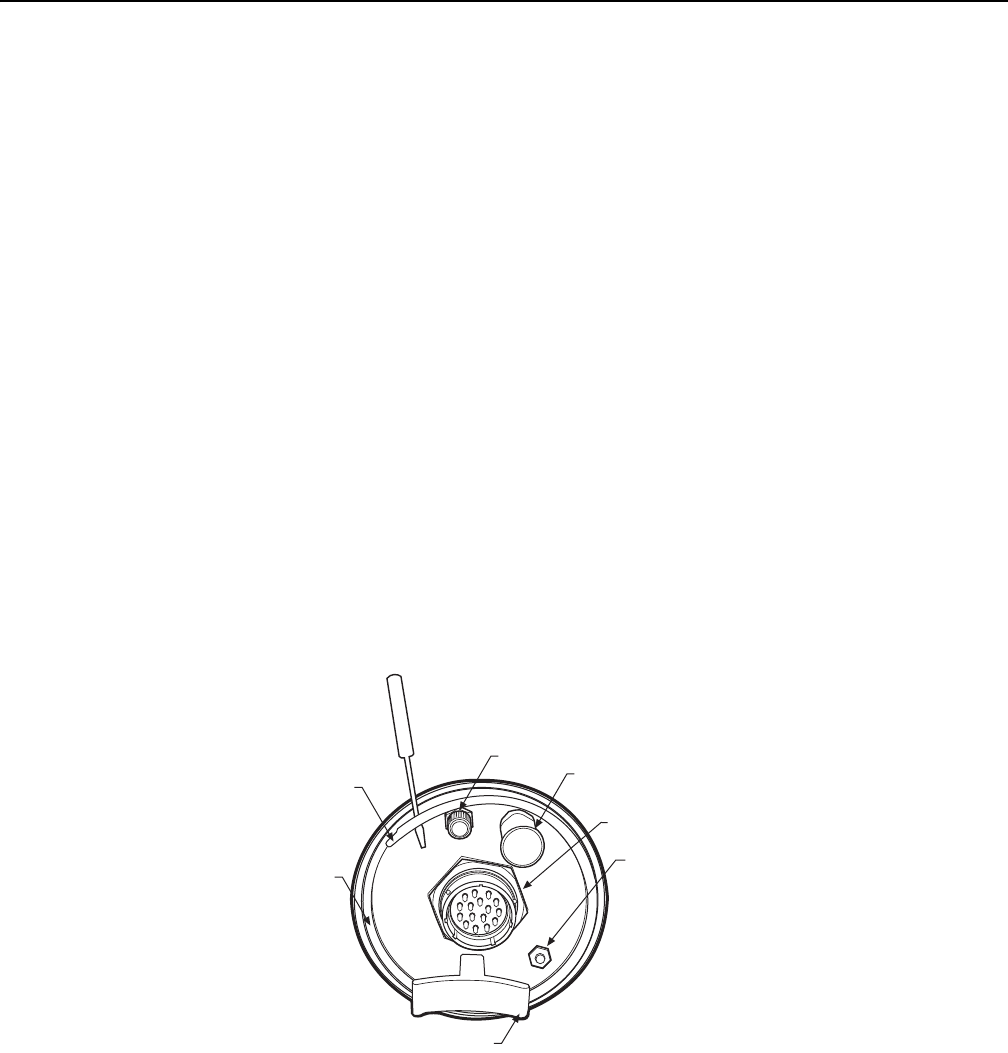
1. Remove the rear plate of the enclosure (refer to Figure 1):
a. Remove the center cap from the Schrader valve.
b. Press and hold the center stem of the Schrader valve to relieve internal enclosure pressure.
c. Remove the spiral retaining ring from the back of the enclosure. Use a screwdriver to pry the end of the spiral retaining ring from the
retaining ring groove.
d. Pull the T-handle to remove the rear plate from the housing.
2. Slide the sled out of the enclosure.
3. Remove the desiccant bag from the camera sled. Do not discard the bag.
4. Mount the camera and lens onto the sled:
a. Extend the lens to the maximum length before positioning the camera and lens.
b. Position the camera and lens so they do not extend beyond the track.
c. Fasten the camera and lens to the sled; the fastener is not supplied. (The most common fastener is a 1/4-inch x 20 screw, depending
on the the camera type.)
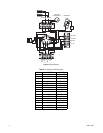
5. Connect the wiring for camera power, lens functions, and video (refer to Figure 2 on page 6).
6. Unwrap and install the desiccant bag inside the enclosure.
7. Reinstall the camera sled by sliding it back into the enclosure body. Secure the unit with the spiral retaining ring.
8. Pressurize the inside of the enclosure (refer to Pressurizing the Enclosure on page 7).
Figure 1. Rear View
SCHRADER
VALVE
SPIRAL
RETAINING
SPRING
RETAINING
SPRING
END
PRESSURE
RELIEF VALVE
T-HANDLE
GROUND STUD
MATING CONNECTOR