


C3422M-B (3/08) 5
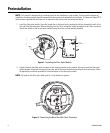
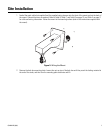
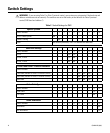
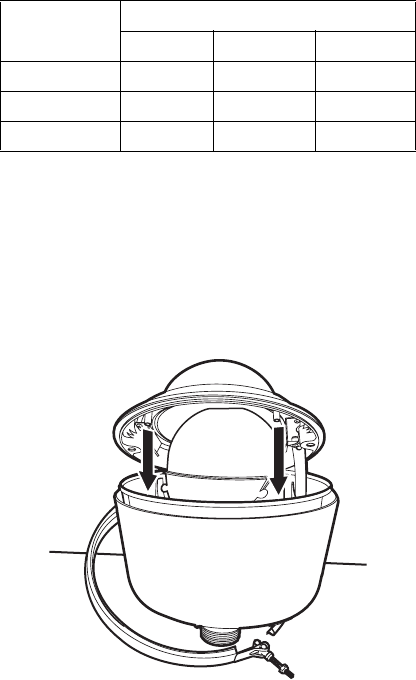
7. Install the lower dome:
a. Position the lower dome so that the blower duct inside the back box is between the studs attached to the inside
of the lower dome.
b. Install the V-band around the lower dome and then tighten the fastener of the V-band.
c. Test the operation of the unit before pressurizing the dome.
Figure 7. Installing the Lower Dome
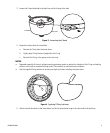
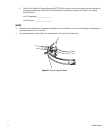
8. Pressurize the inside of the dome with nitrogen:
a. Remove the cap from the Schrader valve of the dome. Place the air chuck from the charging kit over the
Schrader valve.
NOTE: You may use your own charging equipment or Pelco’s EH8000RKIT recharge kit. If you are using your own
equipment, adjust the regulator for an output pressure of 12 psi (83 kPa).
b. Open the tank valve of the charging kit. Fill the dome with nitrogen for a minimum of five minutes to replace the
oxygen inside the dome with nitrogen.
c. Remove the air chuck and then replace the Schrader valve cap.
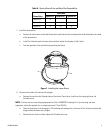
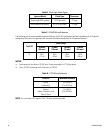
Table A. Spectra Dome Drive and Back Box Compatibility
Dome Drive
Back Box
Spectra II Spectra III Spectra IV
Spectra II
®
•
Spectra III
™
•• •
Spectra IV • • •