9
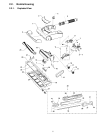
3.3. Agitator Assembly
Replacement
3.3.1. Removal
1. The brushes are replaceable separately. When the
brushes need replacing, the agitator assembly will have
to be removed.
2. Remove the lower plate as outlined in the LOWER
PLATE REPLACEMENT section.
3. Remove the agitator assembly as outlined in the BELT
REPLACEMENT section.
.
3.3.2. Installation
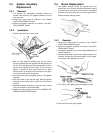
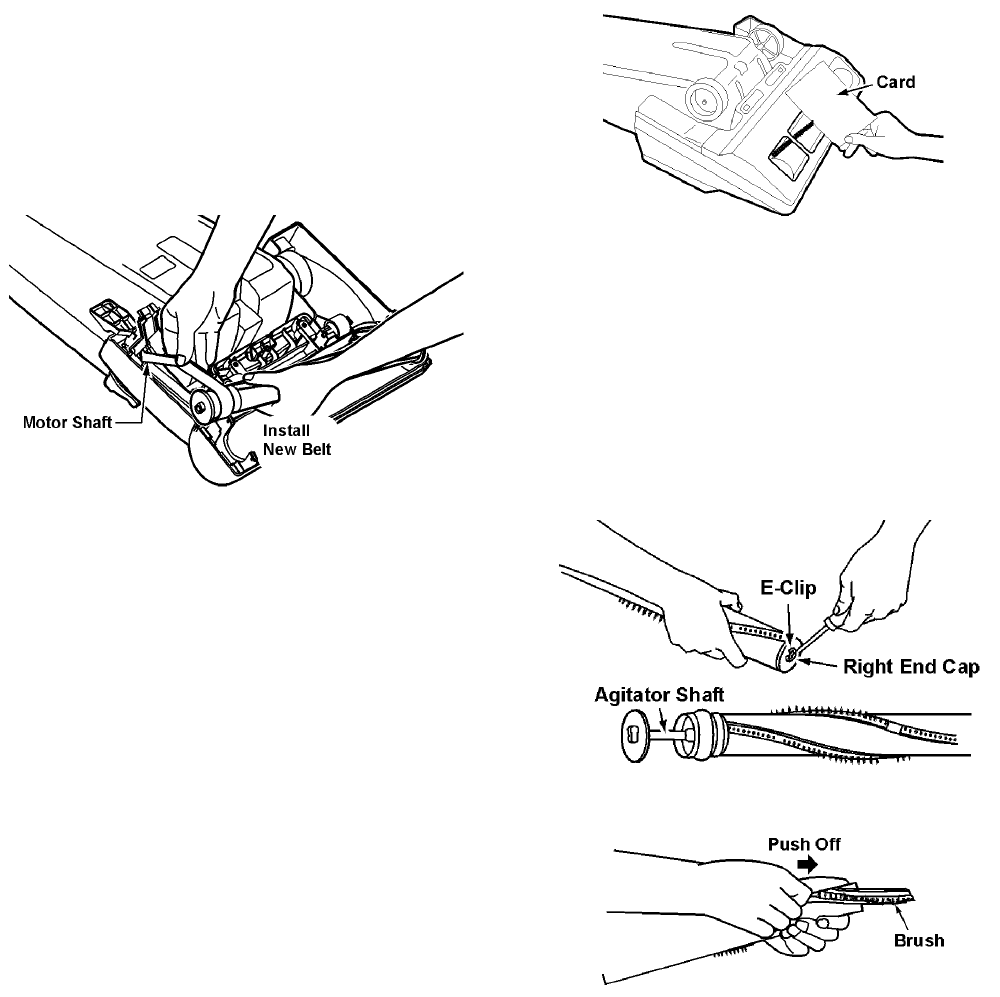
1. Place the belt around the motor shaft.
2. Start the new agitator assembly back into the nozzle
housing by placing the side opposite the belt partially into
the slot. The small tabs should be aligned with the nozzle
and the other against the lower plate. This will hold the
agitator in place and leave both hands free to place
enough tension on the belt to allow that side of the agita-
tor to return to the nozzle housing slot.
3. Place the belt around the agitator pulley on the agitator
assembly.
4. Use both hands to pull the belt tight, slide the agitator
assembly firmly into the slots on each end of the nozzle
housing.
5. Rotate the agitator assembly by hand to insure nothing
rubs and to check for correct assembly.
6. Replace the lower plate as outlined in the LOWER PLATE
REMOVAL/INSTALLATION section.
3.4. Brush Replacement
1. The agitator brushes should be replaced when the
brushes are worn. Brushes should be checked by holding
a card across the lower plate. If the bristles on the agitator
assembly do not touch the card you should replace all the
brushes for best cleaning results.
3.4.1. Removal
1. Remove the lower plate as outlined in the LOWER
PLATE REPLACEMENT section.
2. Remove the agitator assembly as outlined in the BELT
REPLACMENT section.
3. The agitator assembly may now be disassembled and the
brushes replaced.
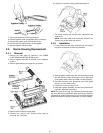
4. Carefully remove the E-clip from the agitator shaft, do not
misplace. Remove the right brush support. Pull the agita-
tor shaft out of the opposite end of the.
5. Pull or pry out the agitator pulley and agitator holder.
6. Push each brush out of the agitator.


