


4. Attach desired cleaning tool
(dusting brush, upholstery
brush or crevice tool).
5. When finished cleaning,
replace the tool and wand to
their storage positions. Make
sure the wand fits tightly
into the base inlet so it will
not leak.
Dust Bag Full Indicator
1.
Your machine has a red bag
full indicator light located on
top of the unit next to the
power switch which will
come on when the airflow is
obstructed indicating the dust bag is full.
2.
If the light comes on, switch off the machine, unplug the cord
and check the dust bag. Replace the bag when it is full. See
“Dust Bag Removal and Installation”.
3. If the light comes on and the dust bag is not full there is an
obstruction somewhere in the system.
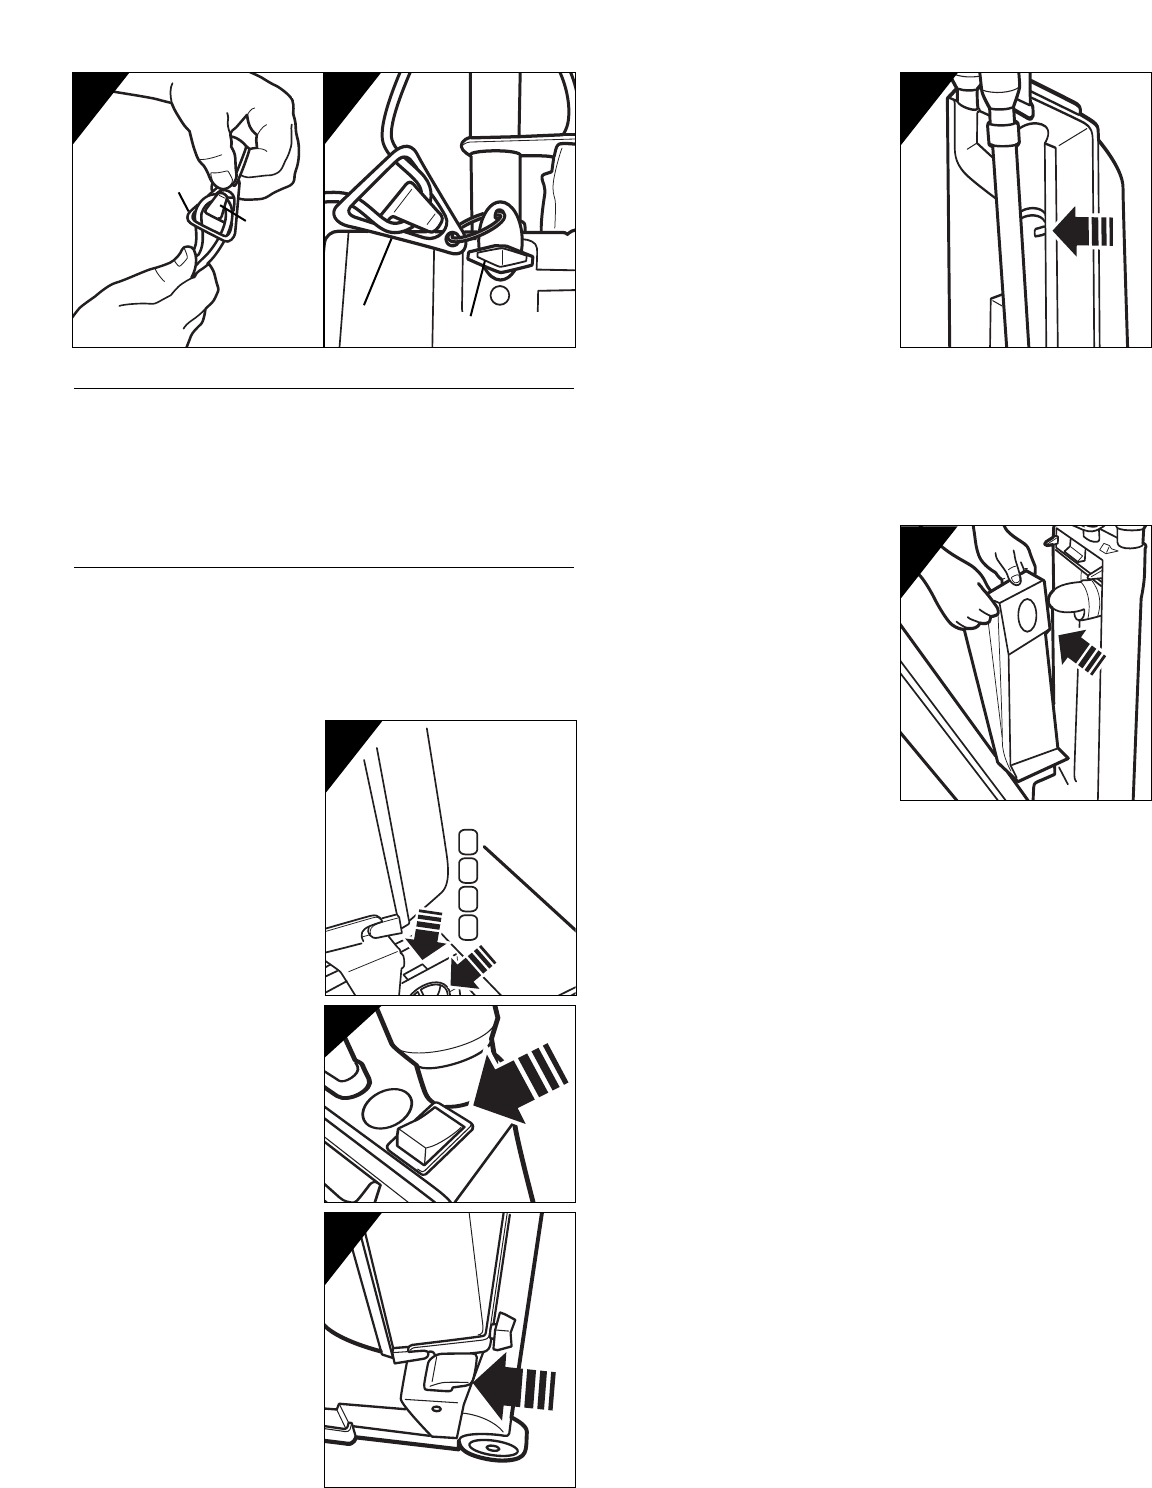
Dust Bag Removal
and Installation
1. Open the bag housing by
pushing on the door latch.
Fold the ends of the dust
bag together and carefully
remove the bag. Dispose of
bag
(fig 8).
2. Always install a new dust
bag directly after removing a
full one.
3. To install the new dust bag,
push the bag onto the inlet
of the fan motor as far as it
will go. Fold the top down
so it will not interfere with the door latch.
4. Close the door ensuring that it latches properly.
Operating Recommendations
This new ORECK XL Professional Grade Commercial Upright is one
of the finest, fastest, and strongest units in its class. You’ll love the
way it cleans, and it’s easy to use.
The following are a few simple suggestions regarding its operation:
1. When the disposable filter dust bag is full, REPLACE IT. When
inserting a new disposable paper filter dust bag—FIRST PUFF
OUT and OPEN THE BAG.
2. Inspect and clean the filter at the vacuum motor inlet weekly.
3. If at any time the vacuum cleaner does not pick up properly or
makes an unusual noise, ST
OP
OPERA
TION and service.
4.
Although your upright will pick up pins, paper clips, and other
small objects, it is recommended that these be removed from
the floor before you vacuum. Failure to do so may result in
permanent damage to the motor suction fan and its housing.
5.
WARNING: Do not use your vacuum cleaner on damp or wet
surfaces. This will cause damage to the vacuum cleaner and is
dangerous to the user. Damage caused by use on wet or damp
surfaces is not covered under warranty.
6. Change the disposable filter dust bag at least once a month—
even if it is not full!
The collected dust in the dust bag can cause
odor, attract moisture, and can affect the efficiency of the cleaner.
7. Inspect brush for wear once a month. If brush strips no longer
touch the carpet, replace brush.
8.
DO NOT run the vacuum cleaner over the cord.
The revolving
brush could damage the cord.
Installing Power Cord
According to your preference, you can place the power cord on the
machine in one of two ways:
1. Coil the cord (starting at the machine side to prevent cord from
turning) and hang it on the upper cord hook.
2. Wrap cord around the upper and lower hooks.
Operating Instructions
NOTE: This machine is suitable for voltage for 120V AC / 60 Hz.
Pre Operation Checks
1. Check to ensure a dust bag is installed. Replace bag if needed.
2. Check brush area for any thread, string or debris that may be
wrapped around the brush.
Vacuuming Carpet
1. Make sure the power switch
is in the “OFF” position.
Plug the power cord into
an electrical outlet.
2. Adjust the carpet height
adjustment to suit the
carpet thickness you are
going to clean
(fig 4).
3. Turn the main power switch
on. The vacuum fan motor
will turn
(fig 5).
4. While holding the handle,
depress the yellow release
pedal and lower the handle
to a convenient operating
position. When the handle
is lowered the brush motor
will start turning
(fig 6).
5. Begin vacuuming.
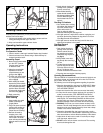
Remote Vacuum
Wand Cleaning
1.
Keep machine in a stable
position, preferably an
upright position.
2. Plug in the power cord and
switch on the machine as
described in the “Upright
Carpet Vacuum Cleaning”.
3. Remove the wand by
snapping it out of the
retainer clip and pulling it
from its inlet.
The brush
motor will stop automatically
when the wand is removed
(fig 7).
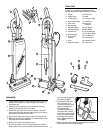
8
7
1
2
4
3
4
5
6
3
2
5
Cord Strain Relief
Clamp
Cord Strain
Relief
M5 Thumbscrew