13
• If the REMOVE FOR NO DELAY jumper
is installed, the compressor will energize
immediately following a 30-second delay.
Note: If the Y2 thermostat input is energized
(2 - stage system), the second stage will turn on.
If the above steps will not initiate a defrost, replace
the defrost board.
Anti Short Cycle Timer Test
The 3-minute time delay feature can be bypassed
by shorting the TEST pins together.
Heating Mode
When the TEST pins are shorted together for
more than 1-second, the control will switch
between defrost mode and heating mode (as
described in the Defrost Test Procedure section).
Cooling Mode
When the TEST pins are shorted together for
more than 1-second, the Anti Short Cycle Timer
will be bypassed.
Optional Equipment
A functional checkout should be performed
in accordance with the checkout procedures
supplied with the equipment.
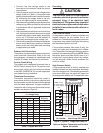
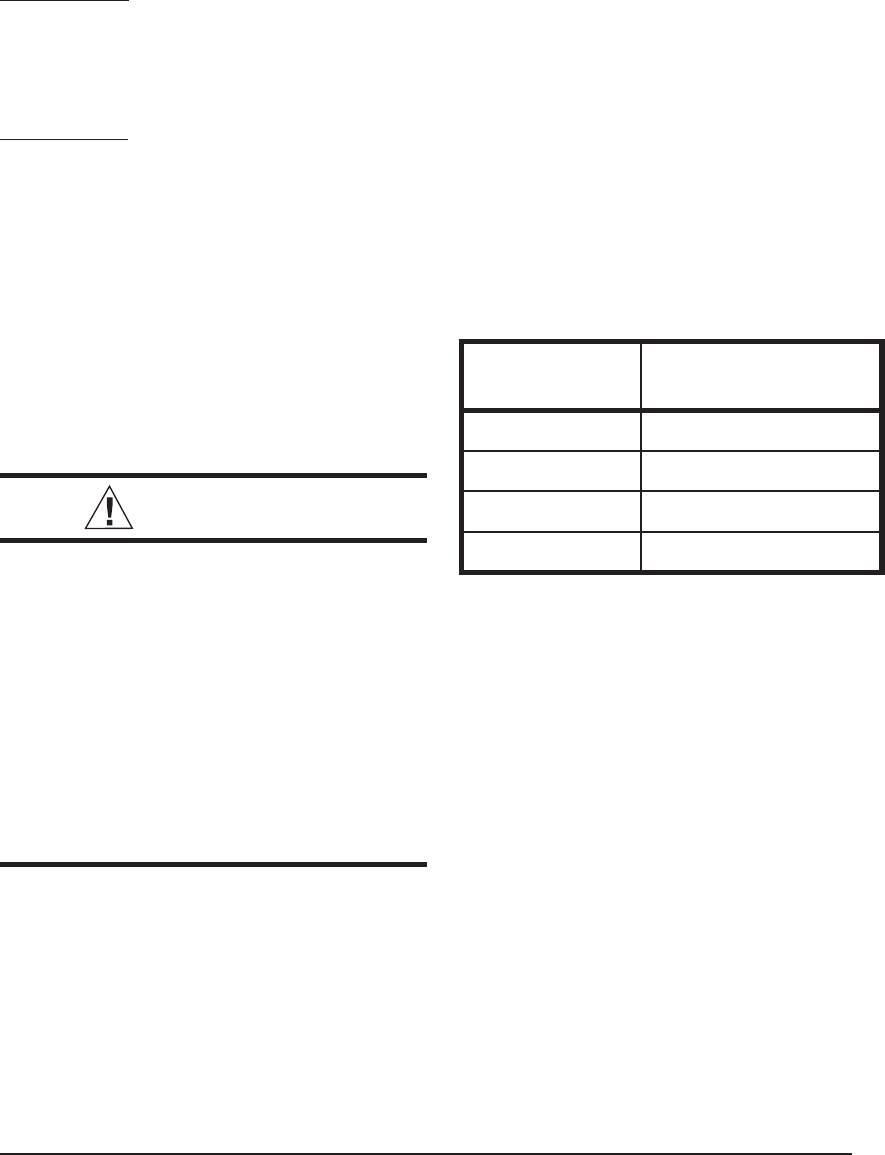
Table 3. Split System
Heat Pump Charge
Tonnage
System Charge
R-410A oz.
2 Ton 185
3 Ton 272
4 Ton 272
5 Ton 272
ADJUSTMENT OF REFRIGERANT
CHARGE:
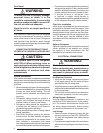
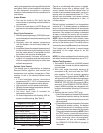
CAUTION:
Split system equipment contains
liquid and gaseous refrigerant under
pressure. Adjustment of refrigerant
charge should only be attempted by
qualifi ed, trained personnel thoroughly
familiar with the equipment. Under no
circumstances should the homeowner
attempt to install and/or service this
equipment. Failure to comply with this
warning could result in equipment
damage, personal injury, or death.
NOTES:
• The unit must be charged while both fi rst and
second stages are operating.
• To achieve rated capacity and effi ciency the
compressor must be exposed to refrigerant
for at least 24 hours prior to running and then
must be run for a minimum of 12 hours.
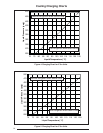
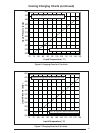
• The following Refrigerant Charging Charts are
applicable to listed assemblies of equipment
and at listed airfl ows for the indoor coil.
Assemblies of indoor coils and outdoor units
not listed are not recommended.
Charging an R-410A Unit in AC Mode at
Outdoor Temperatures Above 65F.
1. With the system operating at steady-state,
measure the liquid refrigerant pressure in
psig at the service valve.
2. Measure the liquid refrigerant temperature in
Fahrenheit at the service valve.
3. For the temperature measured, determine the
required liquid refrigerant pressure from the
appropriate charging charts in Figures 4 - 7
(pages 14 & 15).
4. If the pressure measured in step 1 is greater
than the required liquid refrigerant pressure
determined in step 4, then there is too much
charge in the system. Remove refrigerant and
repeat steps 1 through 3 until the system is
correctly charged.
5. If the pressure measured in step 1 is less
than the required liquid refrigerant pressure
determined in step 4, then there is too little
charge in the system. Add refrigerant and
repeat steps 1 through 3 until the system is
correctly charged.
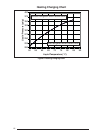
Charging an R-410A Unit in Heating Mode.
1. Evacuate the refrigerant system.
2. Weigh in the proper charge per Table 3, using
the Heating Charging Chart (Figure 8, page
16) as a guide. Unit charge MUST be verifi ed
in cooling season.
3. Verify the unit is operating properly as outlined
in the functional checkout (heating section) on
page 11.


