


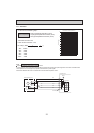


OPERATING PROCEDURE
PHOTOS & ILLUSTRATIONS
34
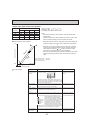
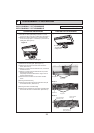
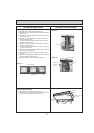
13. Removing the heat exchanger and LEV
(1) Remove the air intake grille. (See Figure 1,2)
(2) Remove the beam. (See Photo 1)
(3) Remove the electrical cover. (See Photo 1)
(4) Pull the electrical box downward. (See Photo 2)
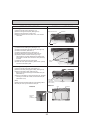
(5) Disconnect the connector CN60 (white) from the indoor
controller board.
(6) Remove the left and right side panels. (See Figure 3)
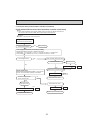
(7) Remove the under panel. (See Photo 13)
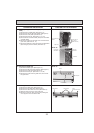
(8) Remove the drain pan. (See Photo 14,15,16)
(9) Remove the pipe cover. (See Photo 17)
(
10
) Remove the pipe thermistors (TH22 and TH23) from
each holder. (See Photo 18)
(
11
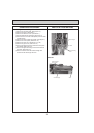
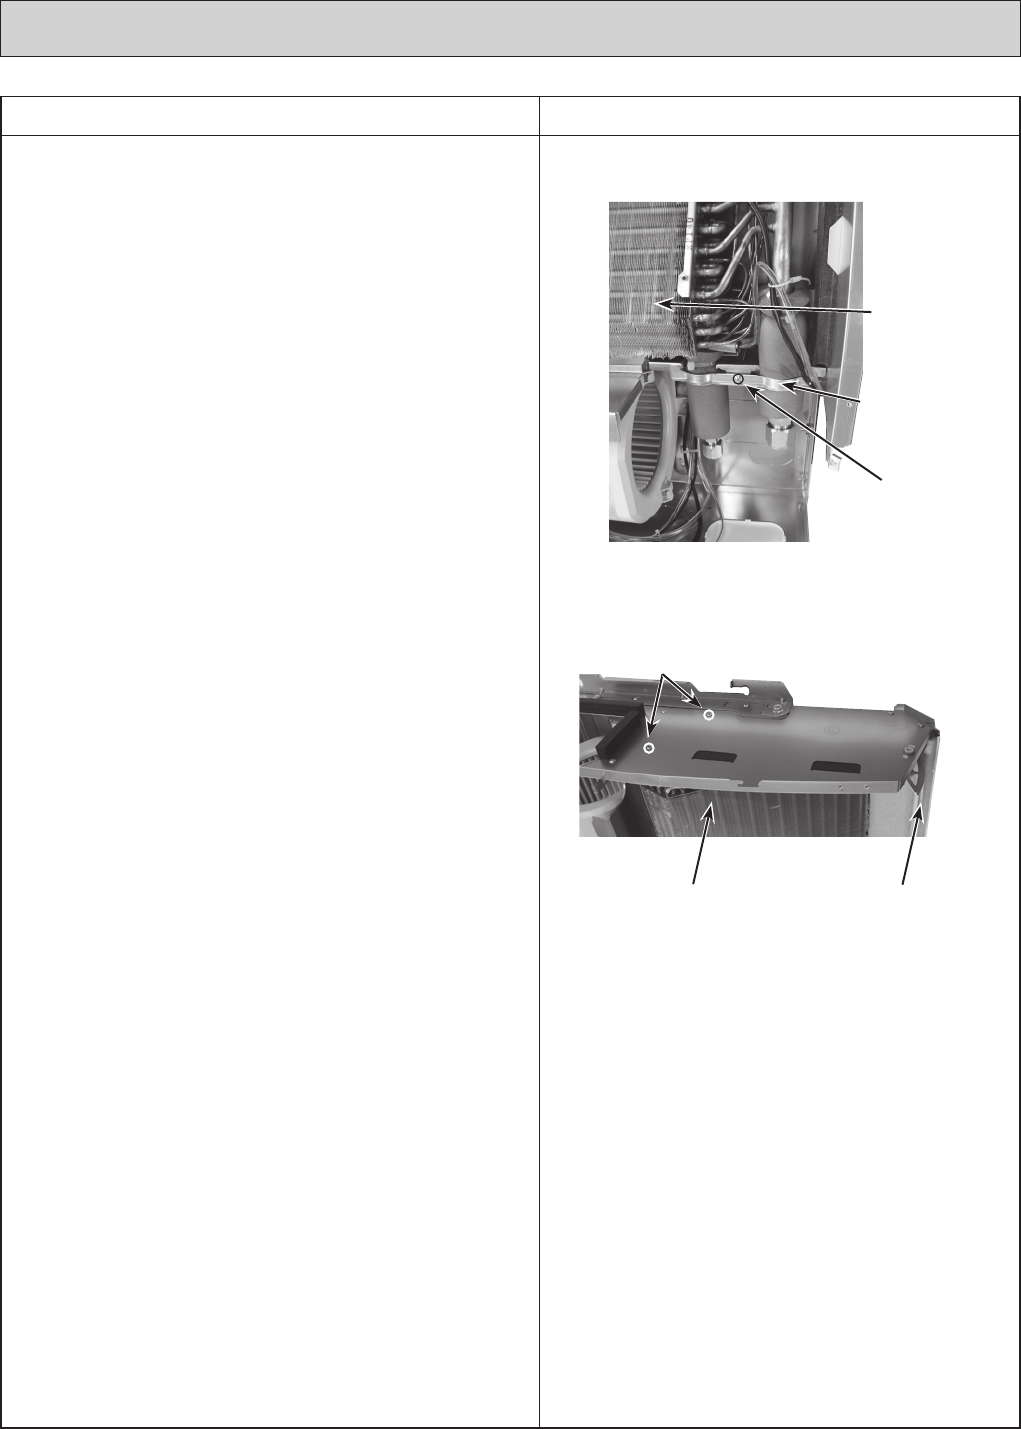
) Remove the pipe band fixing screw and remove the
pipe band. (See Photo 21)
(
12
) Remove 2 screws from the heat exchanger and
remove the heat exchanger with LEV.
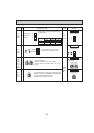
Photo 21
Pipe band fixing
screw
Pipe band
Heat exchanger
fixing screws
Heat exchanger Vane
Photo 22
Heat exchanger