


14 M12 160x120 Thermal Imager Operator’s Manual
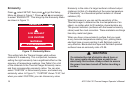
Proceed as follows to capture and save a basic image set:
1. Press and hold (center button on the directional
keypad) for 2 to 3 seconds until you see activity on the
display.
2. The Thermal Imager displays progress messages
about Sensor Calibration during warm-up. From Sleep
Mode, warm-up is almost instantaneous. Until warm-up
is complete, button presses are ignored.
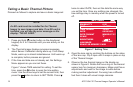
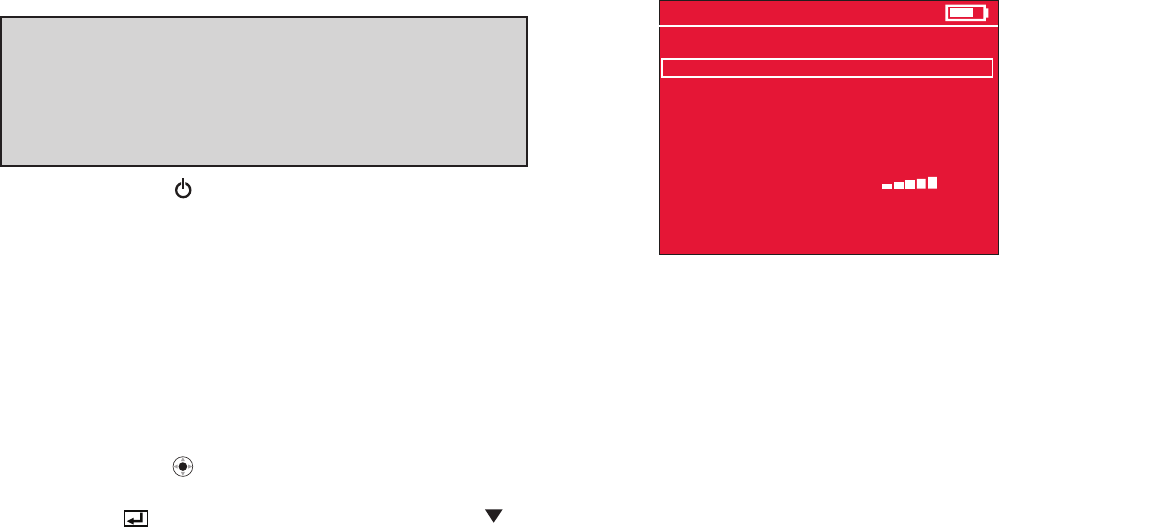
3. If the time and date are not already set, the Settings
Menu appears so you can set these.
Figure 7 shows TIME selected for setting. To set the
time, press the
button to open the time setting
menu. Use the arrow keys to set the current time, then
press the button to return to SETTINGS. Press
twice to select DATE, then set the date the same way
you set the time. Once any settings are changed, the
new settings stay in memory when the power is turned
off.
SETTINGS
TIME FORMAT
EMISSIVITY
SCALE
DATE FORMAT
DATE
12 HR
0.95
˚F
MM/DD/YYYY
09/29/2011
TIME
10:45PM
BRIGHTNESS
LANGUAGE
ENGLISH
ERASE SD MEMORY CARD
Figure 7. Setting Time
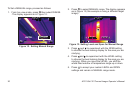
4. Open the lens cap by pinching the buttons on the sides
of the lens cap. Flip it open until it snaps in place on top
of the Thermal Imager.
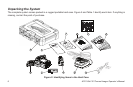
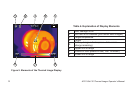
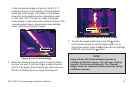
5. Observe the live thermal image on the display as
shown in Figure 8. Rotate the focus ring on the thermal
sensor lens for maximum sharpness. Make small focus
adjustments and wait for the image to settle before
making another adjustment. Focusing has a different
feel than it does with visual image cameras.