


1. The LED on the sensor will flash once when the sensor is triggered.
2. There cannot be a gap greater than 1/4 inch (5 mm) between the magnet sensor
and the magnet, otherwise, the sensor will not work properly.
Enter the installer password and press the “1” button to activate the “Sequence
Programming Menu”. Take the magnet away from the magnet sensor. It will trigger the
sensor and the LED will light for 1 sec. The Main Console will emit one ‘Beep’ and the
LCD will display, ‘Sensor Added’. The sensor has programmed into the main console
successfully.
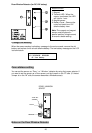
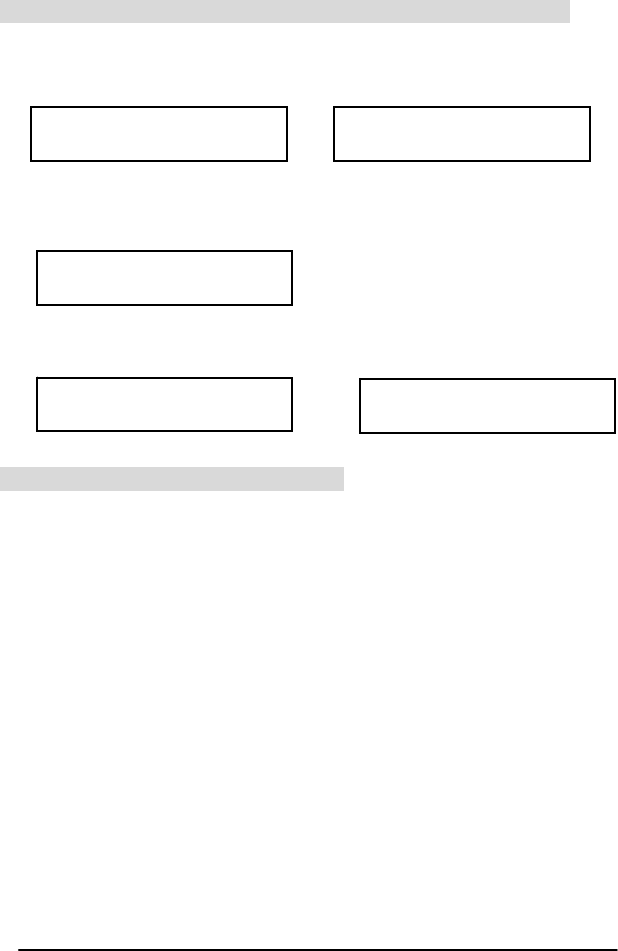
LCD display on the Main Console for Door/Window Detector
When the system is in the armed mode. (message shown on main console)
• Window opened Door opened
63 WINDOW SENSOR
01 Open
63 DOOR SENSOR
01 Open
When the system is in the process of arming, and the sensor has been opened
prior to the arming. (message shown on main console)
• Window opened
63 WINDOW SENSOR
01 Open
• Window battery cover opened Door battery cover opened
63 WINDOW SENSOR
01 Tamper
63 DOOR SENSOR
01 Tamper
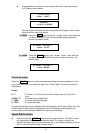
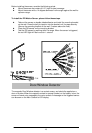
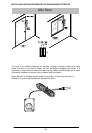
Installing the Door/Window Detector
Installing for( DC 12V Detector):
To install a Door/Window Detector, follow these steps:
1. Before installing the sensor, ensure the sensor has programmed into the main console
successfully
2. Apply double sided adhesive tape to the back of the sensor.
3. Find the arrow embossed on the sensor, just below the LED light. Find a similar arrow
on the magnet. Before exposing the adhesive backing, align the two arrows on the
surface where you want them installed. Check that both parts of the device fit and that
they can be mounted with a gap less than 1/4 inch between them.(refer to the picture
below).
4. Reconfirm the setting on the main console, Press the CHECK button, and then open
the window. The main console will receive the sensor signal and leave a message on
the LCD display for about 2 seconds. Note: Checking this will require two people
21