13
NOTE: DIAGRAMS & ILLUSTRATIONS ARE NOT TO SCALE.
Operating Hints
1. Burn only dry, well-seasoned wood for maximum heat
output. In some states it is illegal to burn wet wood or
anything other than clean, dry wood products.
2. Your stove is designed to operate with the door closed!
Operate only with the door shut tightly at all times except
when loading wood.
3. DO NOT hit or move the baffle brick while loading wood.
Occasionally check the baffle. Make sure the insulating
blanket is always flush with the front of the baffle brick.
Loading oversized logs may dislodge the baffle bricks.
4. CAUTION: THE DRAFT CONTROL MUST BE FULLY OPEN
BEFORE OPENING THE DOOR TO AVOID POSSIBLE
COMBUSTION FLASH!! (Ignition of hot volatile gases
as the door is opened).
5. Feeding excessive amounts of fuel to the stove should
be avoided. It is important to supply it with sufficient
draft and fuel to maintain a moderately hot fire. If, dur-
ing overnight burns, heavy creosote deposits develop
inside your stove and on the door, the draft is set too
low - review your burning habits!
Optional Blower Installation
A blower, cat. no. 71000, can be installed on the stove to improve
hot air distribution throughout the room.
To install the blower:
1. Remove all the contents from the blower box. Included
with the blower should be a blower speed control.
2. Remove the screw in the round knock out plate on the
back of the stove. Bend the knock out plate back and
forth until it can be removed.
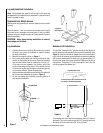
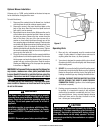
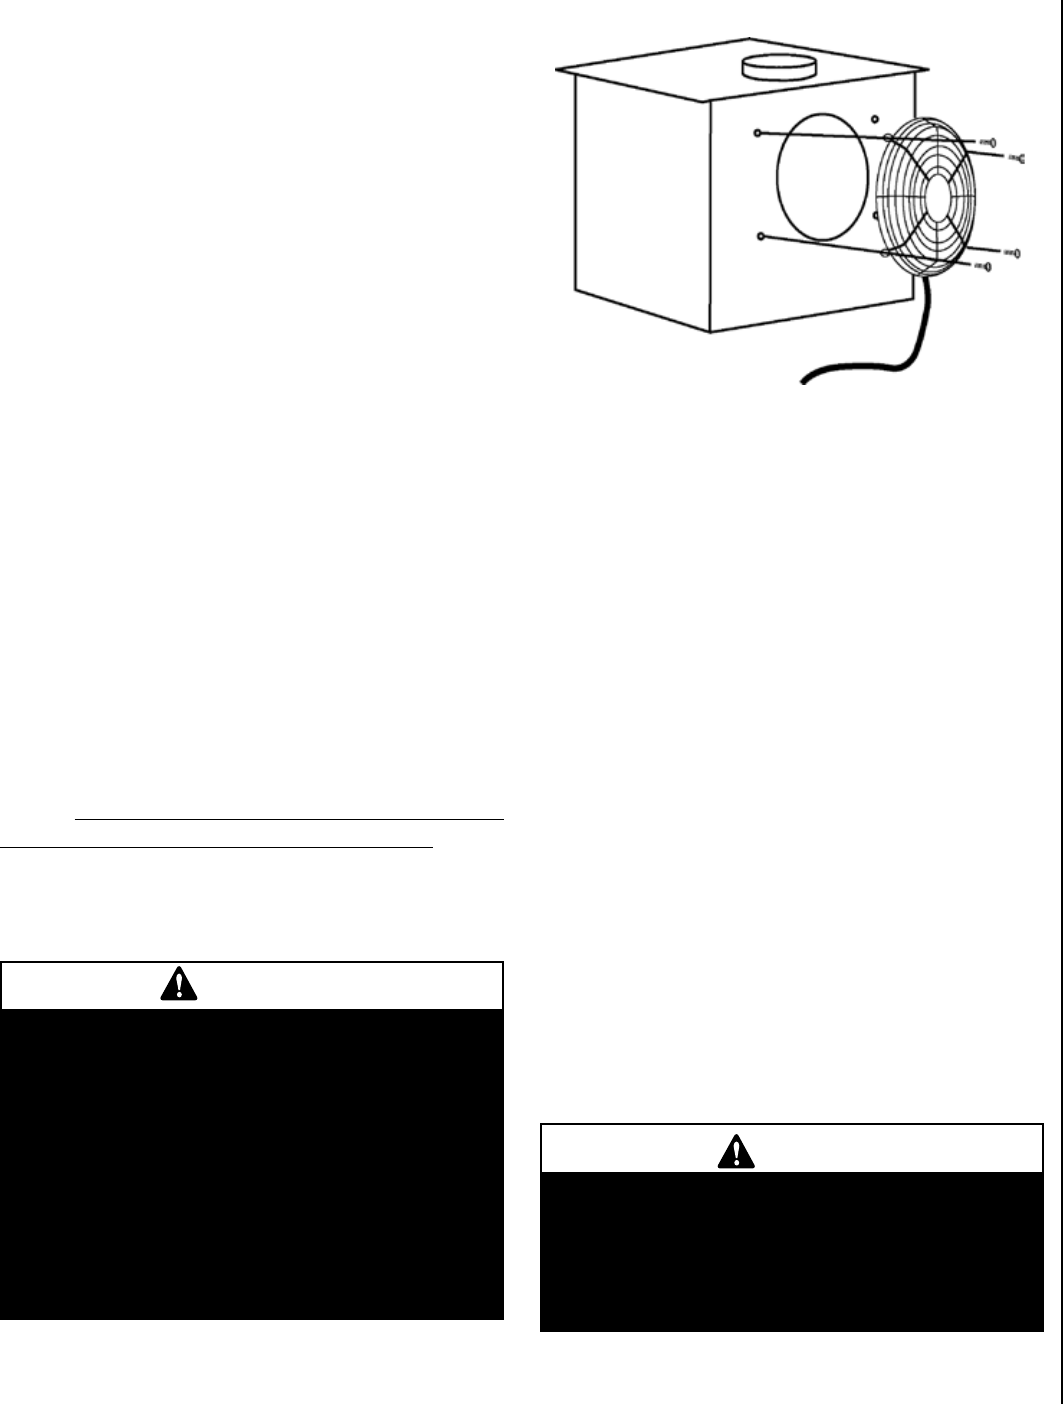
3. Mount the blower as shown below. Make sure the cord is
at the bottom when mounted and that it does not touch
the stove anywhere. Remove the four screws from the
back of the stove. Use one of the four screws with a
washer on it and attach the blower through one of the
four mounting legs on the blower housing. Check to make
sure that the fan blade does not touch the large hole in the
rear heatshield. (Spin it to check all directions). Finish
attaching the blower with the other three screws. Tighten
the screws moderately tight but do not over tighten as
you may strip the holes out.
4. Plug in the fan speed control into the nearest outlet then
plug the blower cord into the speed control. Do not route
the fan power cord under the stove or allow it to come in
contact with any surface of the stove. Read the section
Starting and Maintaining a Fire for proper fan operating
instructions on Page 15.
WARNING: In the event that you remove the blower for
any reason, make sure a cover plate (available from
Lennox Hearth Products) is installed before using the
heater. Excessive rear wall temperatures will result
if the stove is burned without the cover plate. Note:
The cover plate is not necessary if a blower has never
been installed because a knock-out will be in place
to act as the cover.
CAUTION
Be careful not to abuse door assembly by striking or
slamming it. If the door assembly or glass is broken or
damaged, they must be replaced with factory original
parts before heater can be safely operated. Use only
components provided by the manufacturer as replace-
ment parts.
WARNINGS
The blower must be plugged directly into a properly
grounded three-prong receptacle, 120 VAC, 60 Hz, single
phase. Do not cut or remove the grounding prong from
this plug. Do not route power cord under or in front of
appliance.
Installation must be in accordance with National Elec-
trical Code, ANSI/NFPA 70 - latest edition. In Canada,
the current CSA C22-1 Canadian Electrical Code - latest
edition.
DANGER: Disconnect power before servicing blower.
Figure 9


