16
NOTE: DIAGRAMS & ILLUSTRATIONS ARE NOT TO SCALE.
Be sure to clean plated accessories with a household type
cleaner and a very soft cloth to remove any fingerprints and
residues prior to the first fire.
1. NEVER USE FLAMMABLE LIQUIDS TO START OR REKINDLE
A SOLID FUEL FIRE!!
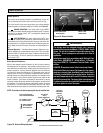
2. Fully open the primary draft control by pulling the 1” plastic knob
out on the left side (lower front corner) until it stops (away from the
stove). This control determines the amount of air entering the stove.
Pushing it toward the stove reduces the burn rate in the firebox. For
your convenience, the rod on this control is marked with four grooves
to assist you in obtaining repeatable burn rates.
3. Place a small amount of crumpled paper in front of the firebox and
cover it with a few pieces of kindling.
4. Light the paper and allow sufficient time for the kindling to become
fully engulfed in flames. You will now close the wood units front door.
(Your wood units front door may or may not need to be left slightly
open during this start up process, this depends on the stove model
and the amount of draft present. Do not leave the unit unattended
while the front door is slightly open) Once kindling is burning well,
larger pieces of wood may be added, then the door should be fully
closed if there was the need to keep it slightly open during start up.
DO NOT LEAVE THE STOVE UNATTENDED WHILE THE FRONT
DOOR IS SLIGHTLY OPEN.
CAUTION: Do Not alter the adjustment range of the draft
control for increased firing for any reason.
Operate only with fuel door and ash drawer closed. Maintain
all seals in good condition. Do not operate with broken glass.
Do Not build the fire too close to the glass.
Do not operate the appliance with the door open or ajar other
than possibly during start up to create a draft (Do not leave
the unit unattended while the front door is slightly open dur-
ing start up). Operating the appliance with the door open
other then in initial start up if needed will produce extreme
temperatures within the appliance. Damage caused from
over-firing is not covered under the manufacturers limited
warranty.
5. For best results, use smaller pieces of wood to get the insert tem-
perature very high before loading larger wood for sustained burns.
If necessary, crack the door to allow ignition of the fuel charge. Do
not leave the unit unattended while the front door is slightly open.
Now you can add larger pieces of wood and after several minutes of
high burn, set the left control for the desired heat output. Check the
exhaust in about 15 to 20 minutes. Large amounts of smoke indicate
an improper burn setting (either too high or too low). Adjust and
recheck in 5 to 10 minutes.
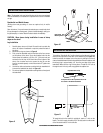
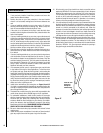
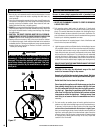
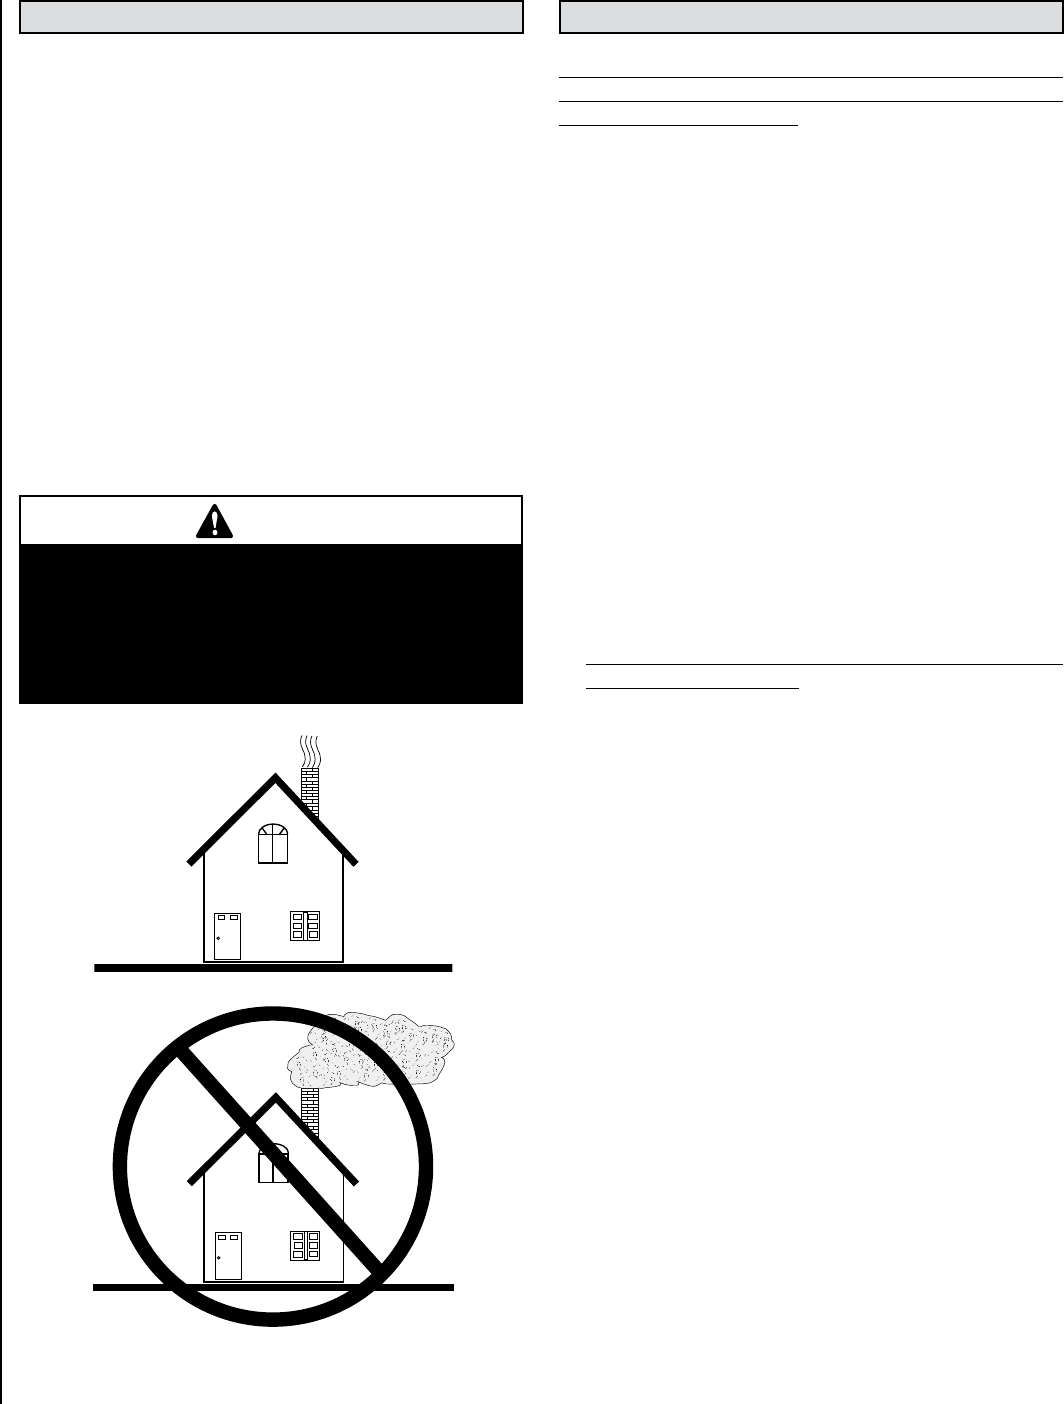
Figure 17
STARTING AND MAINTAINING A FIRE
OK
1. Burn only dry, well-seasoned wood for maximum heat output. In some
states it is illegal to burn wet wood or anything other than clean, dry
wood products.
2. Your stove is designed to operate with the door closed! Operate only
with the door shut tightly at all times except when loading wood and
possibly on start up to establish a draft. Never leave the unit unat-
tended while the front door is slightly opened.
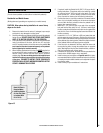
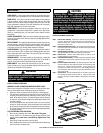
3. DO NOT hit or move the baffle boards while loading wood. Occasionally
check the baffle. Make sure the baffle blankets are always flush with
the front of the baffle boards. Loading oversized logs may dislodge
the baffle boards.
4.
CAUTION: THE DRAFT CONTROL MUST BE FULLY OPEN BE-
FORE OPENING THE DOOR TO AVOID POSSIBLE COMBUSTION
FLASH!! (Ignition of hot volatile gases as the door is opened).
5. Feeding excessive amounts of fuel to the stove should be avoided.
It is important to supply it with sufficient draft and fuel to maintain a
moderately hot fire. If, during overnight burns, heavy creosote deposits
develop inside your stove and on the door, the draft is set too low
- review your burning habits!
CAUTION
Be careful not to abuse door assembly by striking or
slamming it. If the door assembly or glass is broken or
damaged, they must be replaced with factory original
parts before heater can be safely operated. Use only
components provided by the manufacturer as replace-
ment parts.
OPERATING HINTS


