CARE AND OPERATION
PAGE 23
Continued from last page…
1. Place a recommended fire starter (see your dealer for
appropriate fire starter in your area) in the UltraGrate
TM
and put a handful of pellets on top of the starter. DO
NOT USE FLAMMABLE LIQUIDS TO START YOUR
STOVE.
2. Light the fire starter in the UltraGrate
TM
with a match
and close the door. Press the heat output selector but-
ton to position 3.
3. After approximately 10 seconds, press the START but-
ton. You will notice that the fire will become active and
there will be air coming from the heat exchanger tubes.
4. After the pellets in the UltraGrate
TM
are burning suffi-
ciently (red hot coals), press the AUGER ON/OFF but-
ton: this will activate the auger motor and pellets will
begin to feed into the UltraGrate
TM
. our blower motors
will continue to operate.
5. After the pellets are burning well, press the HEAT
OUTPUT selector to the desired setting. Combustion
air and the pellet fuel feed rate will adjust automatically
as the HEAT OUTPUT selector button is pressed. The
flame should be bright yellow in color and there should
be no evidence of soot formation at the top of the
flame. Press the BLOWER SPEED control knob to in-
crease or decrease the desired amount of convection
air from your stove.
If operating your stove with a wall thermostat, adjust the
heat output selector button to the desired demand mode
(#2 through #5 on the HEAT OUTPUT selector button).
Next, adjust the wall mounted thermostat to the desired
heat and your stove will automatically switch between a
demand mode and a pilot mode.
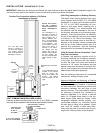
DAMPER OPERATION
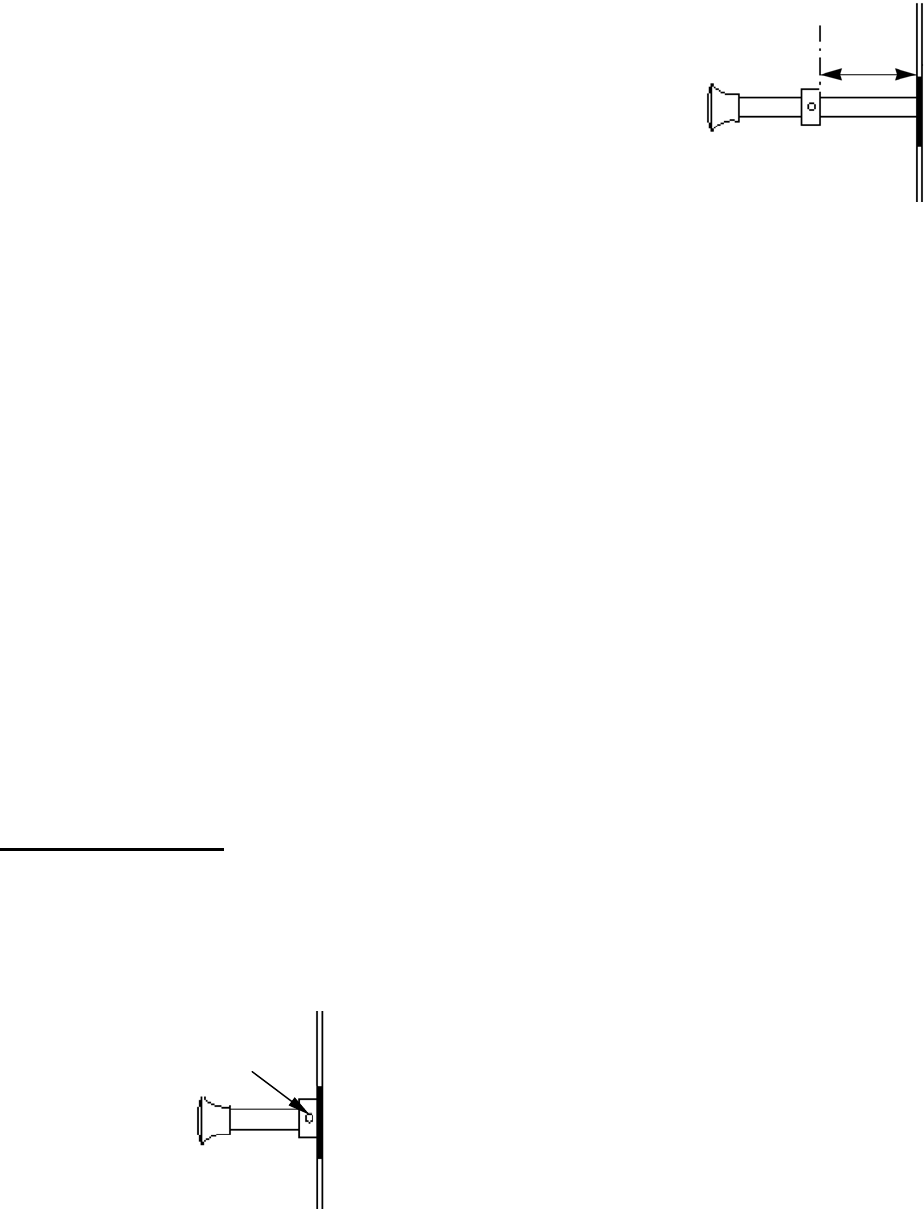
The Damper Rod is preset at 2 1/4” which is proper for the
average installation. In some cases the damper may need to
be adjusted from the standard setting.
Adjustment Procedure:
Loosen setscrew on set collar
(see illustrations on this page), then adjust in 1/4" incre-
ments until optimum combustion air flow is achieved. For
less air push in and for more air pull out. After adjust-
ment, position set collar against side panel and tighten
setscrew.
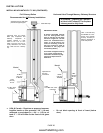
Damper In (less air)
Damper Out (more air)
The damper rod located on the lower left-hand side of
the stove will not need to be manually adjusted every
time you turn the fuel feed rate up or down. However, the
damper allows the air-to-fuel ratio to be “fine tuned.” The
proper air setting will vary from stove to stove depending
on installation configuration, altitude and type of fuels
being burned.
There is a “break-in” period for all Advantage II-T C
stoves. It is important to understand and make note of
the following items when you first light your stove:
• During the first day or two of operation, it may ap-
pear that the flame pattern is somewhat short and
vigorous. This is due to the “break-in” period of the
auger motor.
• During this period, the auger motor will gradually
speed up its rotation cycle as the gearbox wears in.
This will correspondingly increase the fuel feed rate.
The flame pattern will grow accordingly, and the
damper rod may need to be pulled out slightly to
compensate.
• DO NOT ADJUST THE CONTROL BOARD INTER-
NAL SETTINGS AT THE TIME OF INSTALLATION!
All adjustments to compensate for burn characteris-
tics should be done with the damper on the left-hand
side of the stove by moving it in or out slightly 1/4” at
a time.
When your new stove is installed; the exhaust should be
hooked up, the stove plugged in and the fire started.
Check for proper operation at all heat output settings (#1
- #5). Look for a brisk yellow flame with no black tips.
Continued on next page…
2 1/4”
Standard
Collar and
Setscrew
www.PelletKing.com


