7
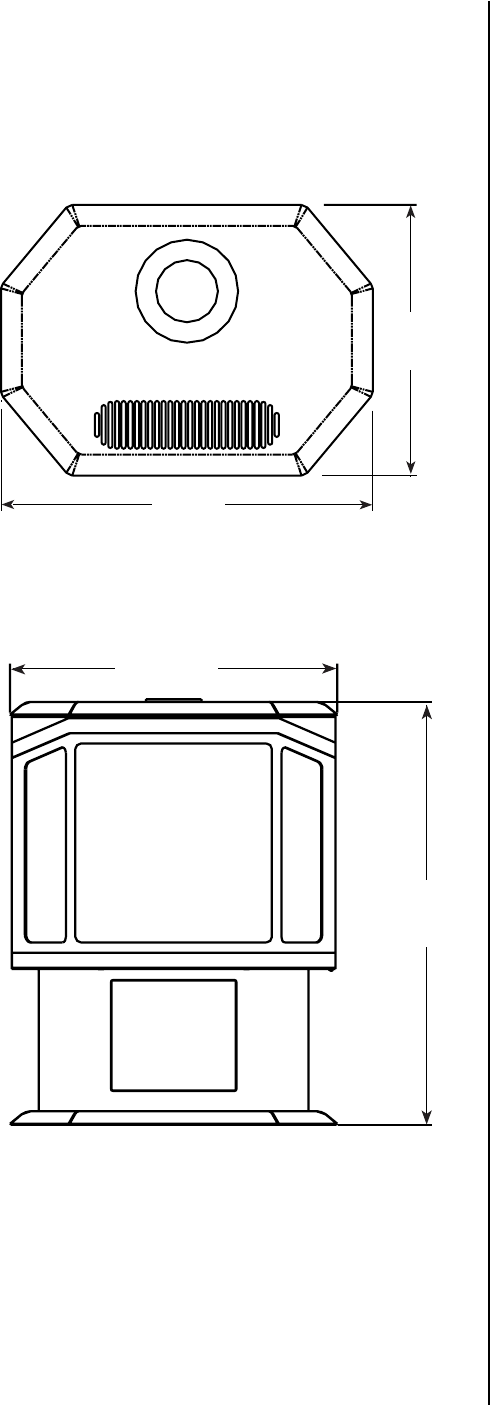
NOTE: DIAGRAMS & ILLUSTRATIONS ARE NOT TO SCALE.
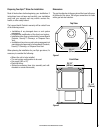
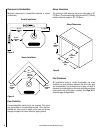
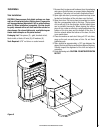
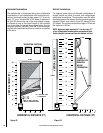
Dimensions
The gas line attaches to the gas valve at the lower left corner
at the back of the stove. Test all gas connections for leaks
with a gas leak test solution.
Preparing Your Epic™ Stove For Installation
Read all instructions before beginning your installation. If
instructions have not been read carefully, your installation
could void your warranty and may create a serious fire,
health, or other safety hazard.
The Lennox Hearth Products warranty will be voided if one
of the following occurs:
• Installation of any damaged stove or vent system
component.
• Unauthorized modification of the direct vent system.
• Installation other than as instructed by Lennox Hearth
Products, Security™ Chimneys, or Simpson Dura-
Vent.
• Installation of any stove or vent system component not
manufactured or approved by Lennox Hearth Products,
Security™ Chimneys, or Simpson Dura-Vent.
When planning the installation for your Epic gas stove, it’s
necessary to consider the following:
• Where the unit is to be installed
• The vent system configuration to be used
• Gas supply (NG or LP)
• Electrical wiring
• Optional accessories (door trim assembly and wall-
mounted or remote thermostat)
23-1/2”
(597mm)
17”
(432mm)
23-1/2”
(597mm)
31-1/4”
(794mm)
Top View
Front View
Figure 1
Figure 2


