[i:ii:ii:ii:_i:i:ii:_i:i:ii:_i:i:ifSECTION 1 l:oii:ii:_i:i:ii:_i:i:ii:_i:i:ii:_i:]WATER SOFTENER START UP
B. CHECK LIST OF STEP-BY-STEP GUIDES TO INSTALL
To be sure you have done all the steps to install the
softener, read the following list. Refer to the Installa-
tion Manual, part no. 7231741, for step-by-step
guides.
Page numbers referred to are in the Installation
Manual unless otherwise noted.
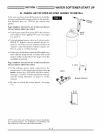
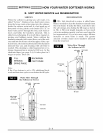
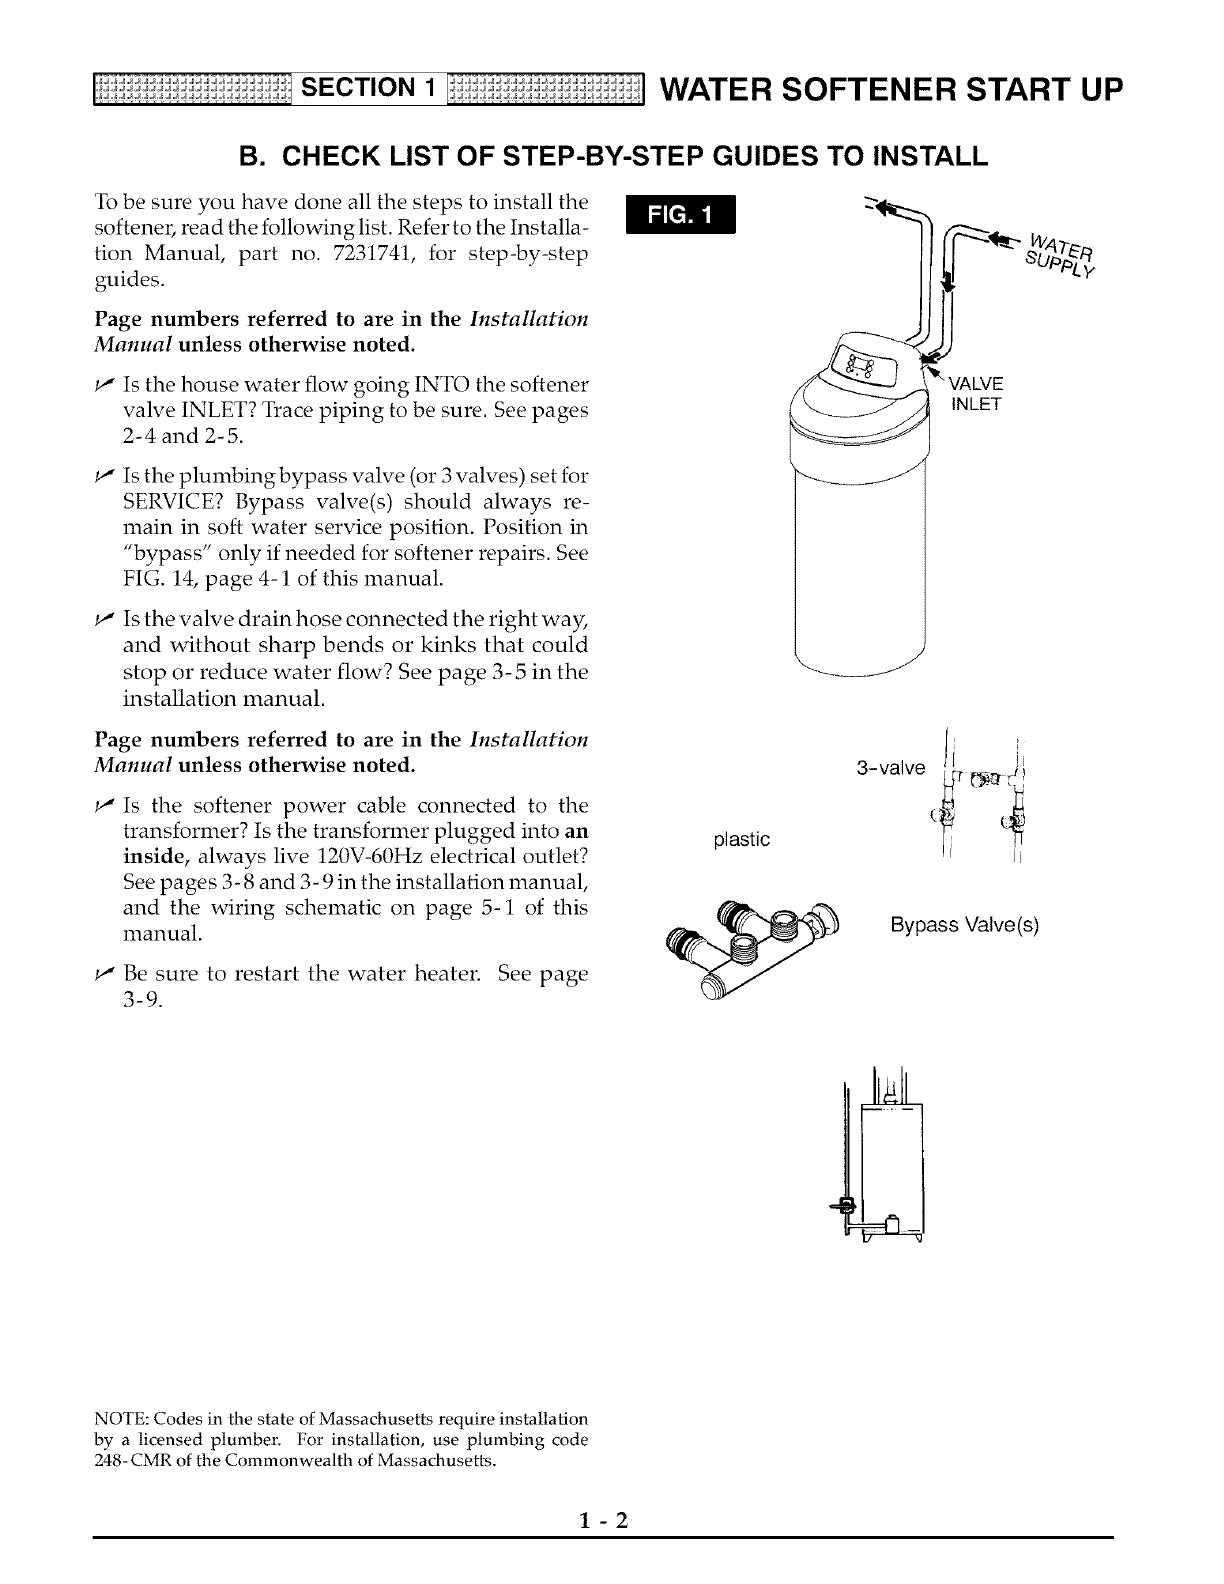
_" Is the house water flow going INTO the softener
valve INLET? Trace piping to be sure. See pages
2-4 and 2-5.
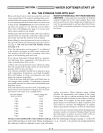
INLET
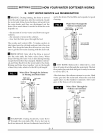
Is the plumbingbypass valve (or 3 valves) set for
SERVICE? Bypass valve(s) should always re-
main in soft water service position. Position in
"bypass" only if needed for softener repairs. See
FIG. 14, page 4-1 of this manual.
Is the valve drain hose connected the right way,
and without sharp bends or kinks that could
stop or reduce water flow? See page 3-5 in the
installation manual.
Page numbers referred to are in the Installation
Manual unless otherwise noted.
Is the softener power cable connected to the
transformer? Is the transformer plugged into an
inside, always live 120V-60Hz electrical outlet?
See pages 3- 8 and 3- 9 in the installation manual,
and the wiring schematic on page 5-1 of this
manual.
Be sure to restart the water heater. See page
3-9.
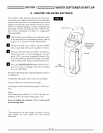
plastic
3-valve j [i
Bypass Valve(s)
NOTE: Codes in the state of Massachusetts require installation
by a licensed plumber, For installation, use plumbing code
248- CMR of the Commonwealth of Massachusetts,
1-2


