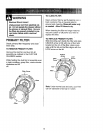
WARNIN G I
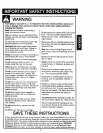
I Electrical Shock Hazard
I DO NOT plug Into electrical supply
I until assembly is complete. Failure to
I do so could result in electrical shock or
I mjury.
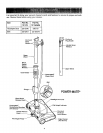
Before assembling your vacuum cleaner, be
sure you have all parts shown in PARTS
AND FEATURES.
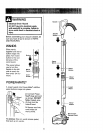
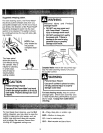
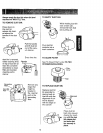
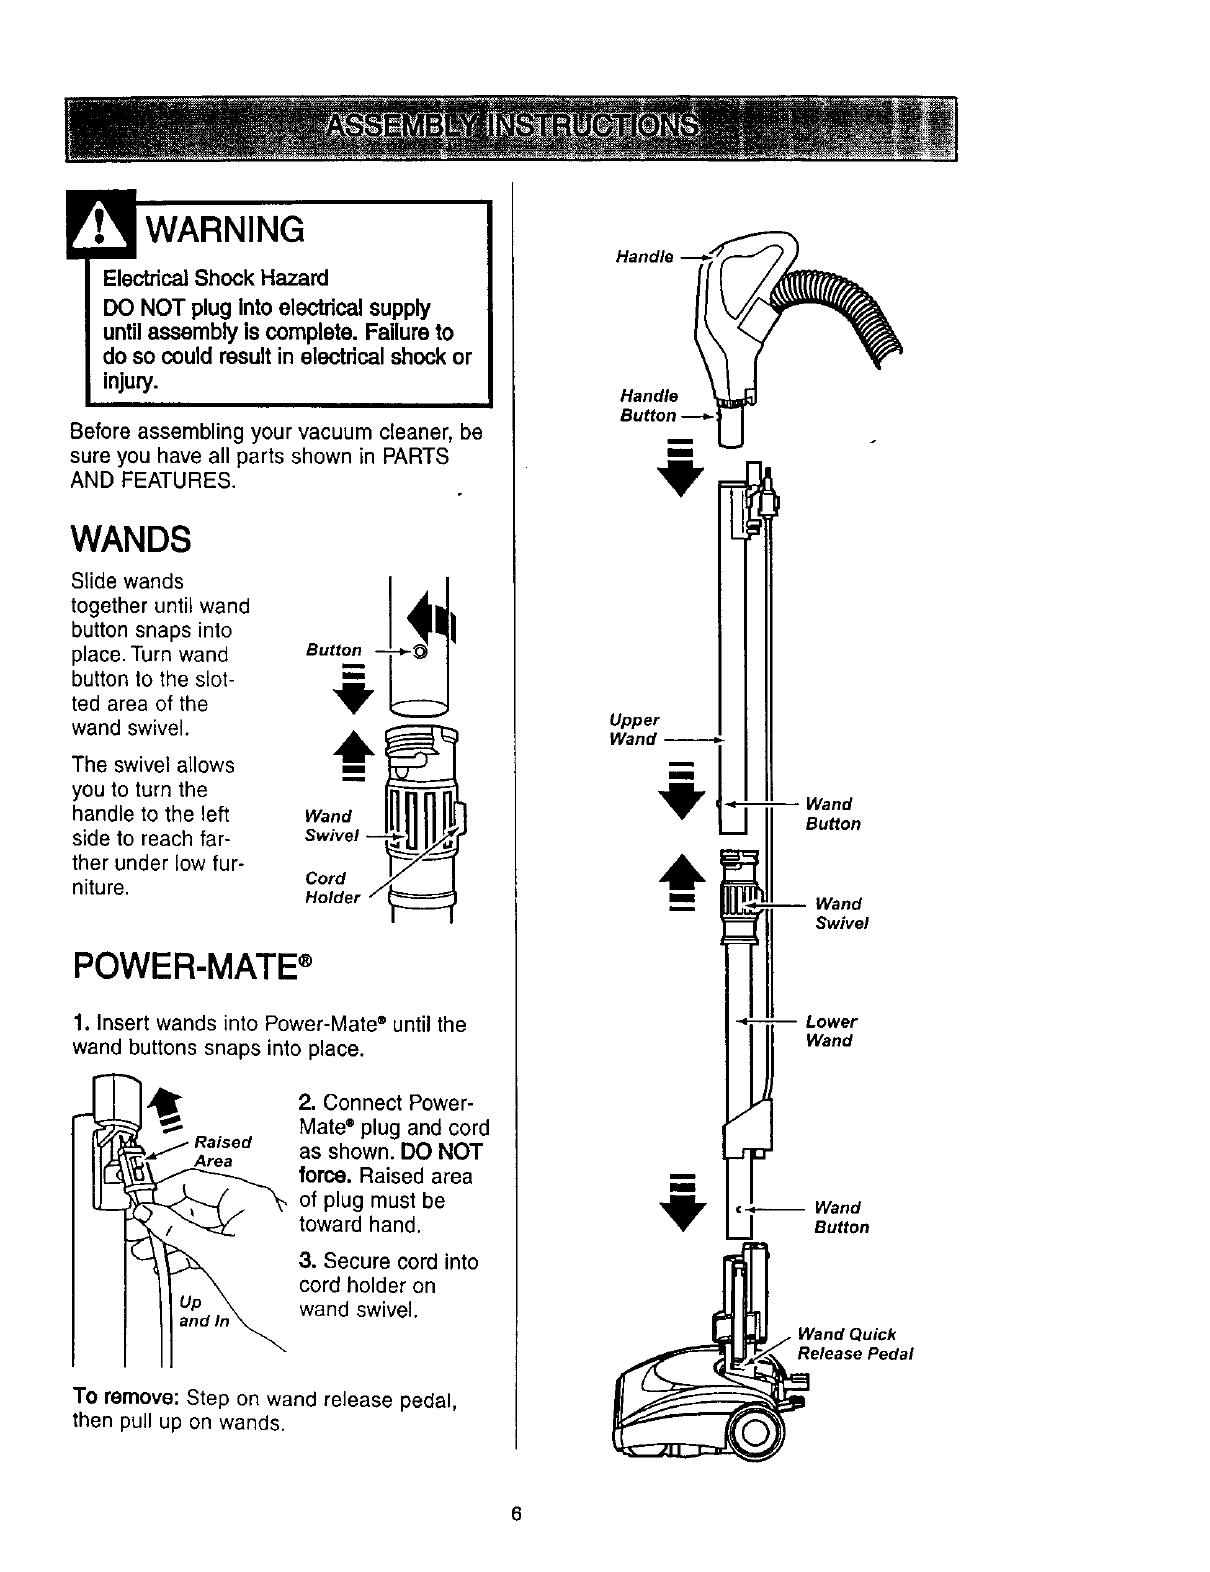
WANDS
Slide wands
together until wand
button snaps into
place. Turn wand Button
button to the slot-
ted area of the
wandswivel, n_ _,
The swivel allows
you to turn the
handle _left Wa
side to ,far- swivel--'_1_
ther ur w fur
n,ture.'-M:eri
_ds ir rer-Mal.= until tL
sna place. ,
2. Con icct Pew
Mate ®Idl tg and
Raise as she VlI. DO
Area
force. It_ised ar
of plug must be
toward hand.
button to the slot-
ted area of the
The swivel allows
handle to the left
side to reach far-
ther under low fur-
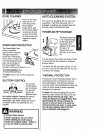
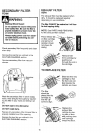
POWER-MATE®
1. Insert wands into Power-Mate ®until the
wand buttons snaps into place.
2. Connect Power-
Mate ®plug and cord
as shown. DO NOT
force. Raised area
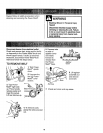
3. Secure cord into
cord holder on
wand swivel.
To remove: Step on wand release pedal,
then pull up on wands.
Handle __
Handle
ButtoL---_ U
Upper
Wand _
"_ Wand
Button
Wand
Swivel
L
Wand
Wand
Button
Release Pedal
6


