– 24 –
English
2
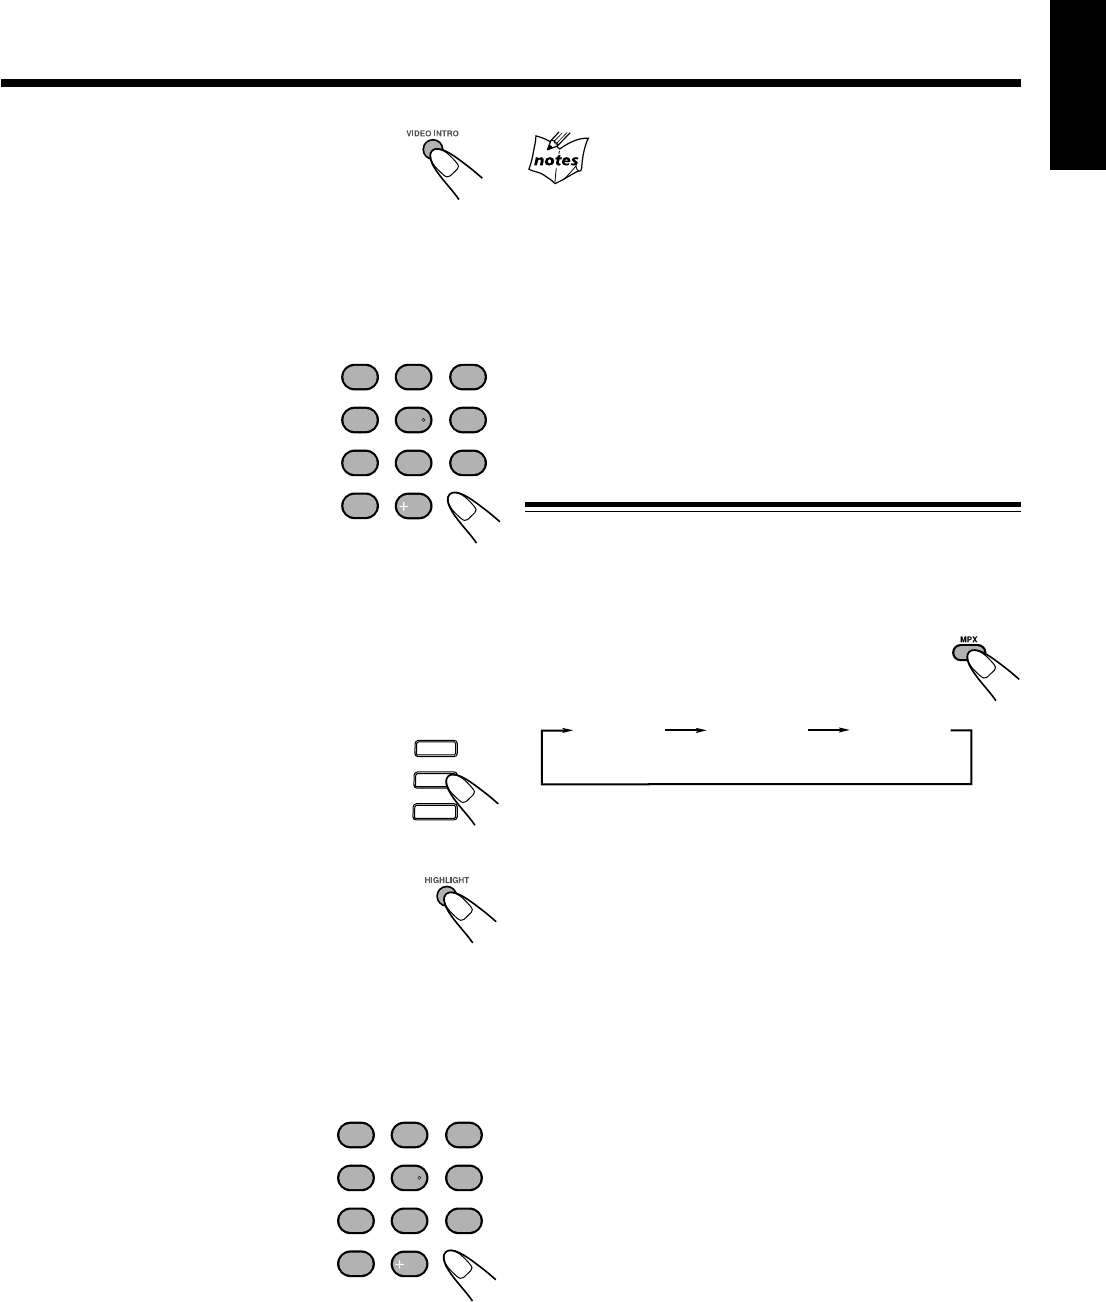
Press VIDEO INTRO on the remote
control after a picture appears on the
TV screen.
The video intro play starts and shows in sequence for
about 7 seconds of the first nine tracks on the TV screen.
To preview subsequent tracks, press “NEXT ¢ (¡)”
on the remote control. Pressing “PREV. 4 (1)” will
display the previous 9 track intros.
3
Press the number button for the
video intro you want to select.
Playback starts from the selected
track.
To stop and cancel the video intro
play, press 7.
Viewing the Highlights of a Video CD
You can view highlight scenes of the selected track on a
video CD only when PBC is off. These highlight scenes are
created by dividing the track equally into 9 portions and the
beginning scenes (7 seconds each) of those 9 portions are
shown on the display.
1
Press CD 1-3 and the number button
for the track you want to view the
highlights of.
Playback starts.
2
Press HIGHLIGHT on the remote
control after a picture appears on the TV
screen.
The highlight play starts and shows in
sequence, the first 7 seconds of nine track divisions on the
TV screen for 1 minute. To preview subsequent tracks,
press “NEXT ¢ (¡)” on the remote control. If a
highlight scene is not selected, it will automatically stop
after a few minutes.
3
Press the number button for the
highlight you want to select.
Playback starts from the selected
scene.
To stop and cancel the highlight play,
press 7.
Viewing highlights
• If a highlight scene is not selected while 9 scenes are shown on
the TV, highlight scenes of the next track will appear on the
display.
• When a highlight scene is selected, playback starts from the
beginning of the highlight scene, but not from the still image
shown on the display (the part shown is the last part of the
highlight scene, not its beginning)
• During the video intro or highlight play, images shown on the
display may be partially distorted, resulting from noise or
incorrect manufacturing of the disc.
• Highlight also can function in stop position.
Playing a Multiplex Sound CD
This function is used for multiplex sound discs. See manuals
attached to discs for detailed information.
Operation
By pressing the MPX button on the remote control
consecutively, channel multiplexing modes are
cycled as shown below.
When Lch MONO or Rch MONO is selected, display
indicates Lch MONO or Rch MONO respectively.
Lch MONO: Only the left channel (instrumental parts) is
played back through both right and left
speakers.
Rch MONO: Only the right channel (vocal parts) is played
back through both right and left speakers.
NORMAL: Used for conventional stereo sources.
Lch MONONORMAL
Rch MONO
(Left channel/
Right channel)
1
4
7
10
2
5
8
3
6
9
10
CD3
CD2
CD1
1
4
7
10
2
5
8
3
6
9
10
EN14-25.CA-HXZ7/9V[US,UN,UX]/1 22/1/03, 4:50 PM24
