


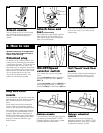
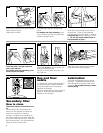
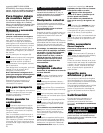

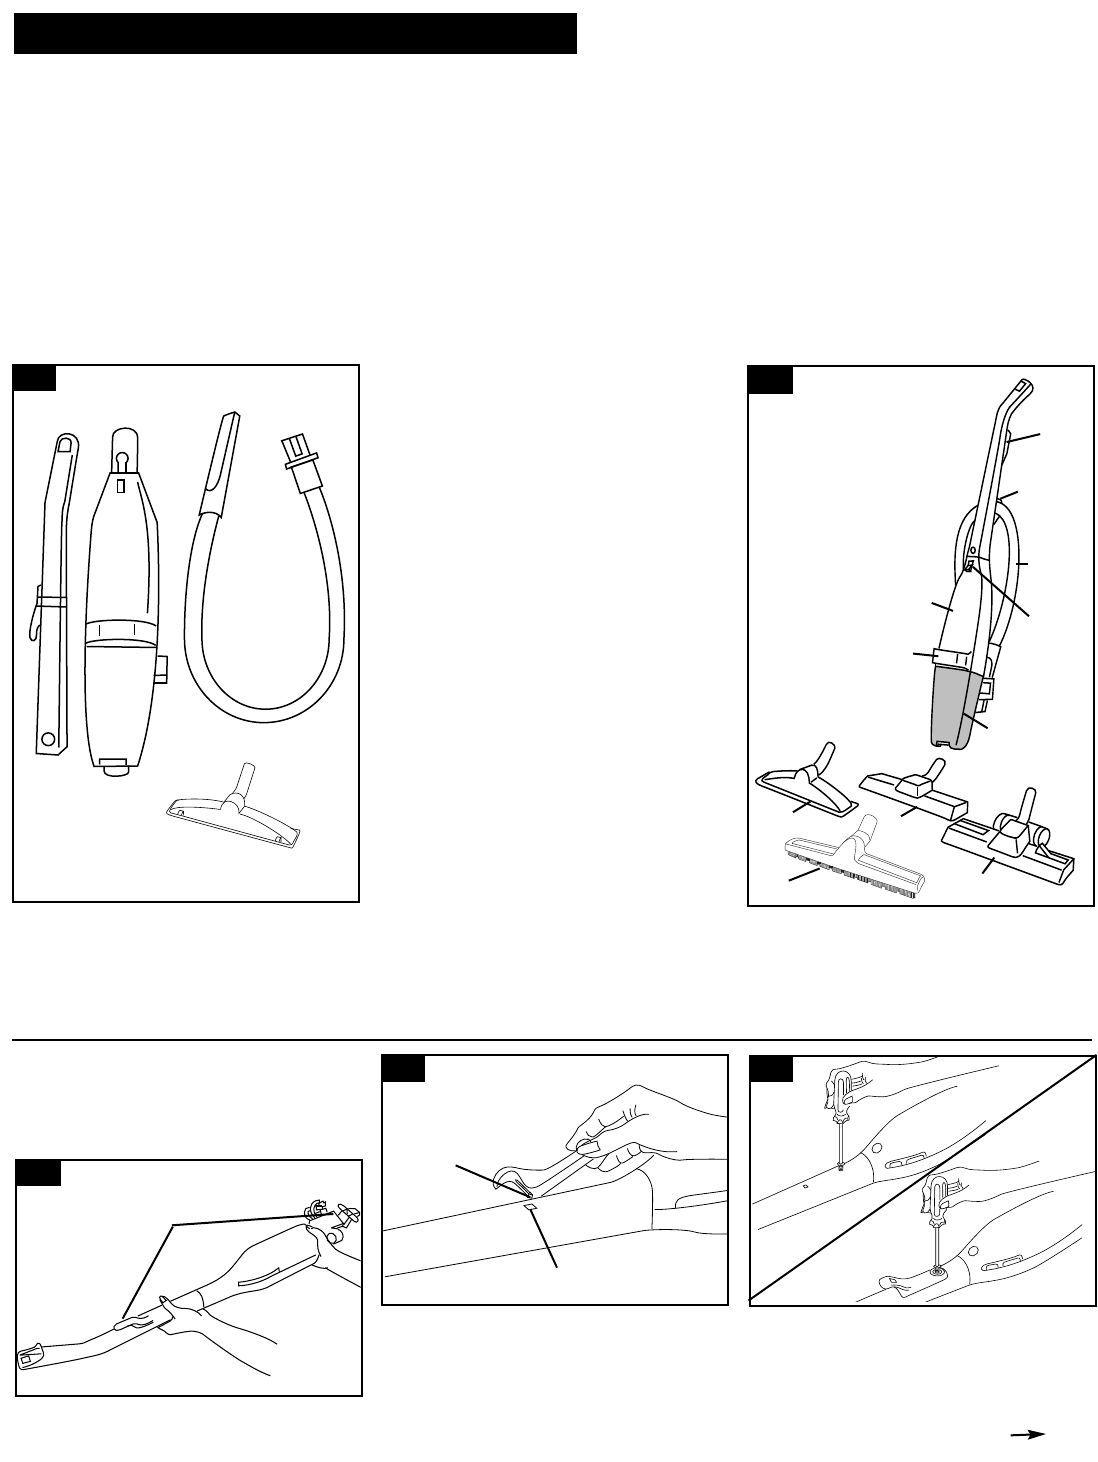
Remove the tape securing the hose hook
and screw to the handle. A Phillips
screwdriver is needed for assembly.
3
1. Assembling cleaner
1-1
1-2
1-4
1-3
Questions or Concerns?
The Hoover Company wants to quickly resolve any concerns about your cleaner or questions regarding its
use. Look on the list provided with the product for your local Hoover Factory Service Center or in the Yel-
low Pages under “Vacuum Cleaners - Household” for the nearest Authorized Hoover Warranty Service
Dealer (Depot) or call:
1-800-944-9200 for an automated referral of authorized service outlet locations (U.S. only) OR
1-330-499-9499 to speak with a representative in the Hoover Consumer Response Center OR
Visit us online at www.hoover.com to find the service outlet nearest you (click on the
“Service” button)
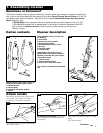
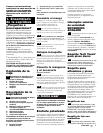
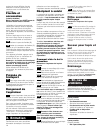
Unpack cleaner from carton, remove all
cardboard and identify parts shown.
1. Handle Section
2. Cleaner Body
3. Hose with tool (some models)
4. Nozzle
1
A
B
K
C
D
E
F
G
H
I
J
K
2
3
4
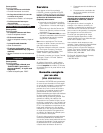
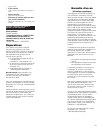
The assembled cleaner will look like
the drawing.
A. Cord hook
B. Hose hook (some models)
C. Hose (some models)
D. ON-OFF/Speed selector switch
E. Dirt cup
F. Carrying handle
G. Cleaner body
Depending on the model you pur-
chased, ONE of the above Rug/Floor
Nozzles is included with your cleaner.
H. Standard nozzle
I. Deluxe nozzle
J. Deluxe wheeled nozzle
K. Soft Touch™ hard floor nozzle
This cleaner is intended for household
use.
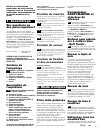
Attach handle
Carton contents
Cleaner description
For attached hose models, place hose
hook on handle by first inserting tab (L)
into slot (M).
With cord hooks (K) upward, slide handle
onto cleaner body.
Continued
L
M
1-5
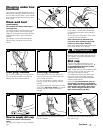
Insert screw and secure handle to cleaner
body.
(N = Hose models)
N