


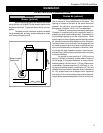
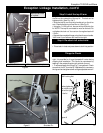
Exception TL200 Wood Stove
15
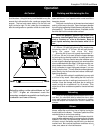
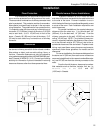
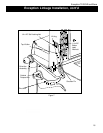
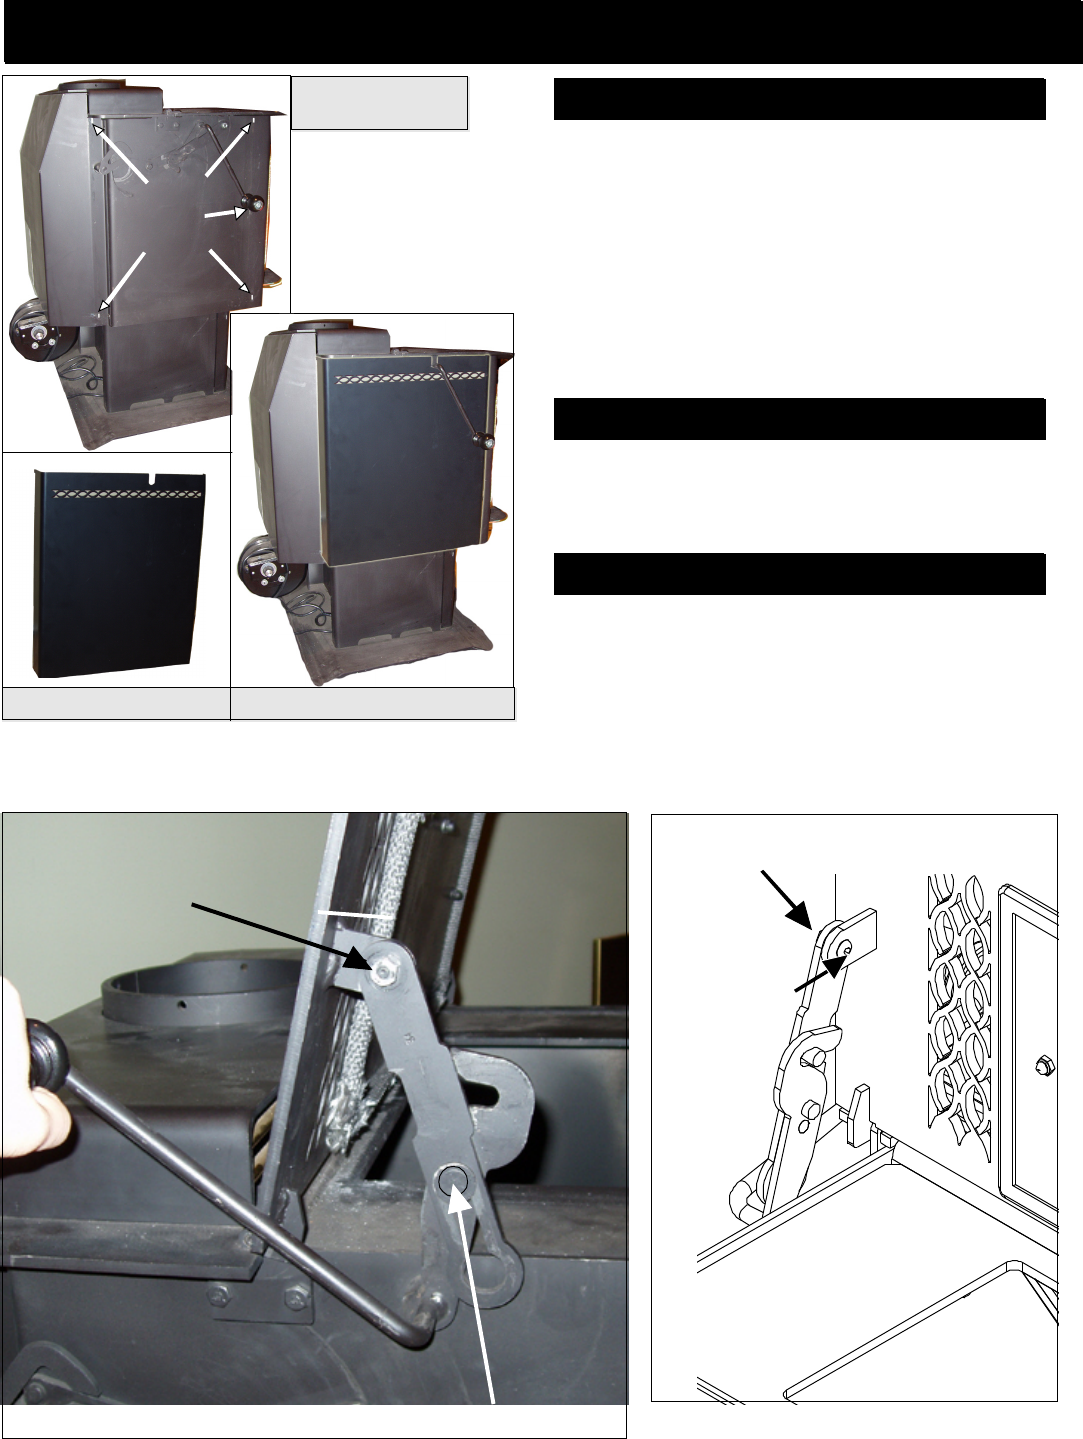
Figure 5
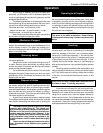
Figure 6
Self-Locking Nut
Shoulder Pin
Before tightening
the nut be sure
the bolt is tight
in the lid.
Exception Linkage Installation, cont'd
Self-Locking Nut
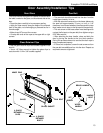
Step 2: Install the top lift/drive armStep 4: Re-attach left side shield.
•
Place side shield under top load door arm
•
Place tabs in slots and press down to lock into position.
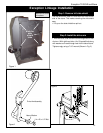
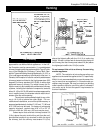
Things to Check
•
Make sure the top load door (lid) is centered from left to
right. It is possible for it to get bumped off center during
shipping and installation. This lid can be recentered by
tapping in the proper direction with a block of wood.
•
In extreme cases the lift lug (Fig 7) can get bent. Check
to see that it is 90
o
from the lid. If adjustment is necessary
the lug can be straightened with a large adjustable wrench.
slots for
side
shield
tabs
Before side shield
is in place.
Side Shield
After side shield is in place.
Figure 4
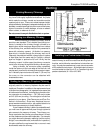
Step 3: Install the top lift arm
• Tighten the 1/4-20 x 5/8 button head allen bolt. Bolt into
the tab on the underside of the top lid. This bolt can be
tightened fully. (See Fig. 6 & 7)
•
Slide the top lift arm onto the shoulder pin on the drive
arm. Check positioning of top lift arm. (See Fig. 5)
•
Using the 1/4-20 lock nut, secure the top lift arm to the
lid. NOTE: The top lift arm needs to move on the bolt. Do
not tighten the lock nut. You can turn it snug then back off
1/2 turn.
•
Operate the complete linkage using the drive arm handle.
You'll know if your bolts are too loose or too tight.