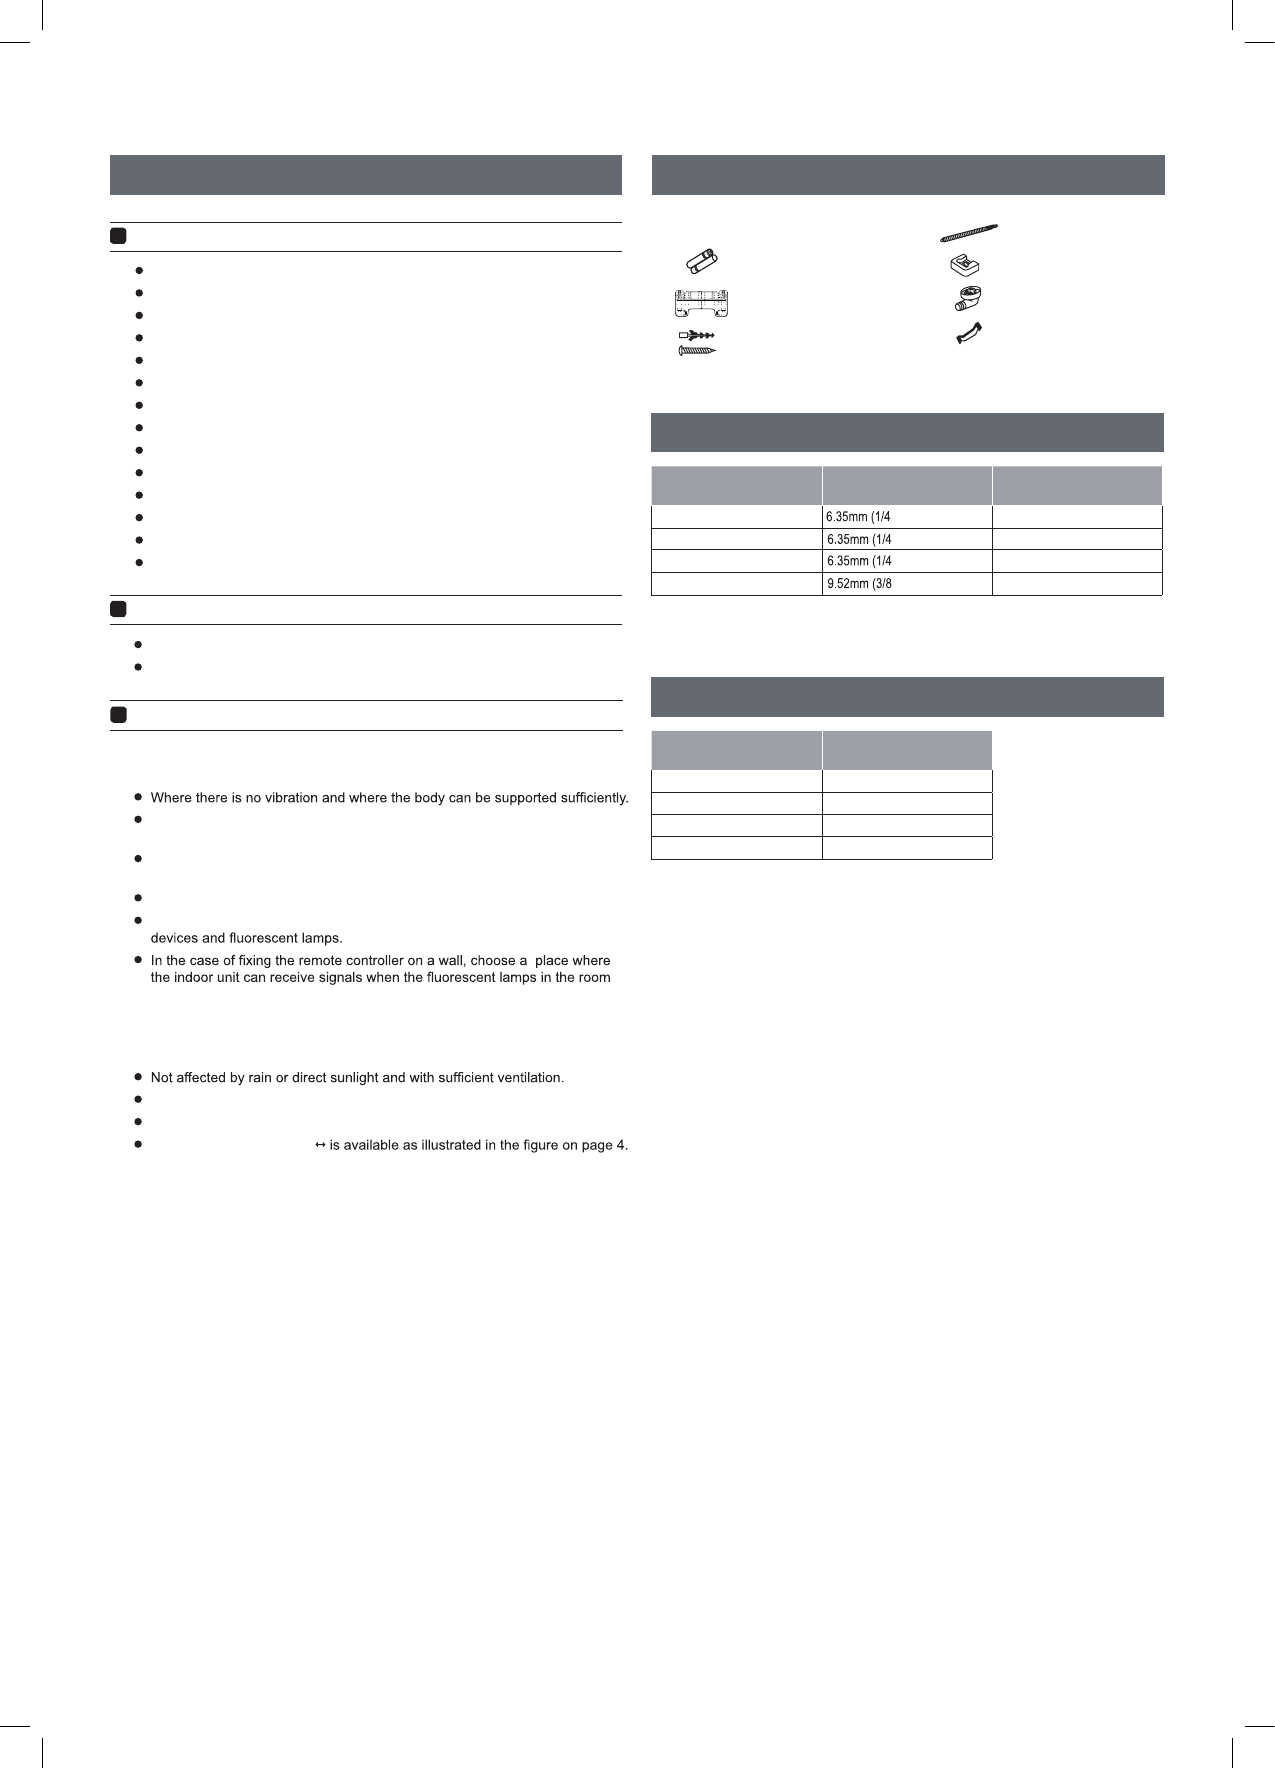
3
Preparation
Driver
Nibbler
Hacksaw
Hole core drill
Spanner (17,19 and 26mm)
Gas leakage detector or soap-and-water solution
Vacuum pump
Torque wrench (17mm, 22mm, 26mm)
Pipe cutter
Flaring tool
Knife
Measuring tape
Reamer
Refrigeration gauges
Install an exclusive circuit for the power.
Check the power source voltage is the same as the rating plate.
Indoor Unit
The place chosen to install the indoor unit should be:
Not affected by heat or steam generated in the vicinity, where inlet and outlet
of the unit are not blocked or restricted.
Where it is possible to drain easily, and where piping can be connected
with the outdoor unit.
Where conditioned air can be evenly distributed through the whole room.
Where there is more than 1m distance from televisions, radios, wireless
are on.
Outdoor Unit
The place chosen to install the outdoor unit should be:
Strong enough to bear the unit, where vibration and noise are not increased.
Where discharged air and noise do not cause a nuisance to the neighbours.
Where a distance marked
Necessary tools for installation
Selection of installation place
Power source
Accessory parts
Selection of pipe
NOTE: The thickness of the pipe must be at least 0.8mm.
Remote controller (1)
AAA dry battery (2)
Mounting plate (1)
Plastic cap (4)
Ø4X25 Screw (4)
Drain hose (1)
Cushion (4)
Drain-elbow (1)
Pipe supporting plate (1)
Model Liquid pipe (Ø) Gas pipe (Ø)
") 9.52mm (3/8")
") 9.52mm (3/8")
") 12.7mm (1/2")
") 15.88mm (5/8")
Power requirements
Model Max rated current
HSU-26HEK03/R2(DB)/O 6.1
HSU-35HEK03/R2(DB)/O 6.0
HSU-53HEK03/R2(DB)/O 10.5
HSU-71HEK03/R2(DB)/O 13.8
HSU-26HEK03/R2(DB)/O
HSU-35HEK03/R2(DB)/O
HSU-53HEK03/R2(DB)/O
HSU-71HEK03/R2(DB)/O


