12 308652
Service
Service Kits
Service Kits may be ordered separately.
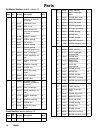
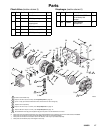
To repair the air valve, order Part No. 238853. Parts
included in the Air Valve Service Kit are marked with
an asterisk in the Parts Drawing on page 17, for
example (3*).
For fluid section repair section parts, see the Service
Kit Matrix on page 15. Parts included in the Fluid
Section Service Kit are marked with a dagger in the
Parts Drawing on page 17, for example (4{).
Servicing the Air Valve
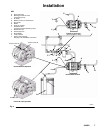
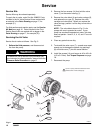
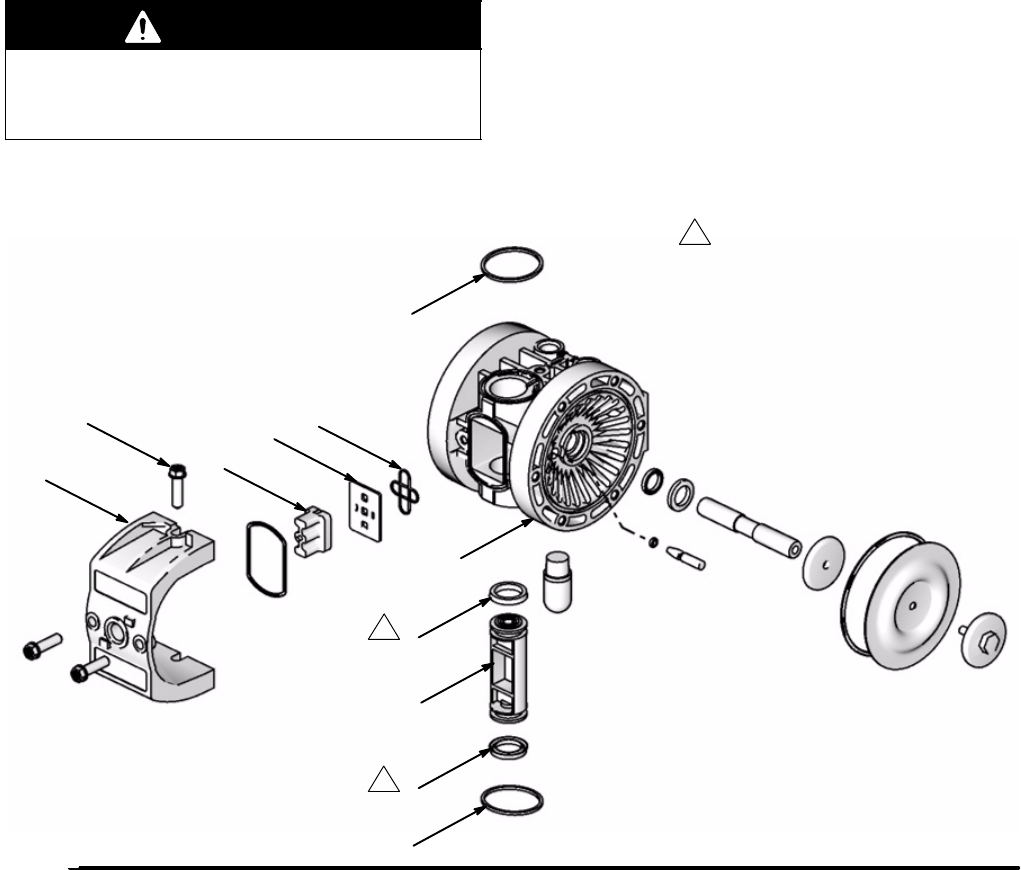
Service the air valve as follows. See Fig. 5.
1. Relieve the fluid pressure, and disconnect air
line from the pump.
WARNING
To reduce the risk of serious injury whenever you
are instructed to relieve pressure, always follow the
Pressure Relief Procedure on page 8.
2. Remove the four screws (14) that hold the valve
cover (7) on the center housing (1).
3. Remove the valve block (4) and valve carriage (2),
and replace the u-cups (3). Replace the valve
carriage and valve block. When you replace the
valve carriage, position it all the way to one side or
the other.
NOTE: The valve block shown in Fig. 5 is for
pumps with an air-operated air motor. If your
pump has a solenoid-operated air motor, this step
does not pertain. Items 2, 3, 4, 16, and 17 are not
required.
4. Clean any parts that are dirty.
5. To reinstall the valve cover (7), spread cover apart
enough not to damage the square ring packings
(6) and slide cover (7) into the center section.
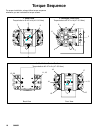
6. Install the screws (14), and torque to 40 to 45 in-lb
(4.5 to 5.0 NSm). See Torque Sequence on page
18.
7. Reconnect the pump.
Fig. 5
7
ti10664a
14
2
4
Lips of u-cups (3) must face toward each other
(toward center of valve carriage (2)).
1
1
3
3
1
1
17
16
6
6


