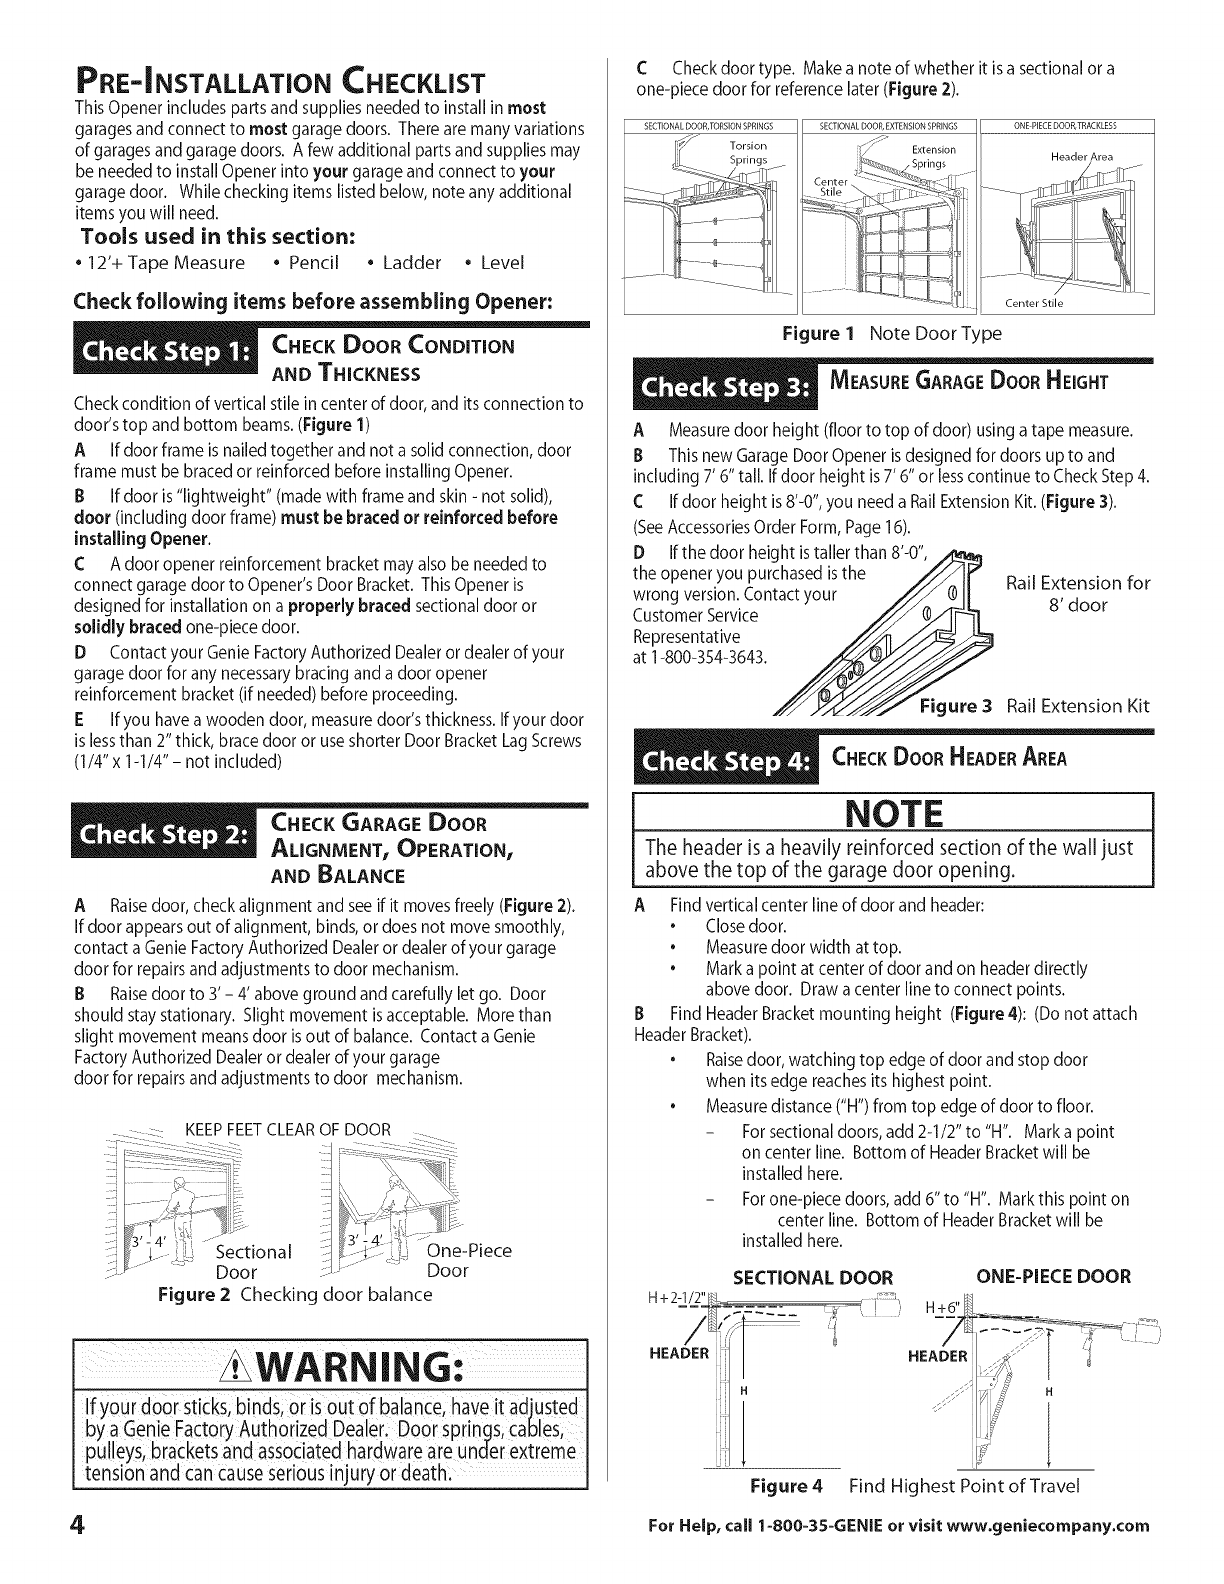
PRE=INSTALLATION CHECKLIST
This Opener includes parts and supplies neededto install inmost
garages and connect to most garage doors. There are many variations
of garagesand garage doors. Afew additional parts and supplies may
be needed to install Opener into your garage and connect to your
garage door. While checking items listed below, note any additional
items you will need.
Tools used in this section:
• 12% Tape Measure • Pencil • Ladder • Level
Check following items before assembling Opener:
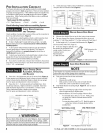
Checkcondition of vertical stile in center of door, and its connection to
door's top and bottom beams. (Figure 1)
A Ifdoor frame isnailed together and nota solid connection, door
frame must be bracedor reinforced before installing Opener.
B If door is"lightweight" (madewith frame and skin - not solid),
door (including door frame) must be braced or reinforced before
installing Opener.
C Adoor opener reinforcement bracket may alsobe needed to
connect garage door to Opener's Door Bracket. This Opener is
designed for installation on a properly braced sectional door or
solidly braced one-piece door.
D Contact your Genie FactoryAuthorized Dealeror dealer of your
garage door for any necessarybracing and a door opener
reinforcement bracket (if needed) before proceeding.
E If you have a wooden door, measuredoor's thickness. If your door
is lessthan 2" thick, brace door or useshorter Door Bracket LagScrews
(1/4" x 1-1/4"- not included)
AND BALANCE
A Raisedoor, check alignment and seeif it movesfreely (Figure 2).
Ifdoor appears out of alignment, binds,or doesnot move smoothly,
contact a Genie Factory Authorized Dealeror dealer of your garage
door for repairs and adjustments to door mechanism.
B Raisedoor to 3' - 4' above ground andcarefully let go. Door
should staystationary. Slight movement isacceptable. More than
slight movement meansdoor isout of balance. Contact a Genie
FactoryAuthorized Dealeror dealer of your garage
door for repairs and adjustments to door mechanism.
....::::-:::::: KEEPFEET CLEAR OF DOOR
One-Piece
Door
Figure 2 Checking door balance
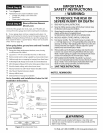
WARNING:
Ifyour door sticks, binds, or is out of balance, have it adjusted
bya Genie Factory Authorized Dealer. Door springs,cables,
pulleys,brackets and associatedhardware are under extreme
tension and cancause seriousinjury or death.
4
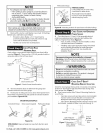
C Checkdoor type. Makeanoteofwhetheritisasectionalora
one-piece door for reference later (Figure 2).
SECTIONAL DOOR,TORSION SPRINGS SECTIONAL DOOR, EXTENSION SPRINGS
ONEPIECEDOOR,TRACKLESS
Header Area
Center Stile
Figure 1 Note Door Type
A Measuredoor height (floor to top of door) using atape measure.
B This new GarageDoorOpener isdesigned for doors up to and
including 7' 6" tall. If door height is7' 6" or lesscontinue to CheckStep 4.
C Ifdoor height is8'-0", you need a RailExtension Kit.(Figure 3).
(SeeAccessoriesOrder Form,Page16).
D Ifthe door height istaller than 8'-0",
the opener you purchased isthe Rail Extension for
wrong version. Contact 8' door
Customer Service
Representative
at 1-800-354-3643.
Figure 3 Rail Extension Kit
NOTE
The header is a heavily reinforced section of the wall just
above the top of the garage door opening.
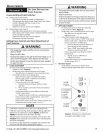
A Find vertical center lineof door and header:
• Closedoor.
• Measuredoor width at top.
• Marka point at centerof door and on headerdirectly
above door. Drawacenter lineto connect points.
B Find Header Bracketmounting height (Figure 4): (Do not attach
Header Bracket).
• Raisedoor, watching top edge of door and stop door
when its edge reachesits highest point.
• Measuredistance ("H") from top edge of door to floor.
- Forsectional doors, add 2-1/2" to "H". Mark a point
on center line. Bottom of Header Bracket will be
installed here.
- Forone-piece doors, add 6" to "H". Markthis point on
center line. Bottom of Header Bracketwill be
installed here.
SECTIONAL DOOR
H÷2_J=2_......
H
ONE-PIECE DOOR
Figure 4 Find Highest Point of Travel
ForHelp,call 1-800-3S-GENIEorvisit www.geniecompany.com


