


10
About the water filtration system.
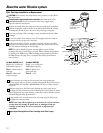
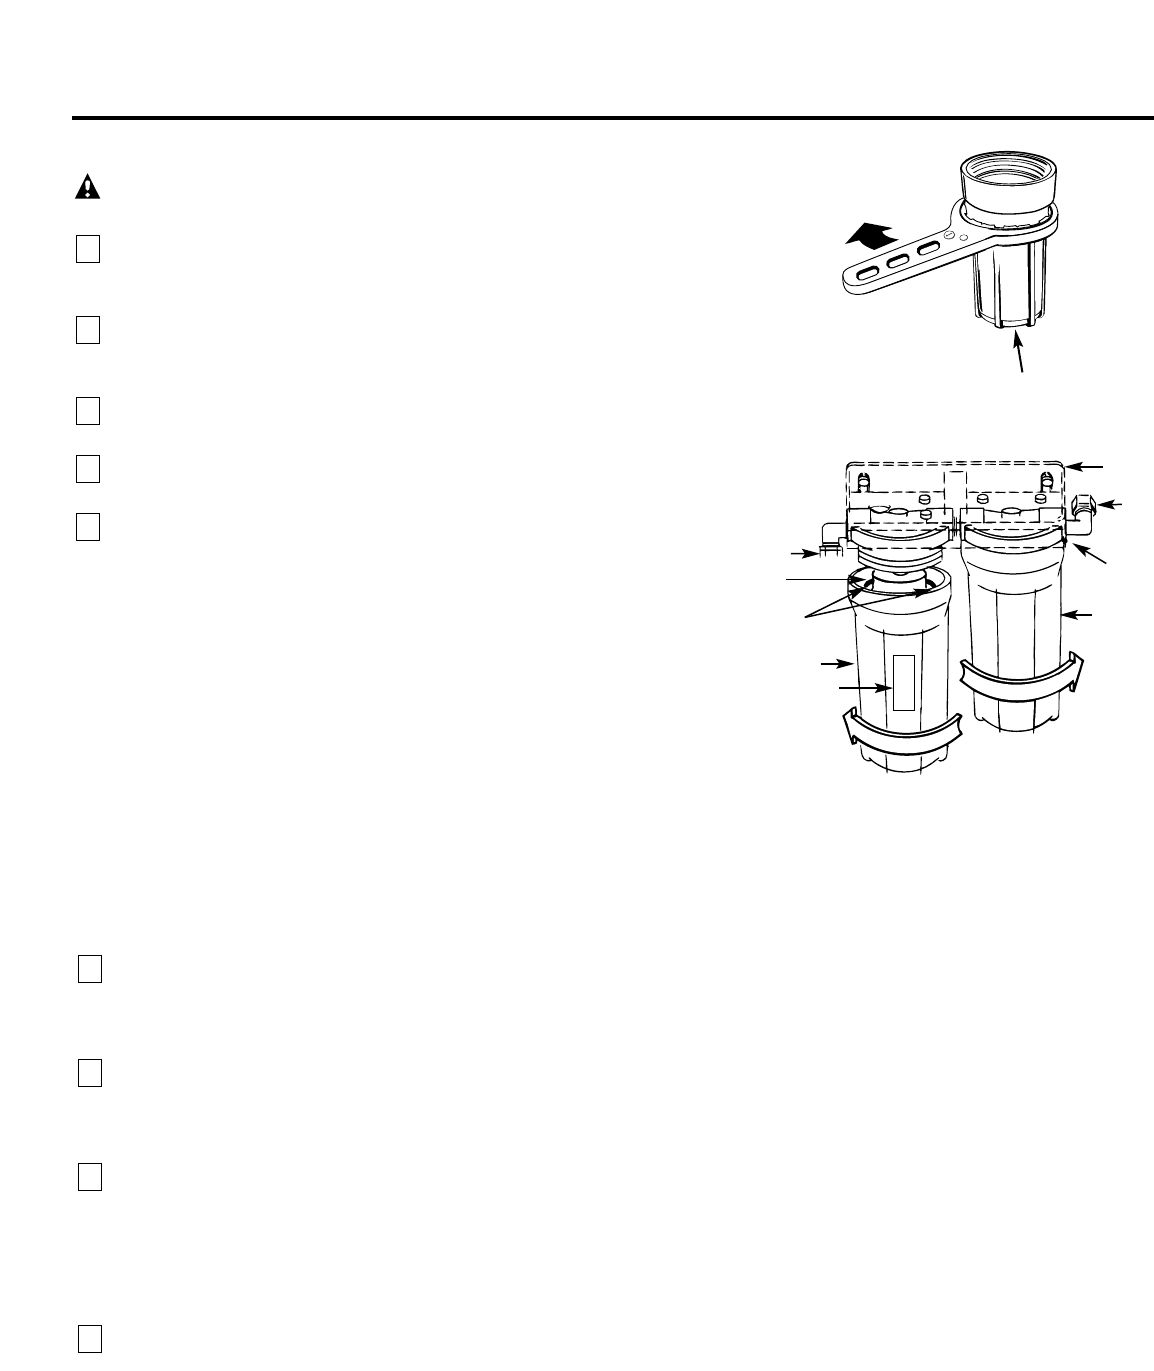
Filter Cartridge Installation or Replacement
CAUTION: Never remove the sumps when water pressure is in the Water
Filtration system.
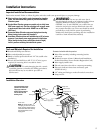
Close the water supply/saddle valve to the filter. (See illustration in the
Installation Overview section for location of the water supply valve.)
Open the filtered water faucet.
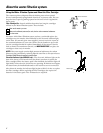
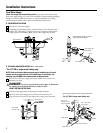
Remove the sump, using the sump wrench tool provided, from the filter
head by rotating the sump as shown in the below illustration. Be careful,
the sump may be full of water. Be sure to keep the large o-ring seal.
If you are replacing a filter cartridge, remove and discard the used filter
cartridge.
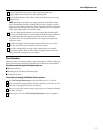
Be sure the inside of the sump is clean. Thoroughly wash the inside of
the sump with hot, soapy water and rinse.
Remove the wrapper from the new filter cartridge and insert the filter
cartridge in the sump.
Some cartridges fit either way, while others fit only
one way. Observe markings on the cartridge.
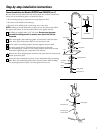
NOTE: The Water Filtration system uses two different types of filter
cartridges. Be sure to install them correctly. Filter I
cartridge should always
be placed in the
Filter I
sump.
Filter II
cartridge should always be placed in
the
Filter II
sump.
See page 3 for a complete list of filter performance
characteristics.
5
4
3
2
1
Filter I
Filter II
O-ring seal
Cartridge
Sump II
Sump
Sump I
Label
TURN SUMP
TO INSTALL
TURN SUMP
TO REMOVE
Head
Bracket
Turn sump wrench tool
provided clockwise to
remove sump
OUTLET
INLET
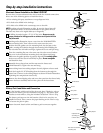
Lightly lubricate the o-ring seal in the sump with clean food-grade
silicone grease (silicone grease is available through GE Parts and Services:
1-800-626-2002, Part Number: WS60X10005). Be sure it is fully seated in
its groove.
Hold the sump up to the filter head, aligning the center hole in the
cartridge with the protrusion on the bottom of the head. Failure to obtain
proper alignment may cause damage to the filter and/or filtration system,
which will degrade filter performance.
Being careful not to cross-thread, rotate the sump onto the filter head
and tighten securely by hand.
NOTE: If the sump will not tighten up to the head or if you feel resistance,
you may have the cartridge in upside down or misaligned. Take the
cartridge out and check for correct orientation or alignment and
reassemble.
Repeat steps 2 through 8 for the Filter II cartridge in the Filter II sump.
9
8
7
6
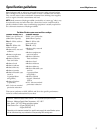
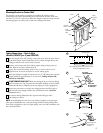
For Model GXSL03C (rev. 2)
FXSLC (rev. 2) Filter Set
(600-Gallon Capacity)
Filter I – White with no
end caps
Filter II – White with
yellow end caps
For Model GXSV10C
FXSVC (rev. 2) Filter Set
(600-Gallon Capacity)
Filter I – White with
green end caps
Filter II – Gray