


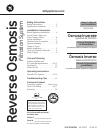
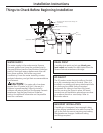

Installation Instructions
9
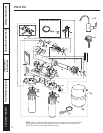
REVERSE OSMOSIS SYSTEM ASSEMBLY
AND STORAGE TANK INSTALLATION
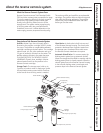
NOW THAT YOUR REVERSE OSMOSIS SYSTEM
IS INSTALLED…SANITIZE!
Sanitize upon installation and after servicing inner
parts, including replacement of prefilter, postfilter
and the Reverse Osmosis cartridge. It is important
to wash hands with anti-bacterial soap before
handling inner parts of the system. See the
Sanitization section.
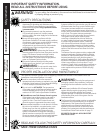
CAUTION: If installing unit in new
construction, ensure that house plumbing is
flushed thoroughly before opening the water
supply valve. Also, before sanitizing, be sure
to remove all cartridges as described in the
Sanitization section. Chlorine will destroy the
Reverse Osmosis cartridge.
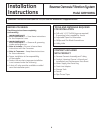
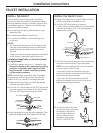
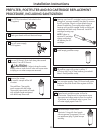
Hold the Reverse Osmosis assembly up
to the wall surface where you will install it. Mark
locations for the screws. The arrows on the top of
the bracket show the location of the screw holes.
1
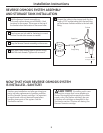
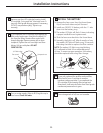
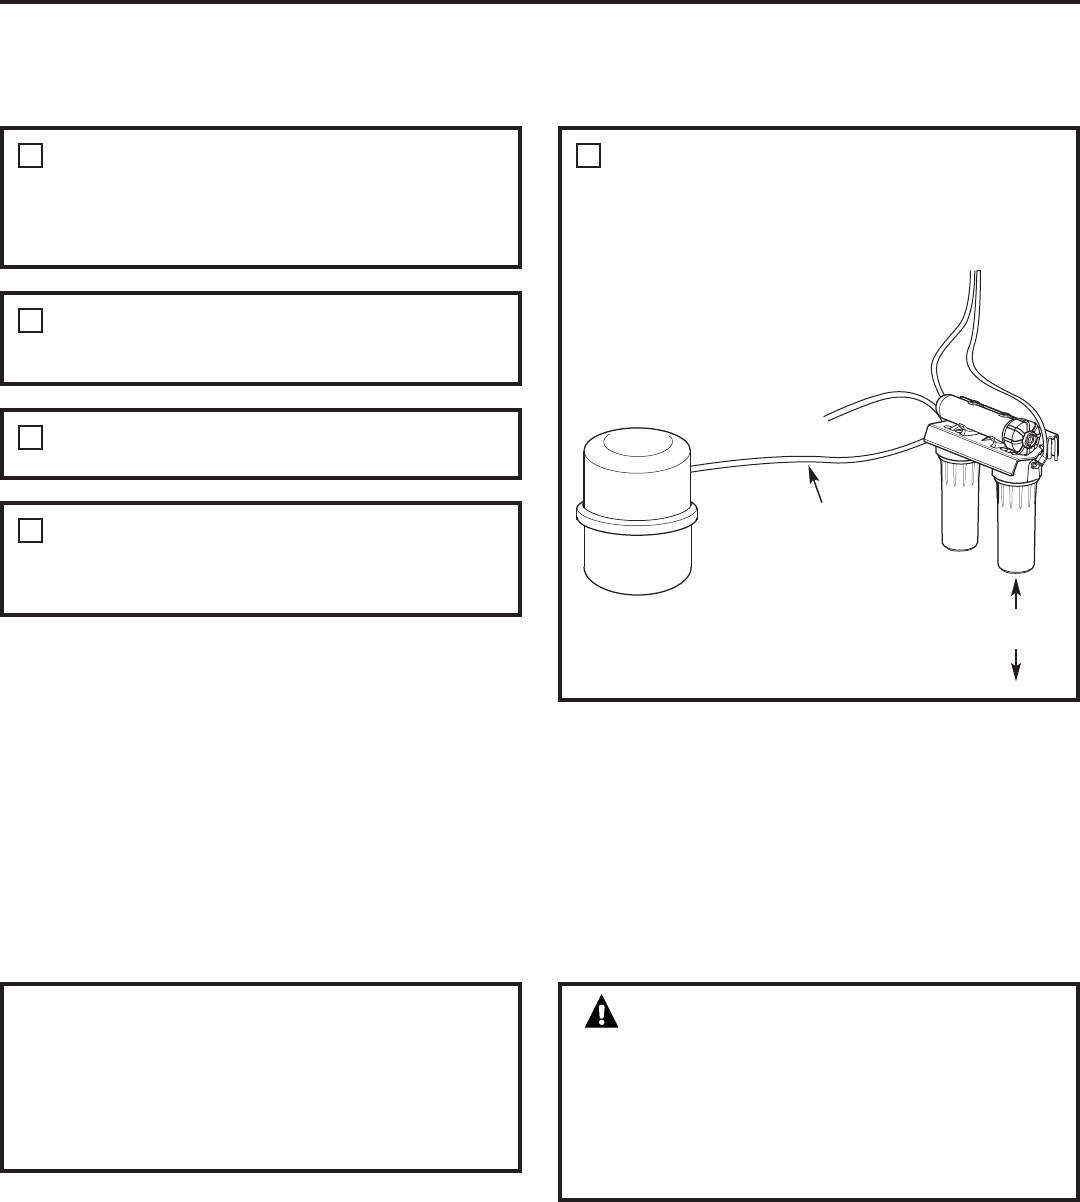
Connect the tubing to the storage tank: Run the
length of 3/8″ orange tubing from the tee fitting
on the Reverse Osmosis module to the tank inlet
fitting.
5
Wood screws are included for fastening to a wood
surface. Provide other screws as needed.
2
Hang the Reverse Osmosis assembly on the screws.
3
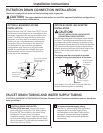
Apply pipe thread sealing tape to the tank fitting.
Insert into tank threads. Tighten with a wrench.
4
Storage
tank
To faucet
Supply line
Orange tubing
2″ minimum clearance
for changing cartridges