


8
Operating Instructions Safety InstructionsCustomer Service Troubleshooting Tips
Care and cleaning of the reverse osmosis system.
NOTE: When replacing the Reverse Osmosis
cartridge, also install a new flow control and
screen. See the Flow Control and Screen section.
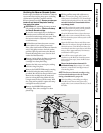
If the Reverse Osmosis Filtration system is
connected to your icemaker YOU MUST turn
off the icemaker by raising the feeler arm
before servicing the filter, changing the filters,
or purging the filtration system. Four hours
after servicing your unit, lower the feeler arm
to resume icemaking.
When replacing cartridges you may lift the
Reverse Osmosis assembly from the mounting
washers and lay it on the floor. You can also
remove the Reverse Osmosis housing by
pulling it out of the mounting clamps.
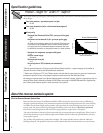
When the amber “RO” light flashes the
Reverse Osmosis cartridge must be replaced.
NOTE:
Disregard initial or short periods (a few
seconds) of the flashing “RO” light. Long
periods of limited or non use can cause TDS
levels to temporarily change.
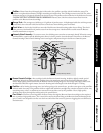
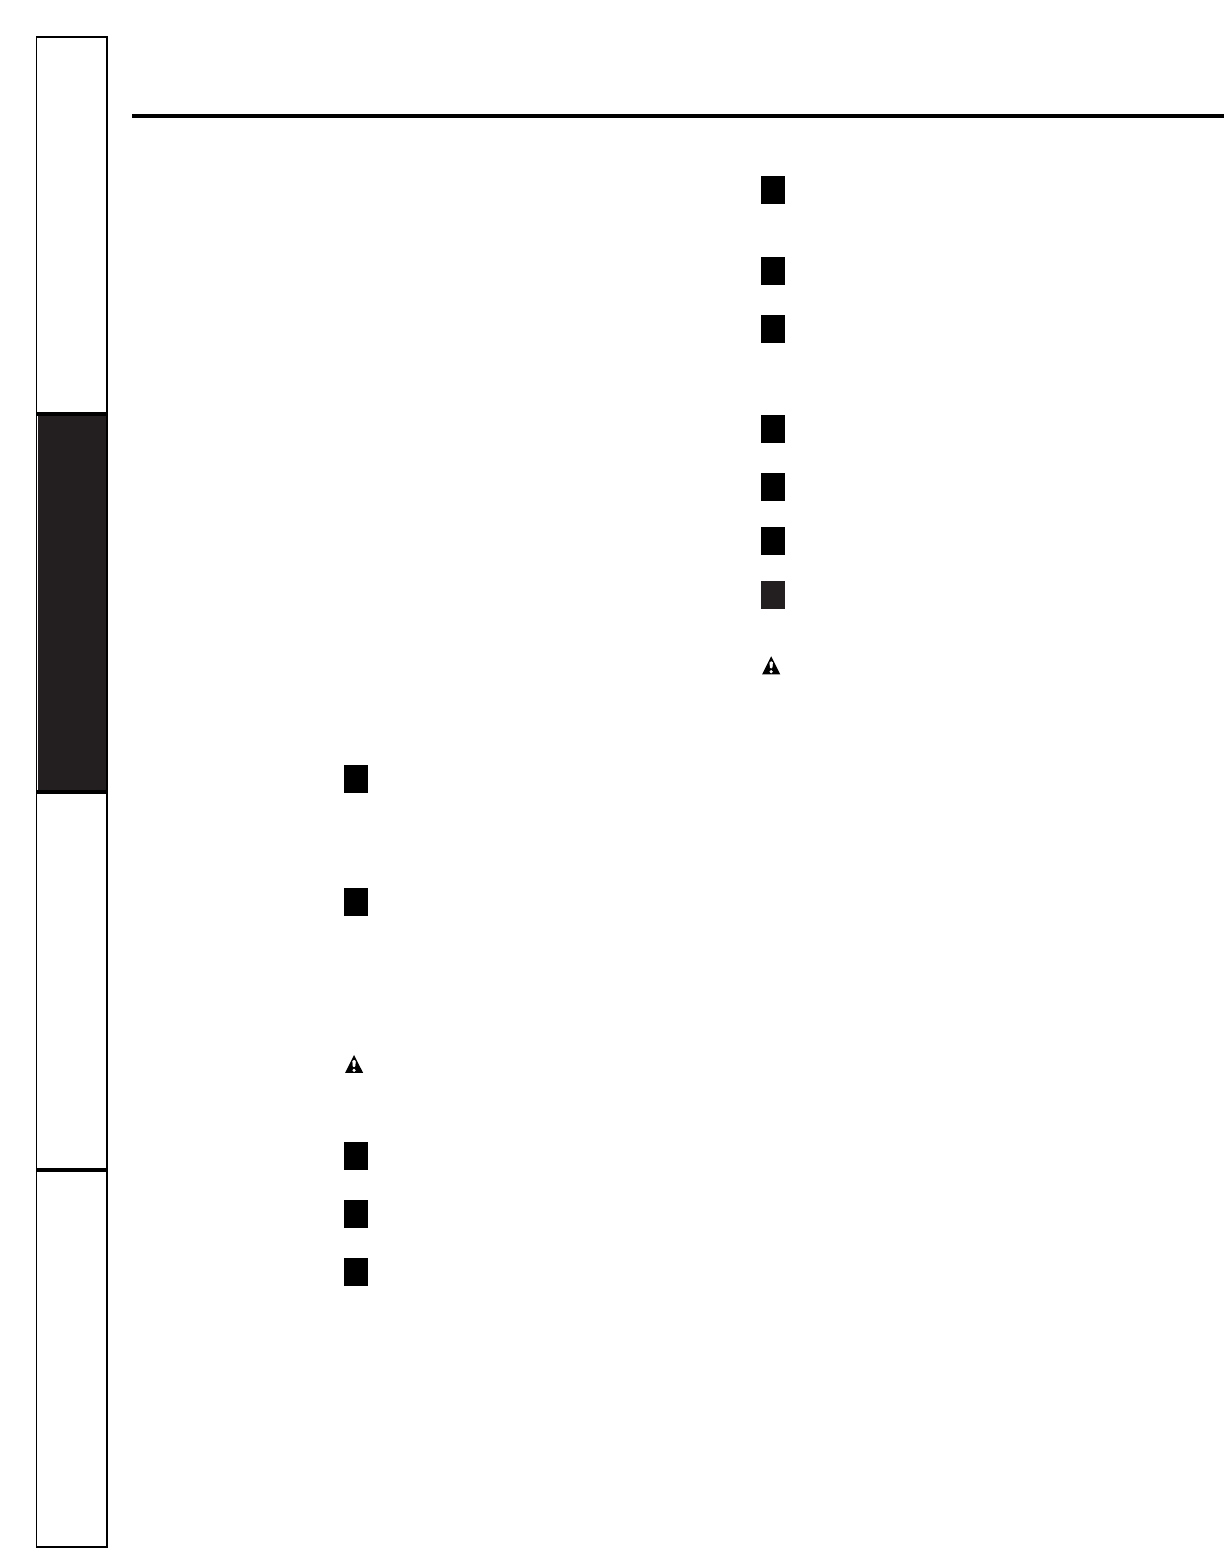
Be sure you clean your hands with anti-bacterial
soap before handling inner parts of the system.
Be sure the water supply valve to the
Reverse Osmosis system is turned off, and
the RO water faucet and storage tank are
open. Allow the system to drain completely
(this takes several minutes).
Pull the Reverse Osmosis system out away
from cabinet. Leave tubing connected.
Place a dry towel under the Reverse Osmosis
unit.
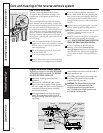
Using pliers remove the lock washer,
pull the u-pin and remove the Reverse
Osmosis housing inlet cover. Save the lock
washer for final assembly.
CAUTION: Failure to close the water supply
valve or tank shutoff valve will cause water
to spray or run when sumps are removed.
Remove the lock washer, pull the u-pin and
remove the inlet cover from the housing.
Use pliers to pull the cartridge from the
housing and discard the cartridge.
Sanitize the system. Go to the
Sanitizing the
Reverse Osmosis System
section and follow
steps 4 through 11.
Install new flow control and screen. Go
to the
Flow Control and Screen
section for
directions.
Pull the u-pin and remove the inlet cover
from the housing.
Install the new Reverse Osmosis cartridge.
NOTE:
The Reverse Osmosis cartridge o-ring
end is notched and may need to be rotated
during reinstallation for proper fit.
Replace the inlet cover. Lightly lubricate the
o-ring seal with only clean silicone grease.
Insert the u-pin and install the lock washer.
Turn on the water supply. Check for leaks.
Purge the Reverse Osmosis system. Go to
the
Purging the Reverse Osmosis System
section.
CAUTION: The Reverse Osmosis cartridge
contains a food grade preservative that should
be purged from the system before first use or
whenever the Reverse Osmosis cartridge is
replaced. The preservative will give product
water an unpleasant taste
and odor. After the
tank has filled (takes about four hours), open the
system faucet until the bladder is empty. After
four of these drainings, the system is ready to
make product water for your use
.
NOTE: Lights may not operate properly until the
system has been allowed to refill the tank.
12
11
10
9
8
7
6
5
4
3
2
1
Reverse Osmosis Cartridge Replacement